
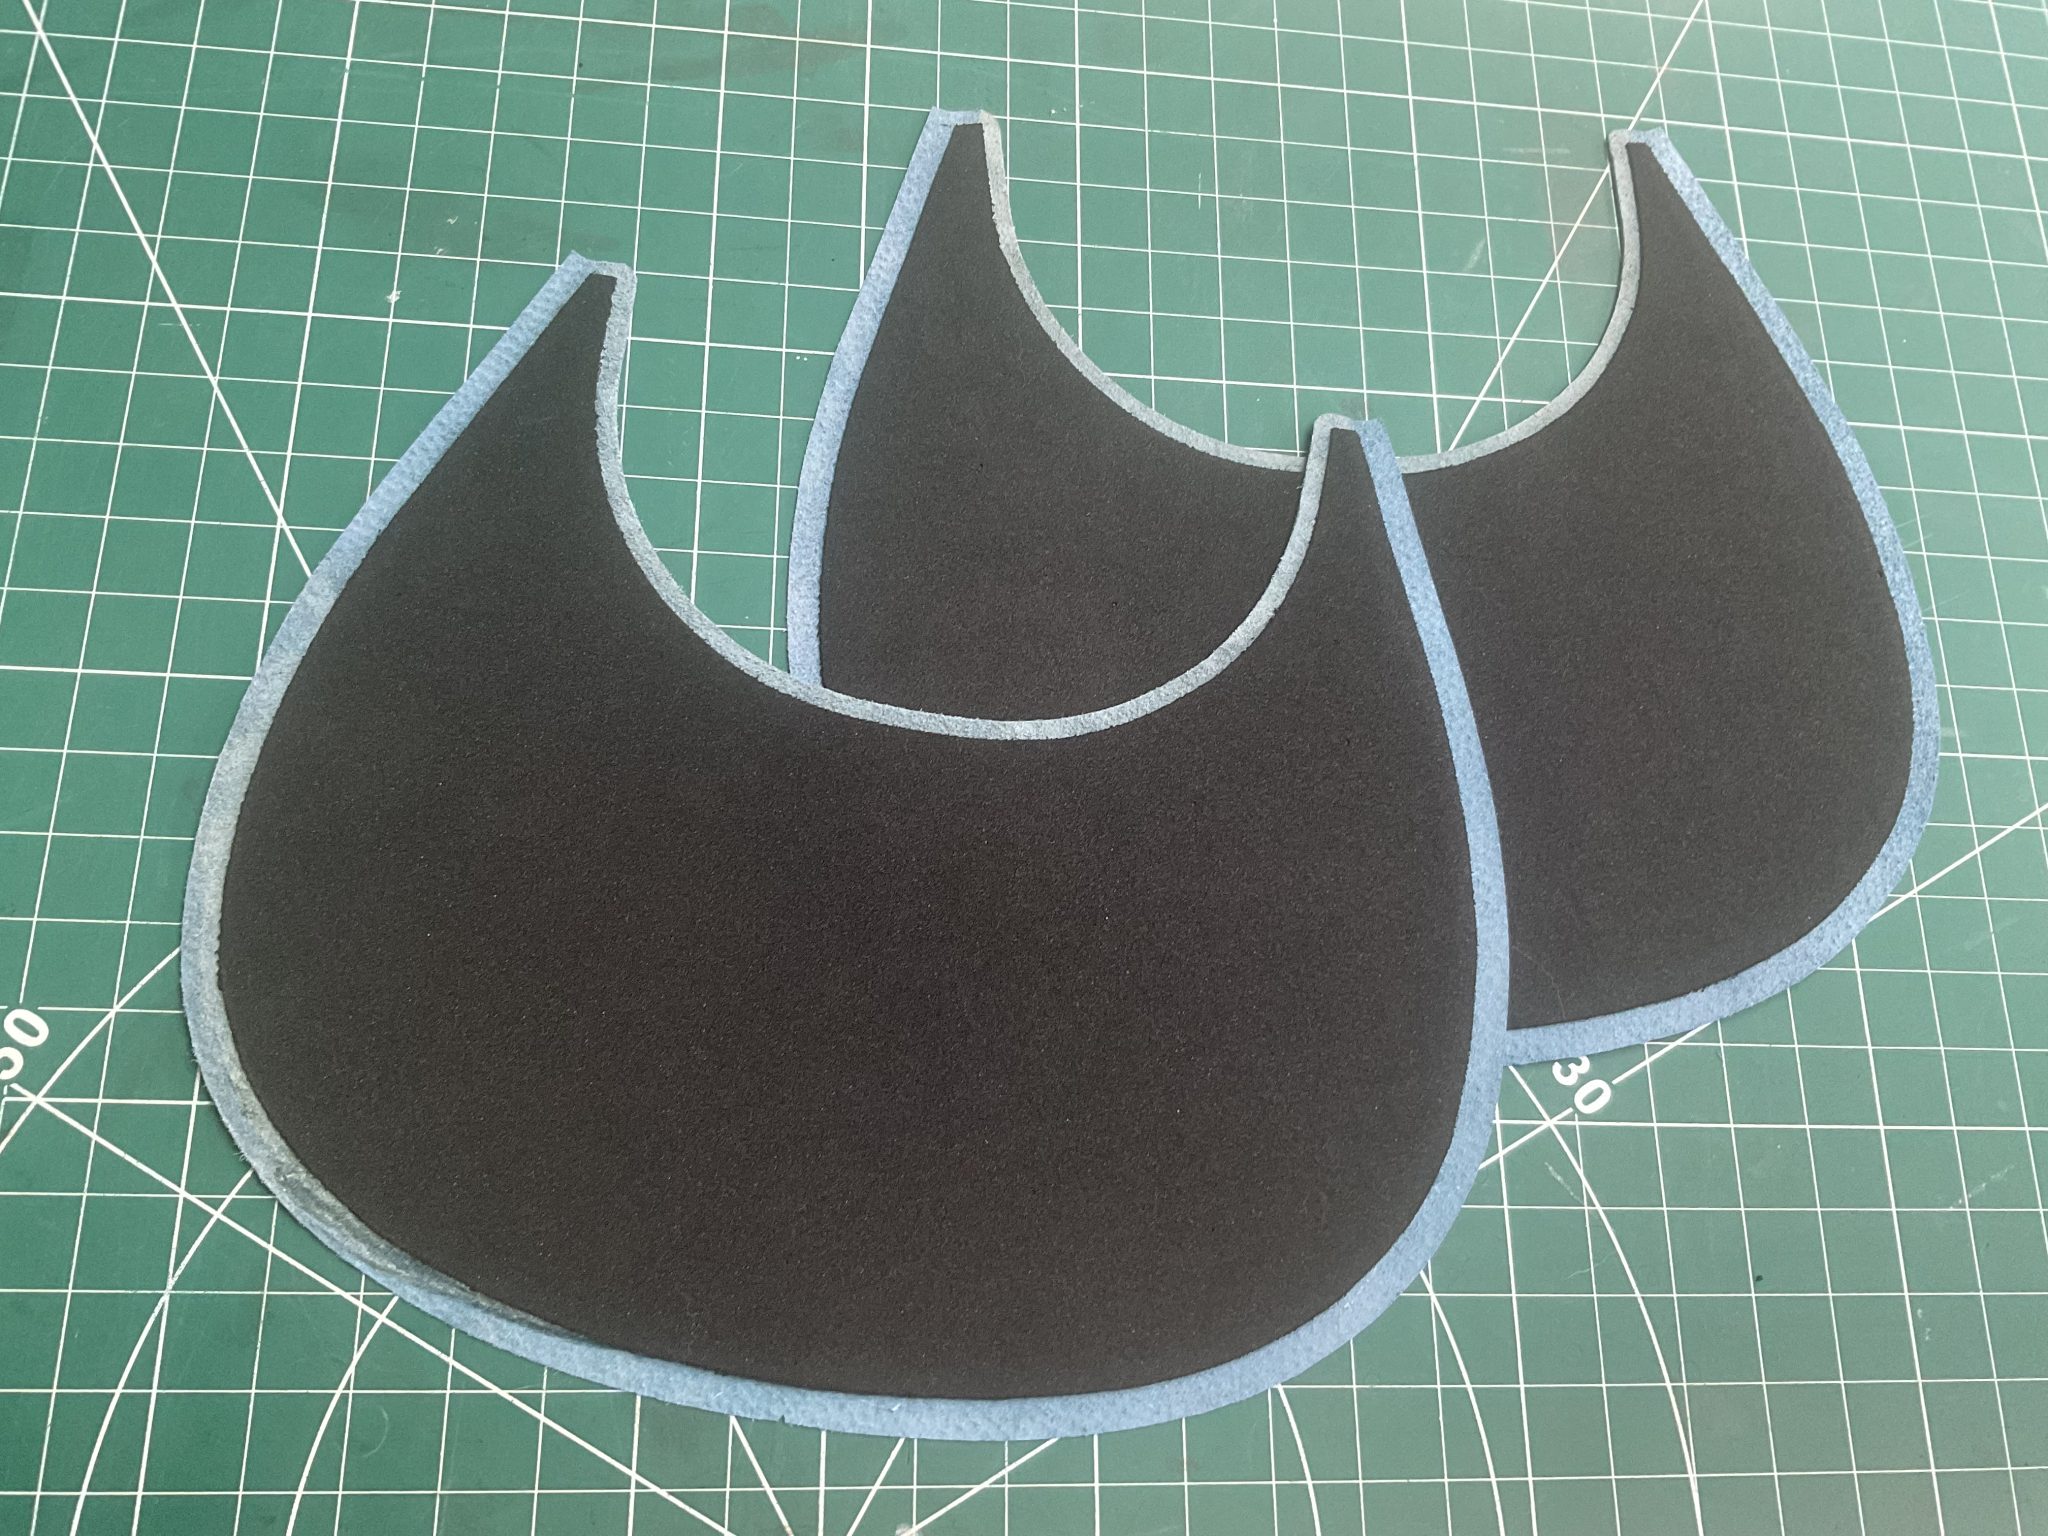
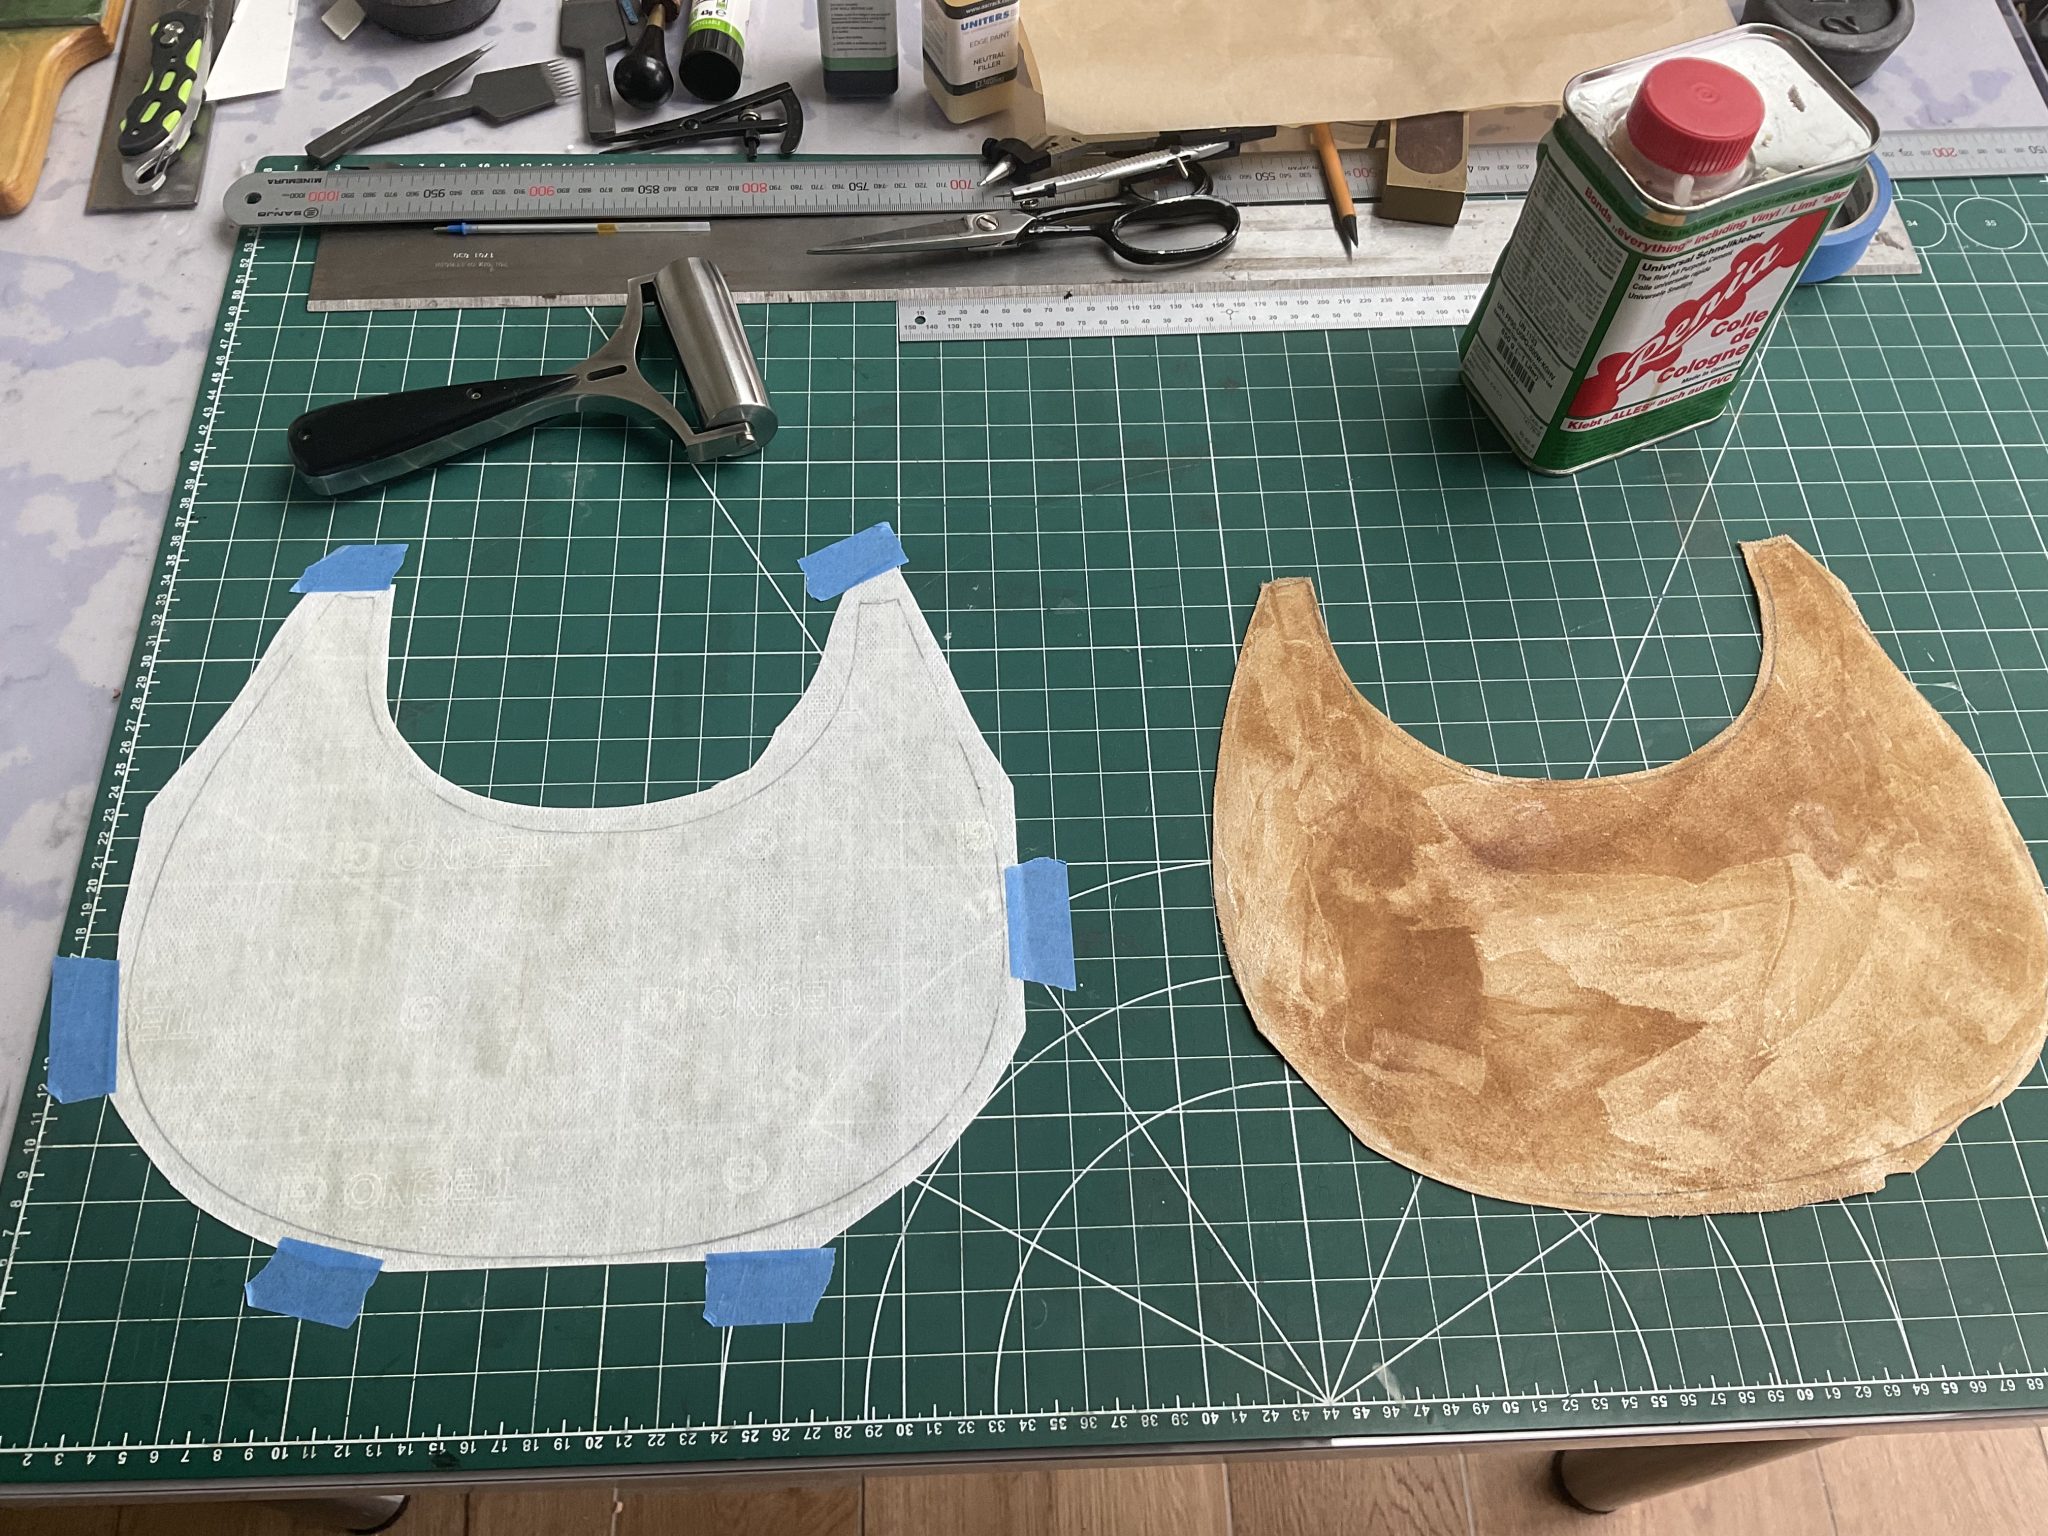
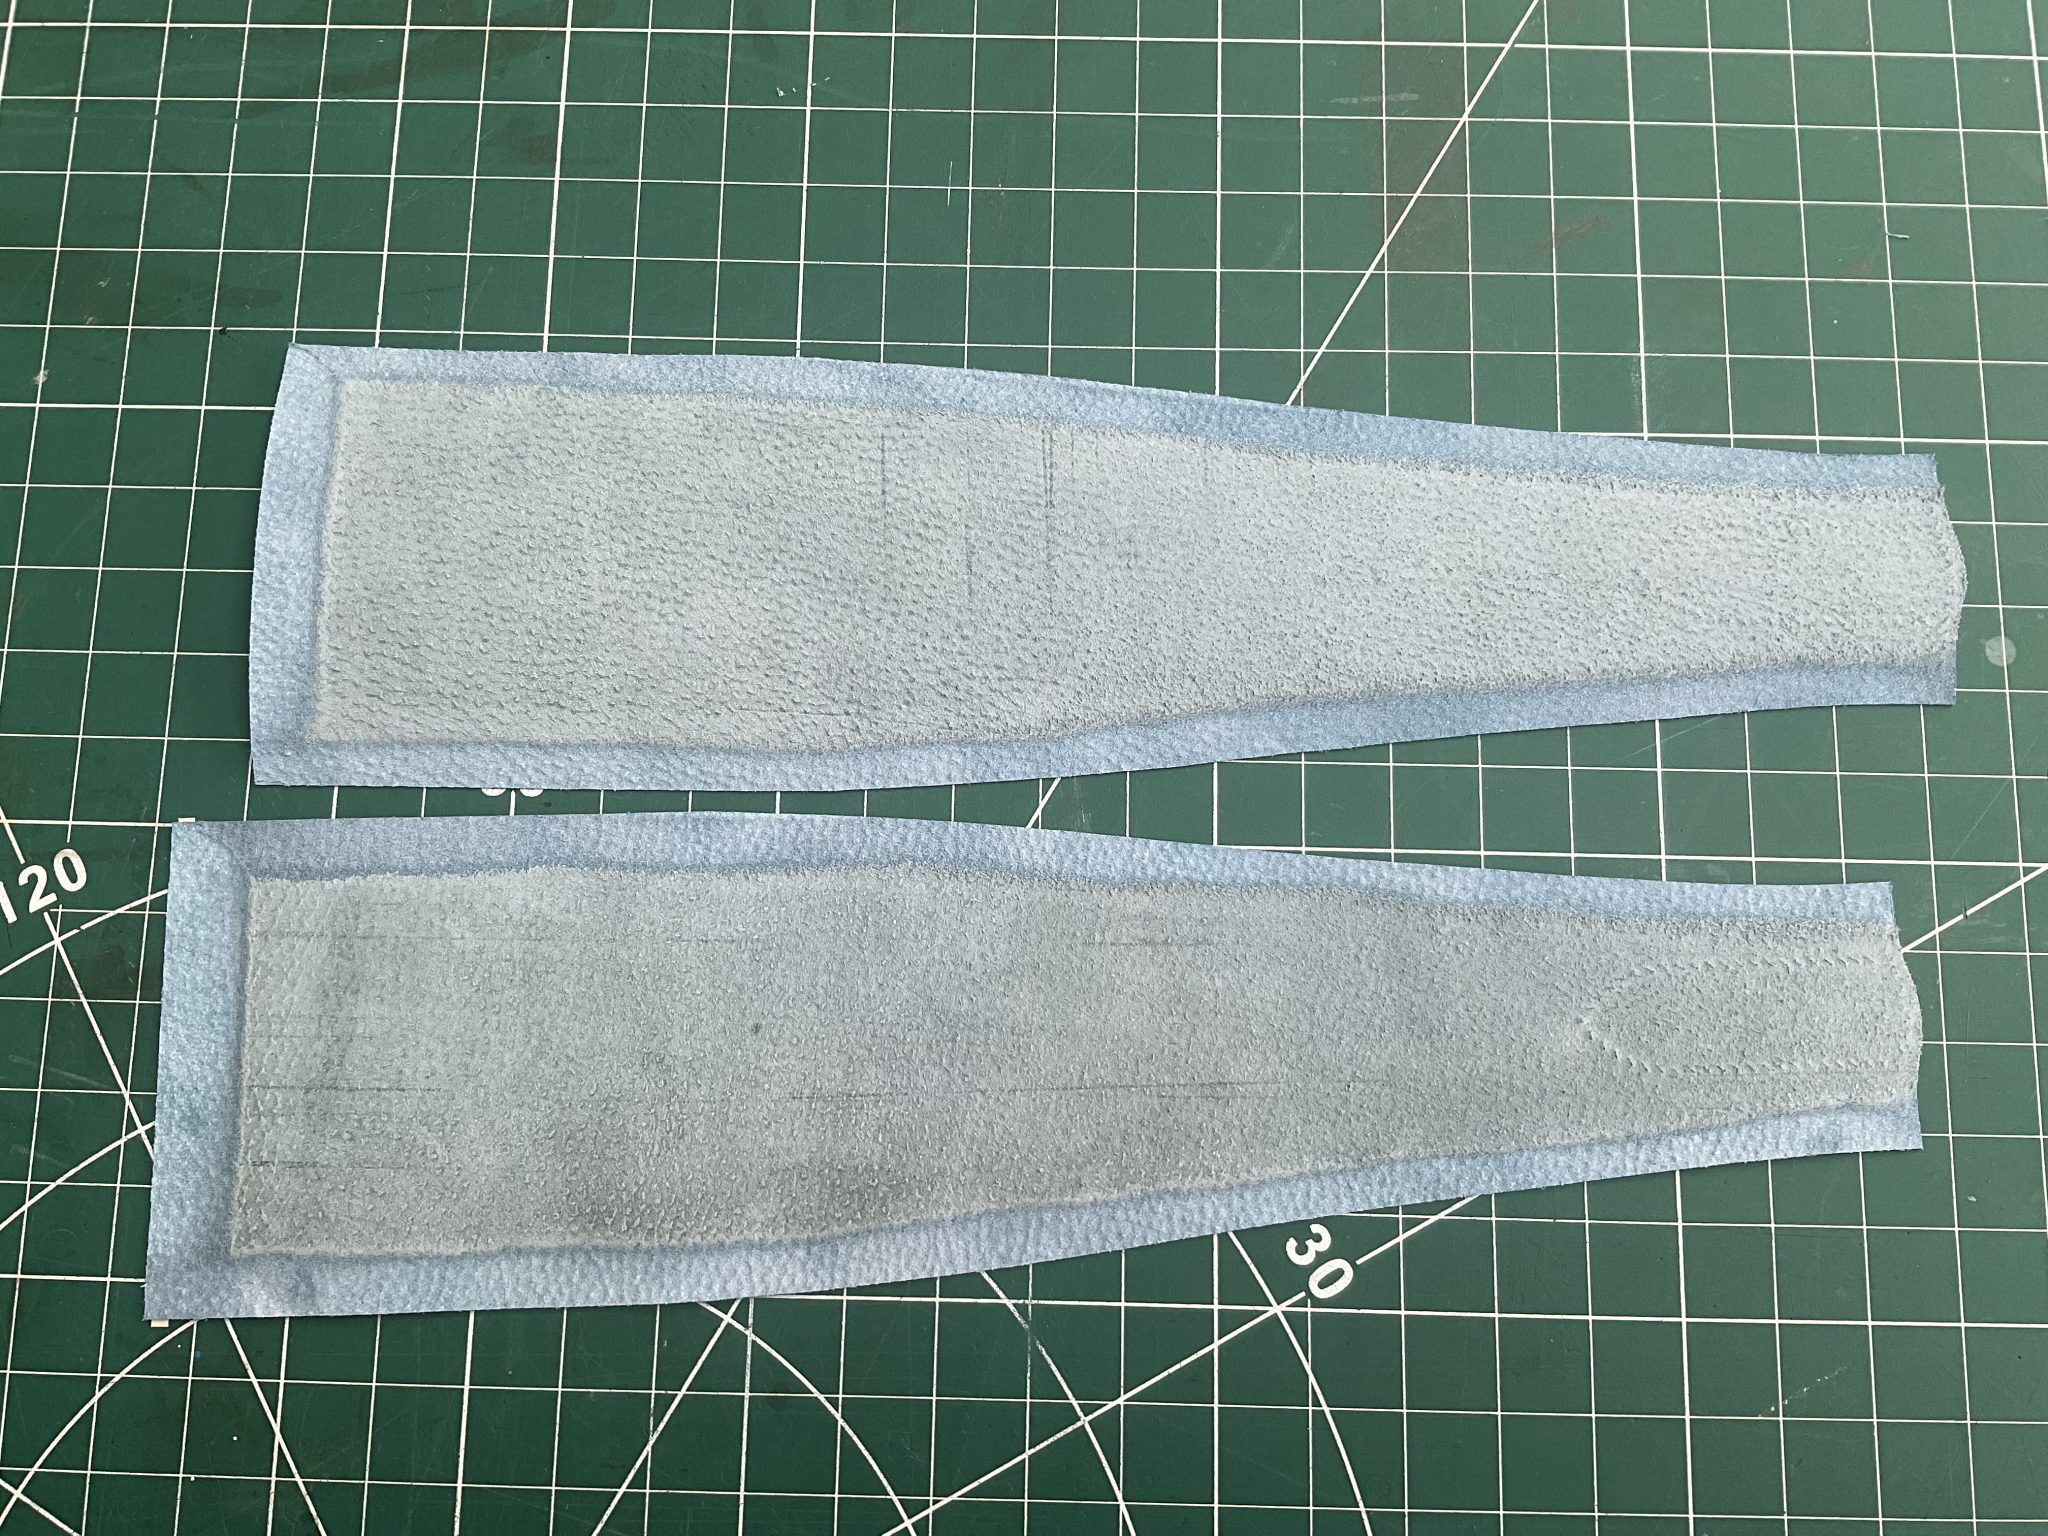
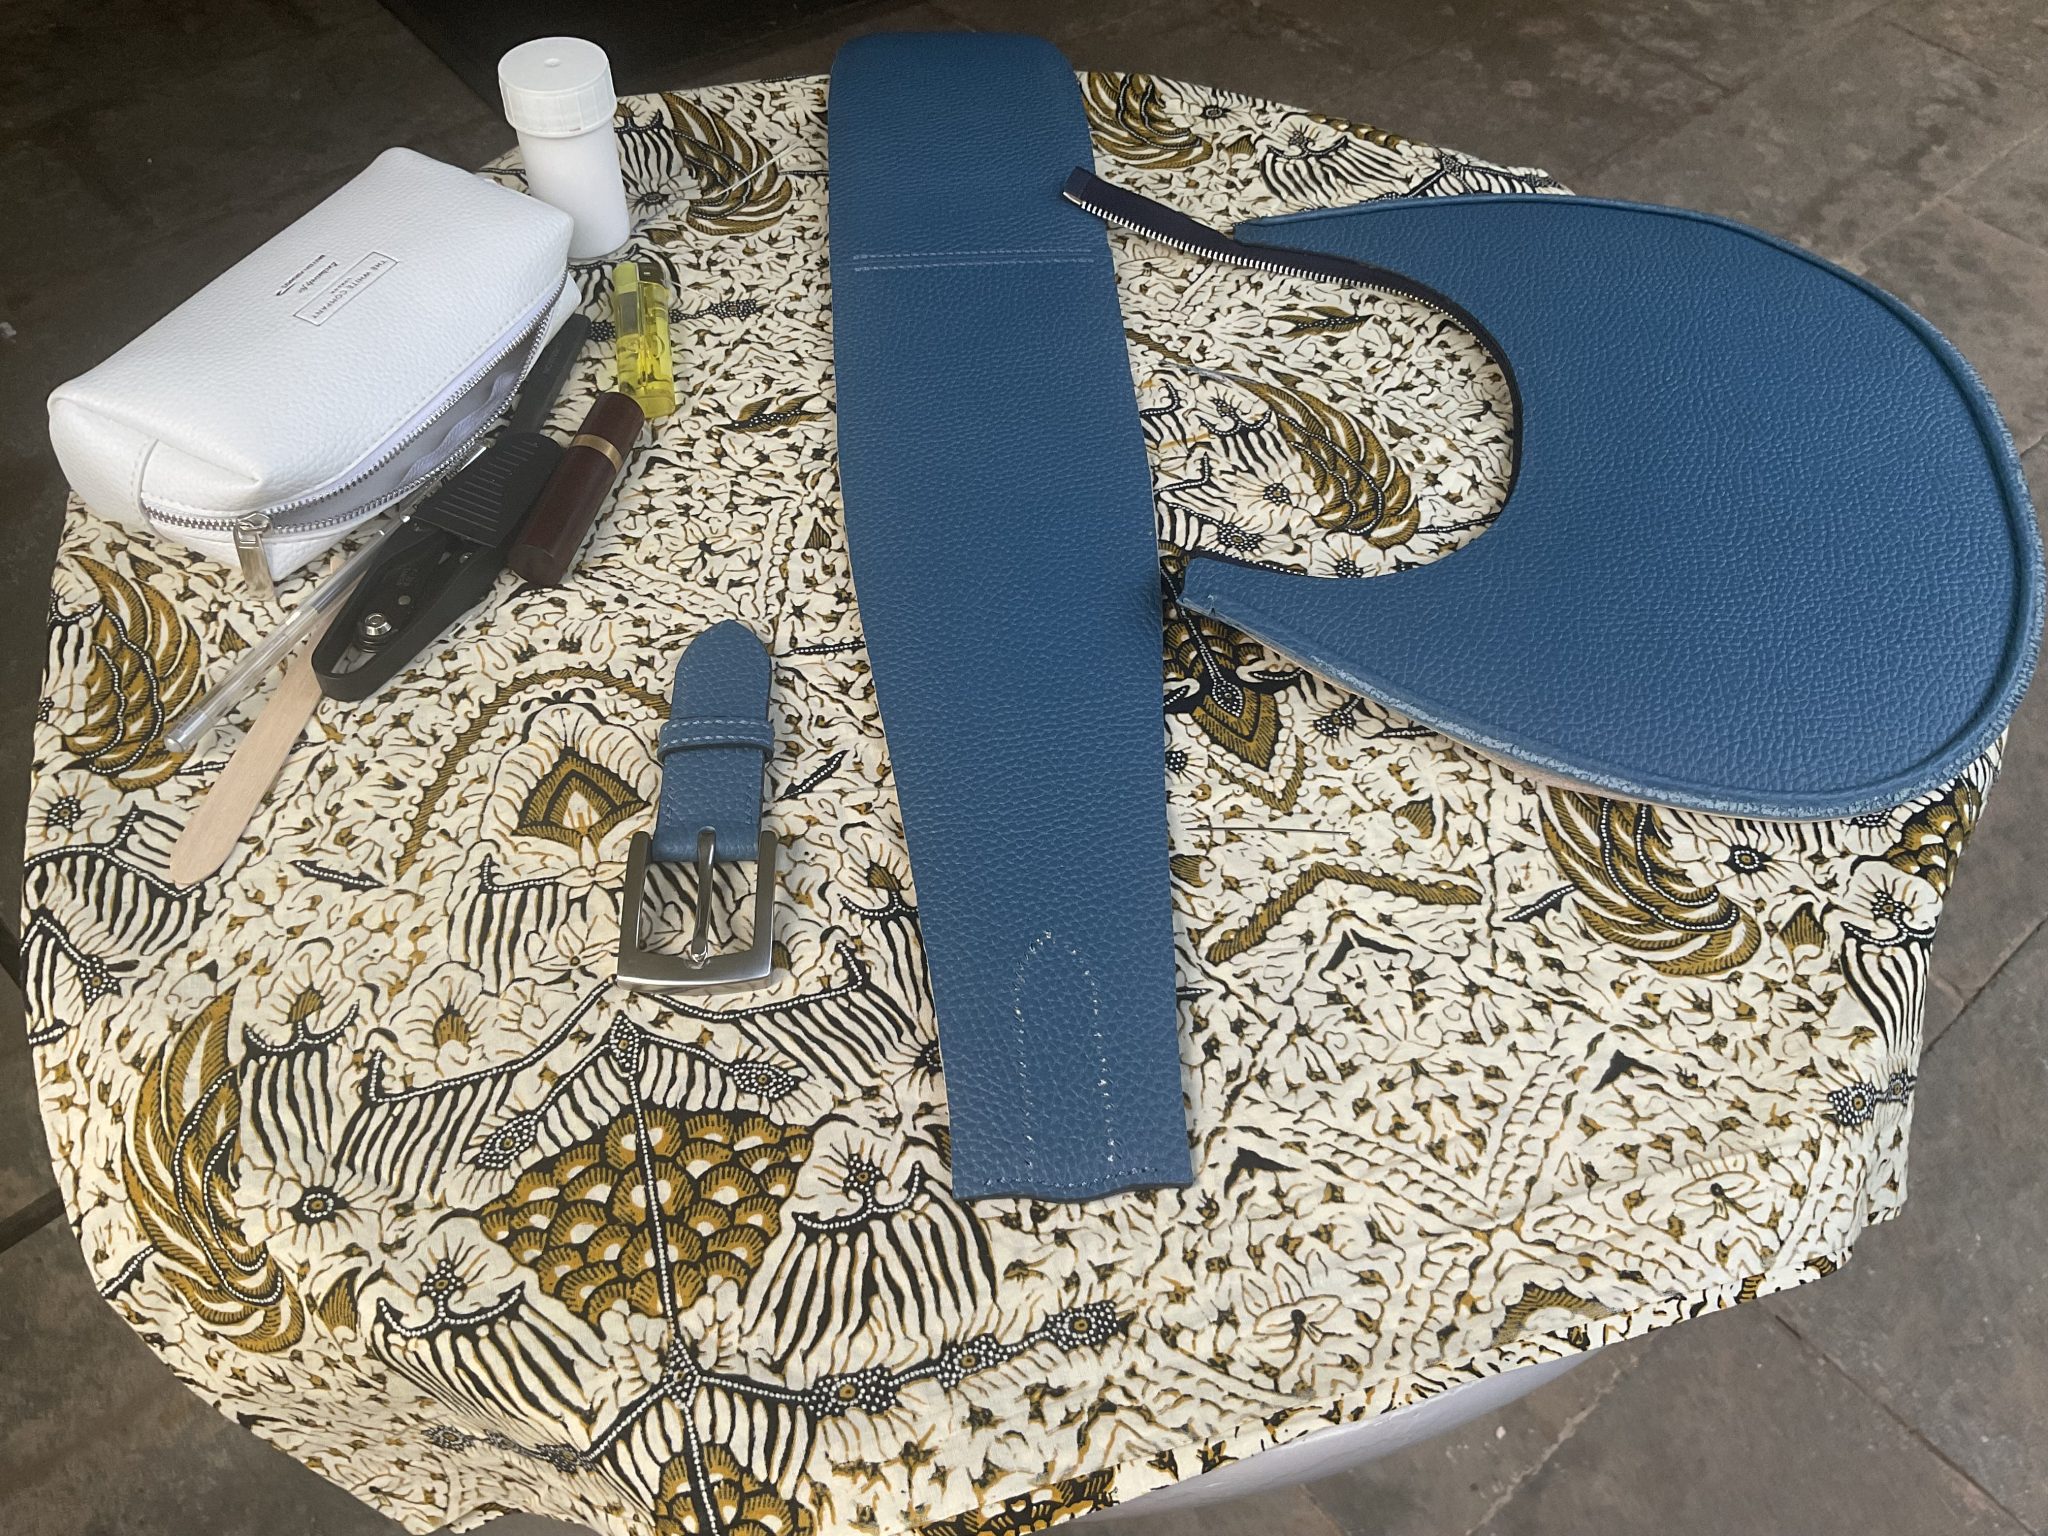
To be on the safe side and to ensure I had sufficient things to build on holiday, another ‘kit’ was put together for the bag I intended to make with the hide purchased while travelling around Japan. Again the aim is to make to major components before heading off. Leaving just the stitching to do.
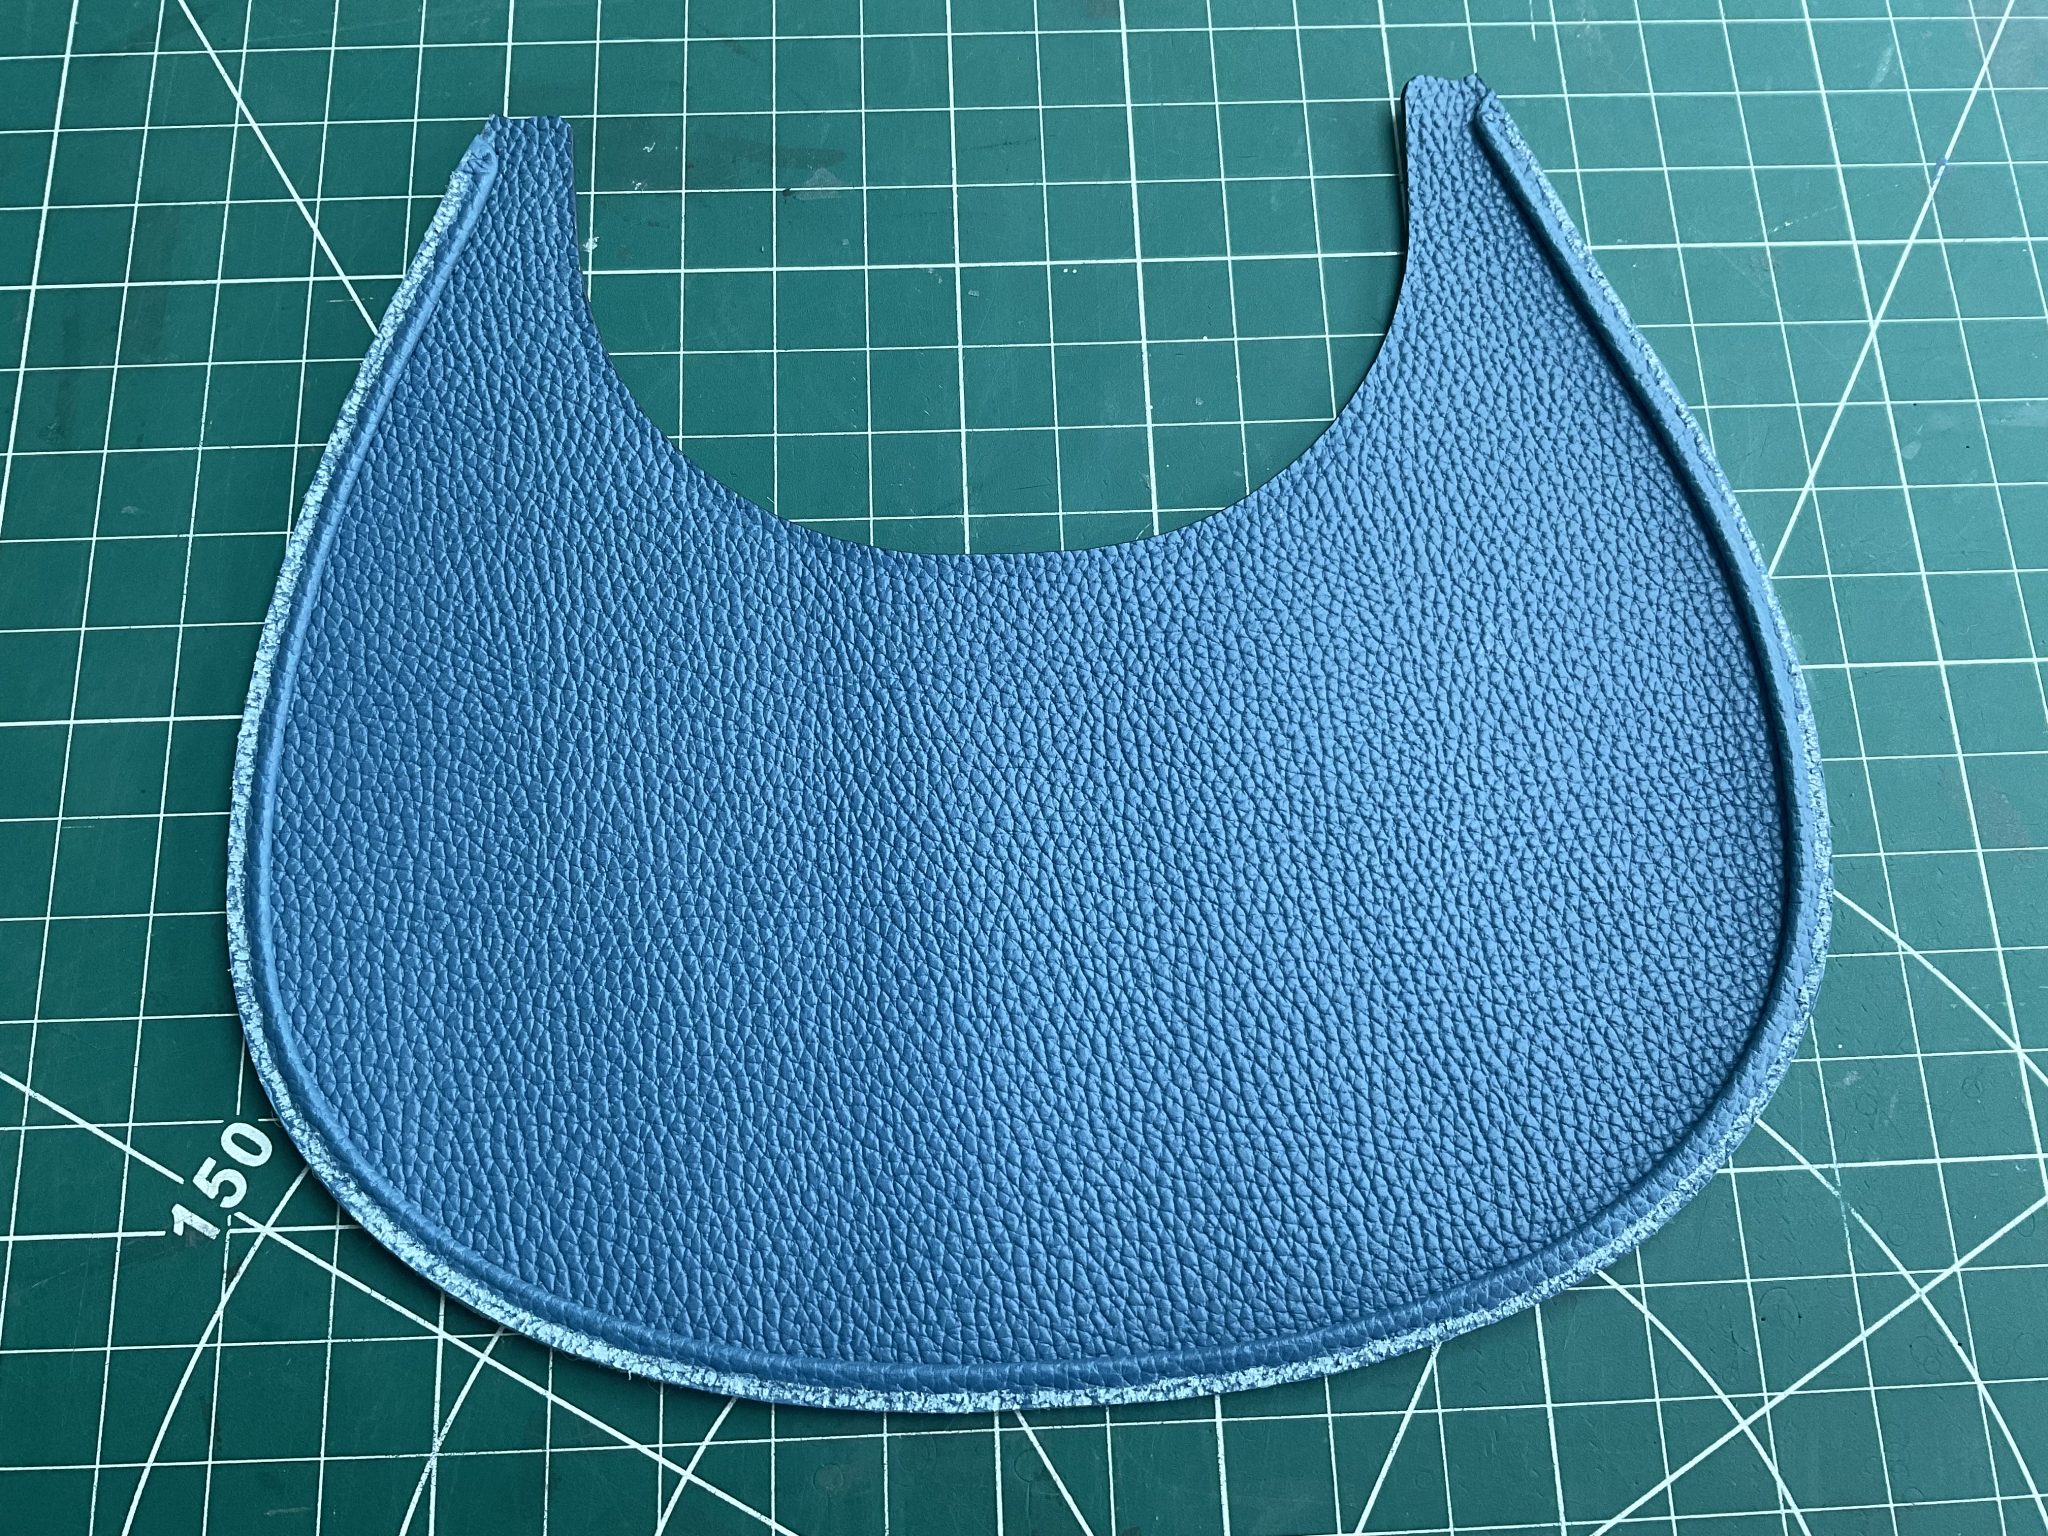
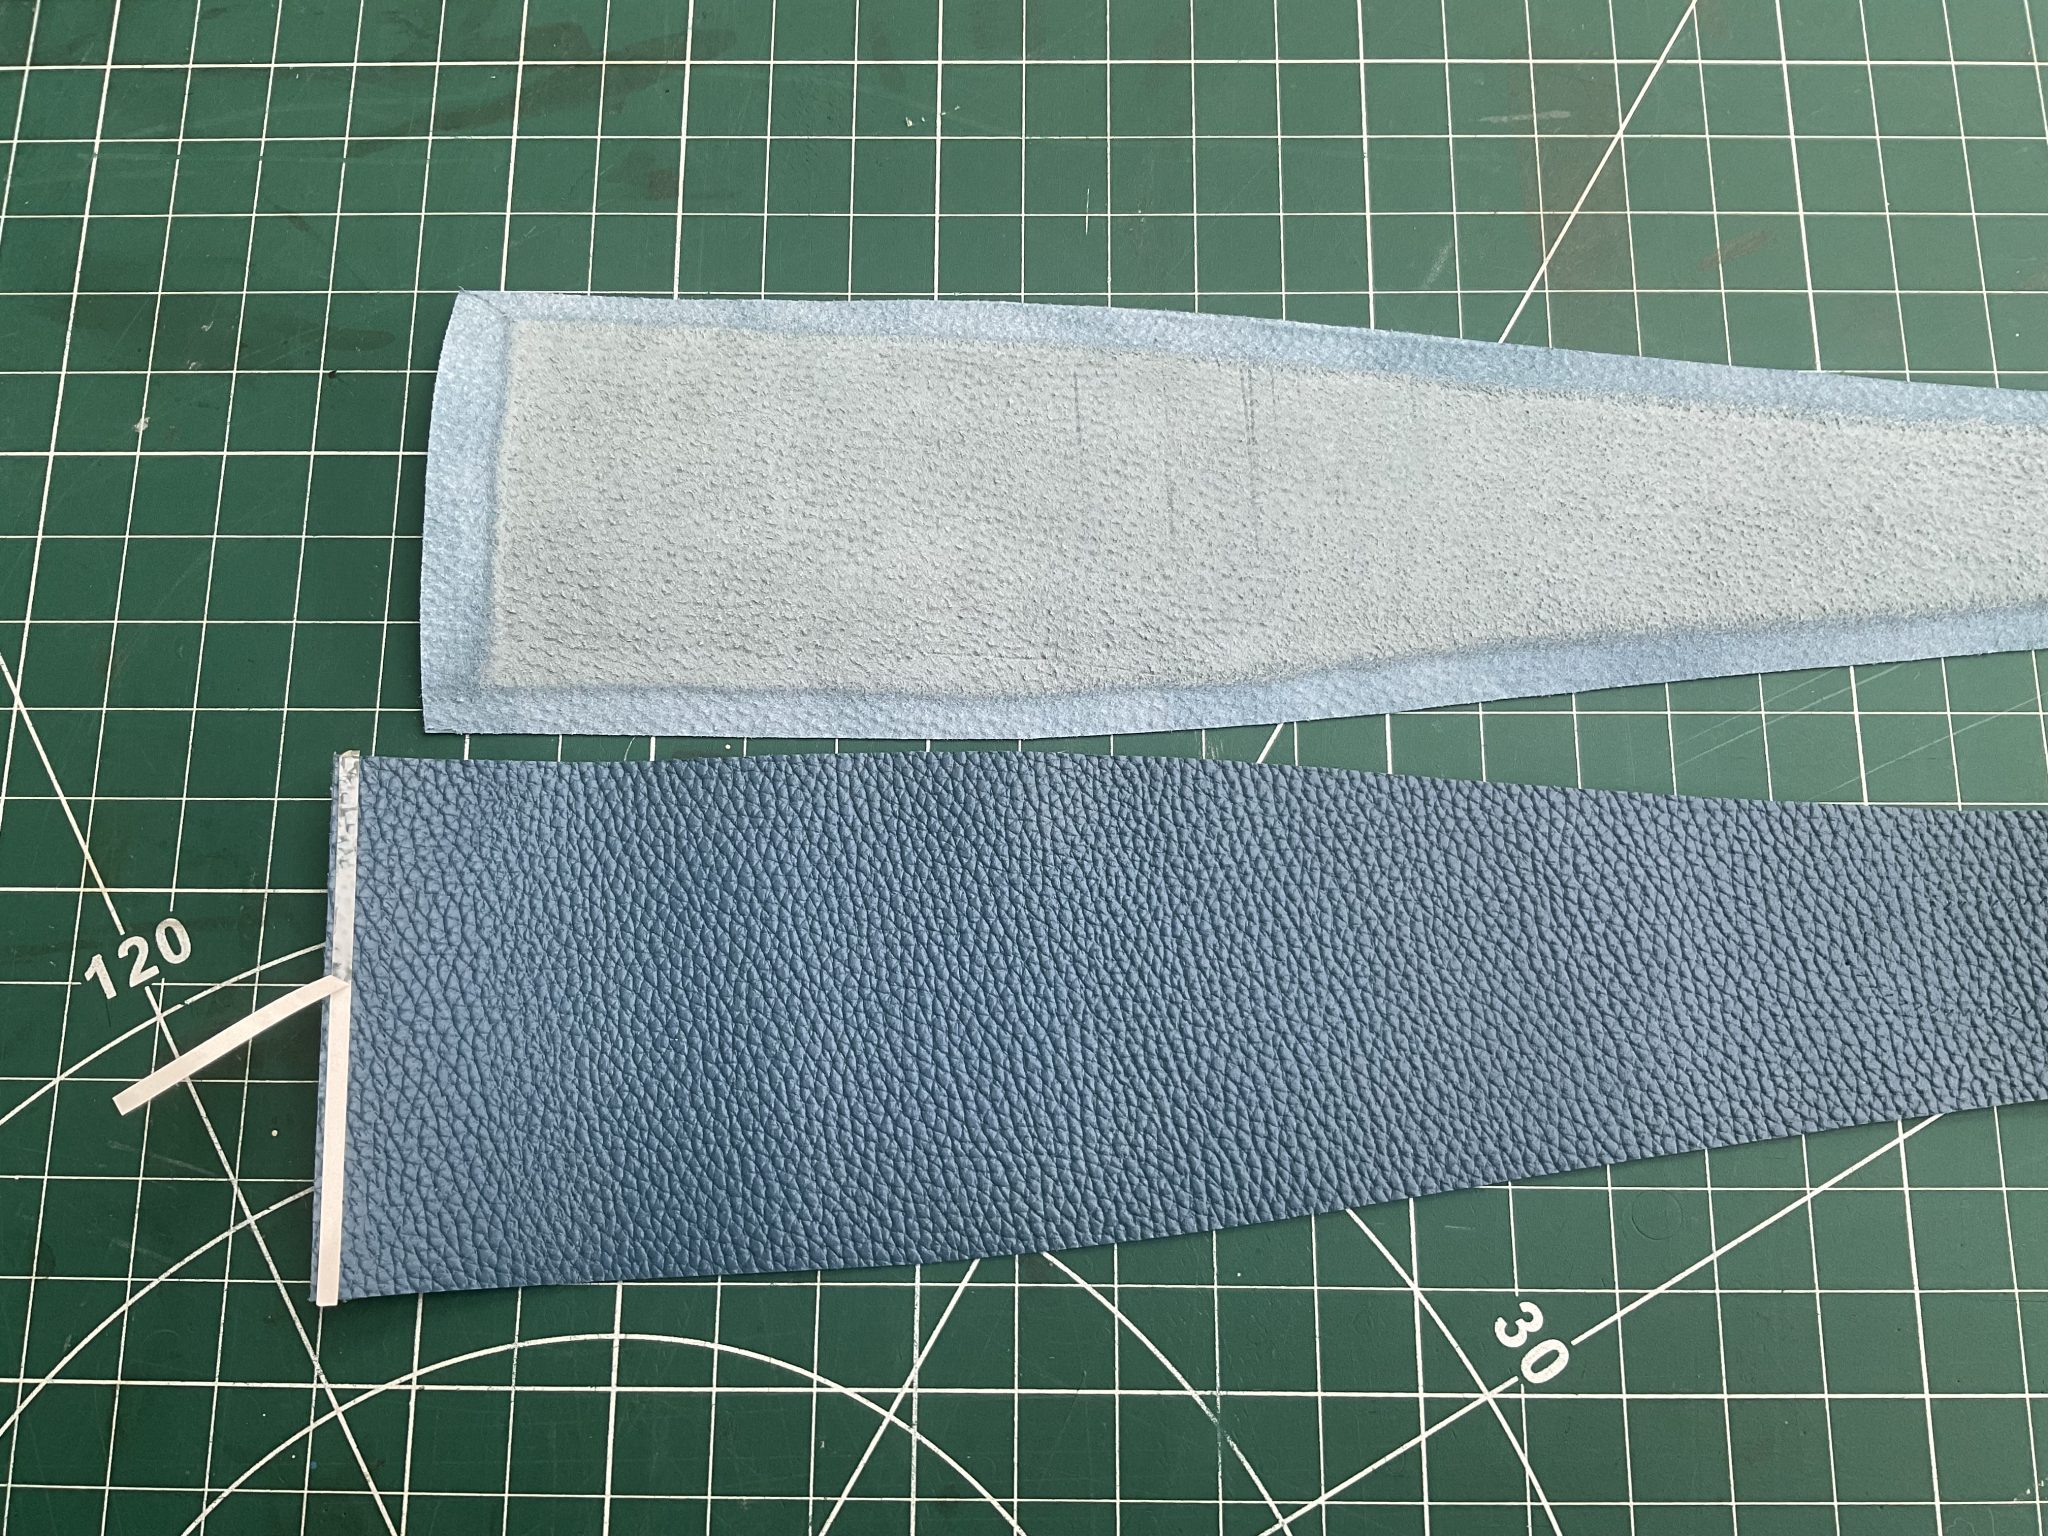
Leather: Michelle Loves Leather hide in Rubi Light Blue 1.5mm
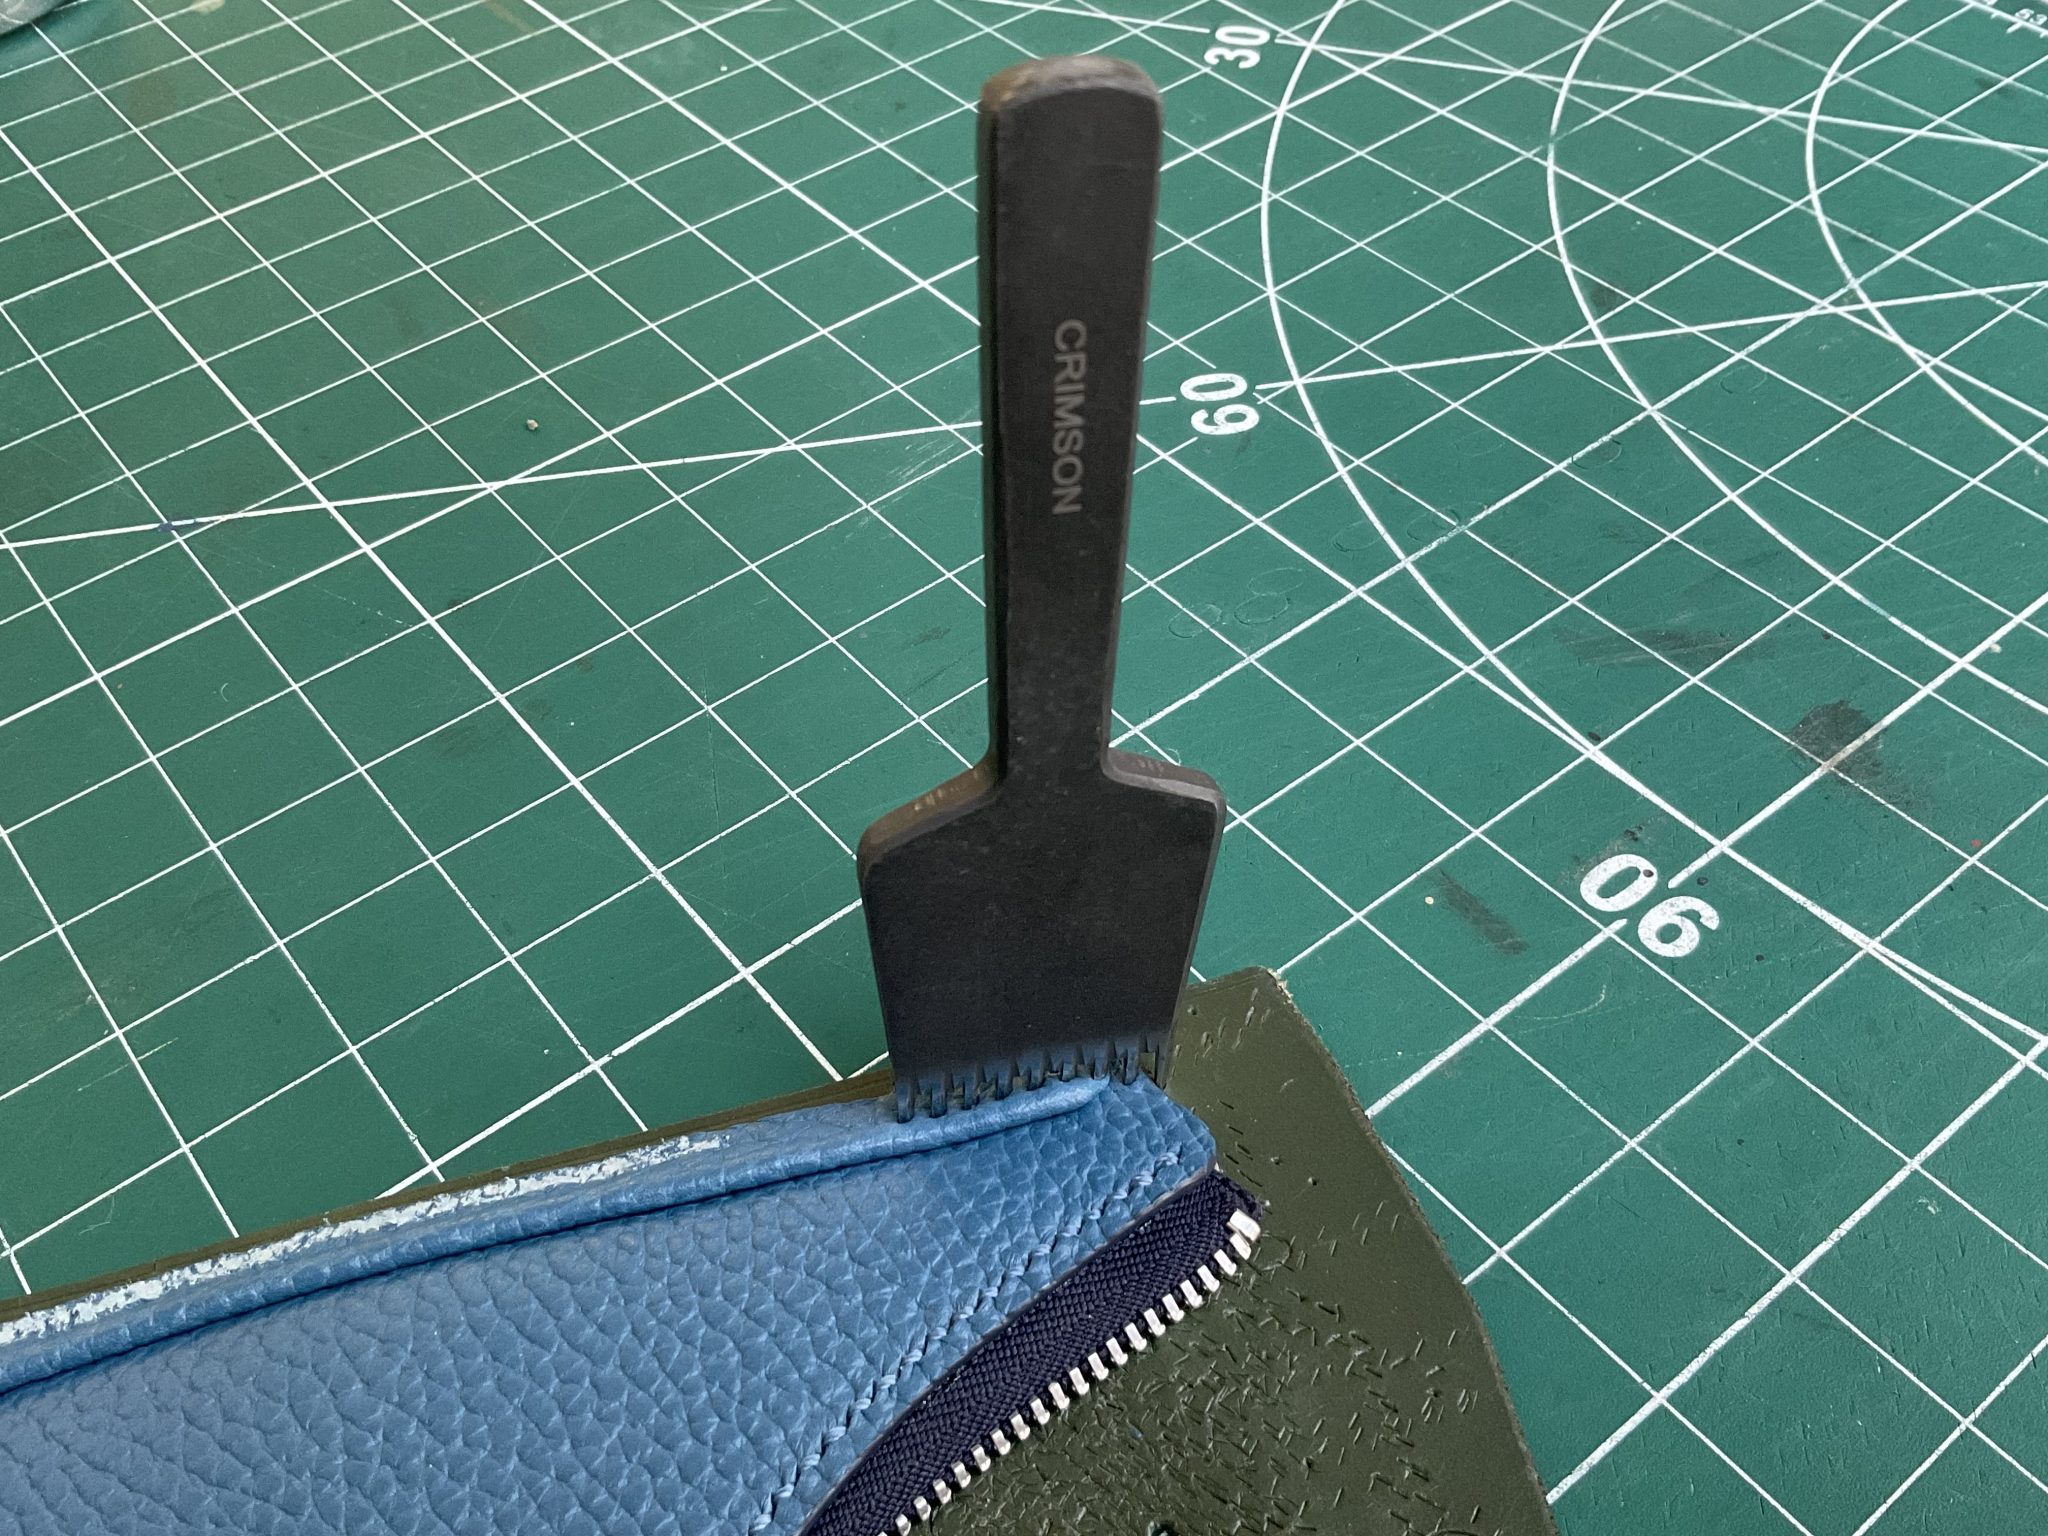
Threads: #1 Vinymo, Colour 179 with stitch length of 3.25mm (with hindsight I’d go for a thread offering a slightly contrasting colour to show off the stitching)
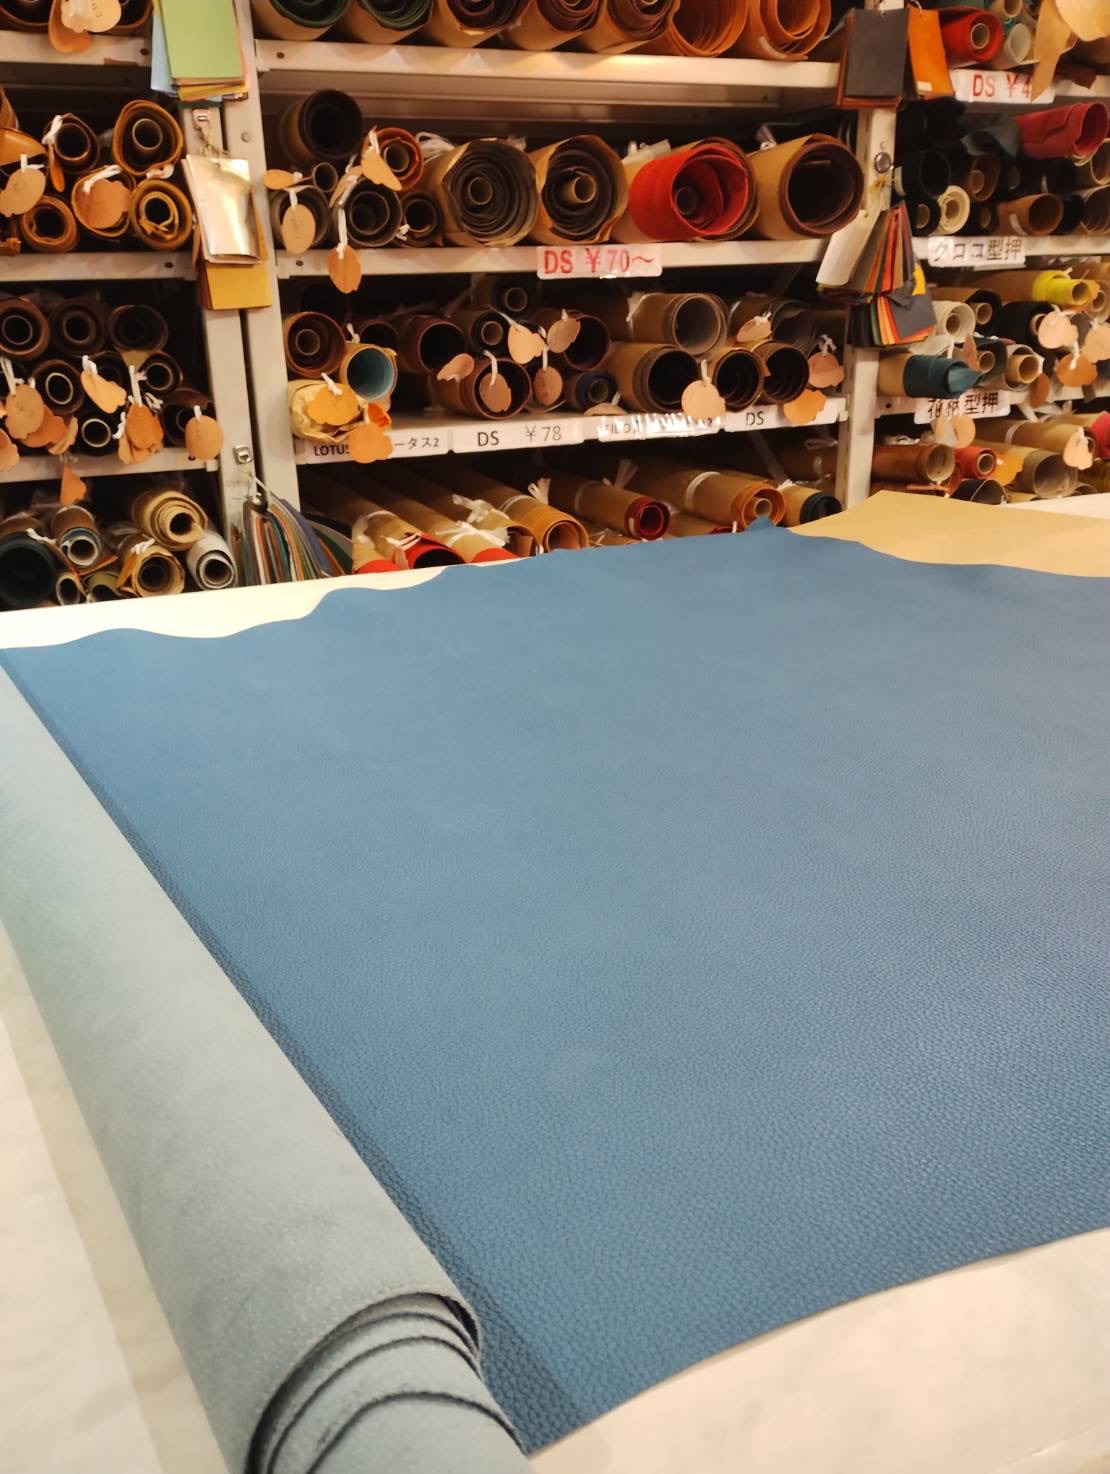
The hide was purchased from Michelle Loves Leather in Himeji, Japan when visiting their tannery
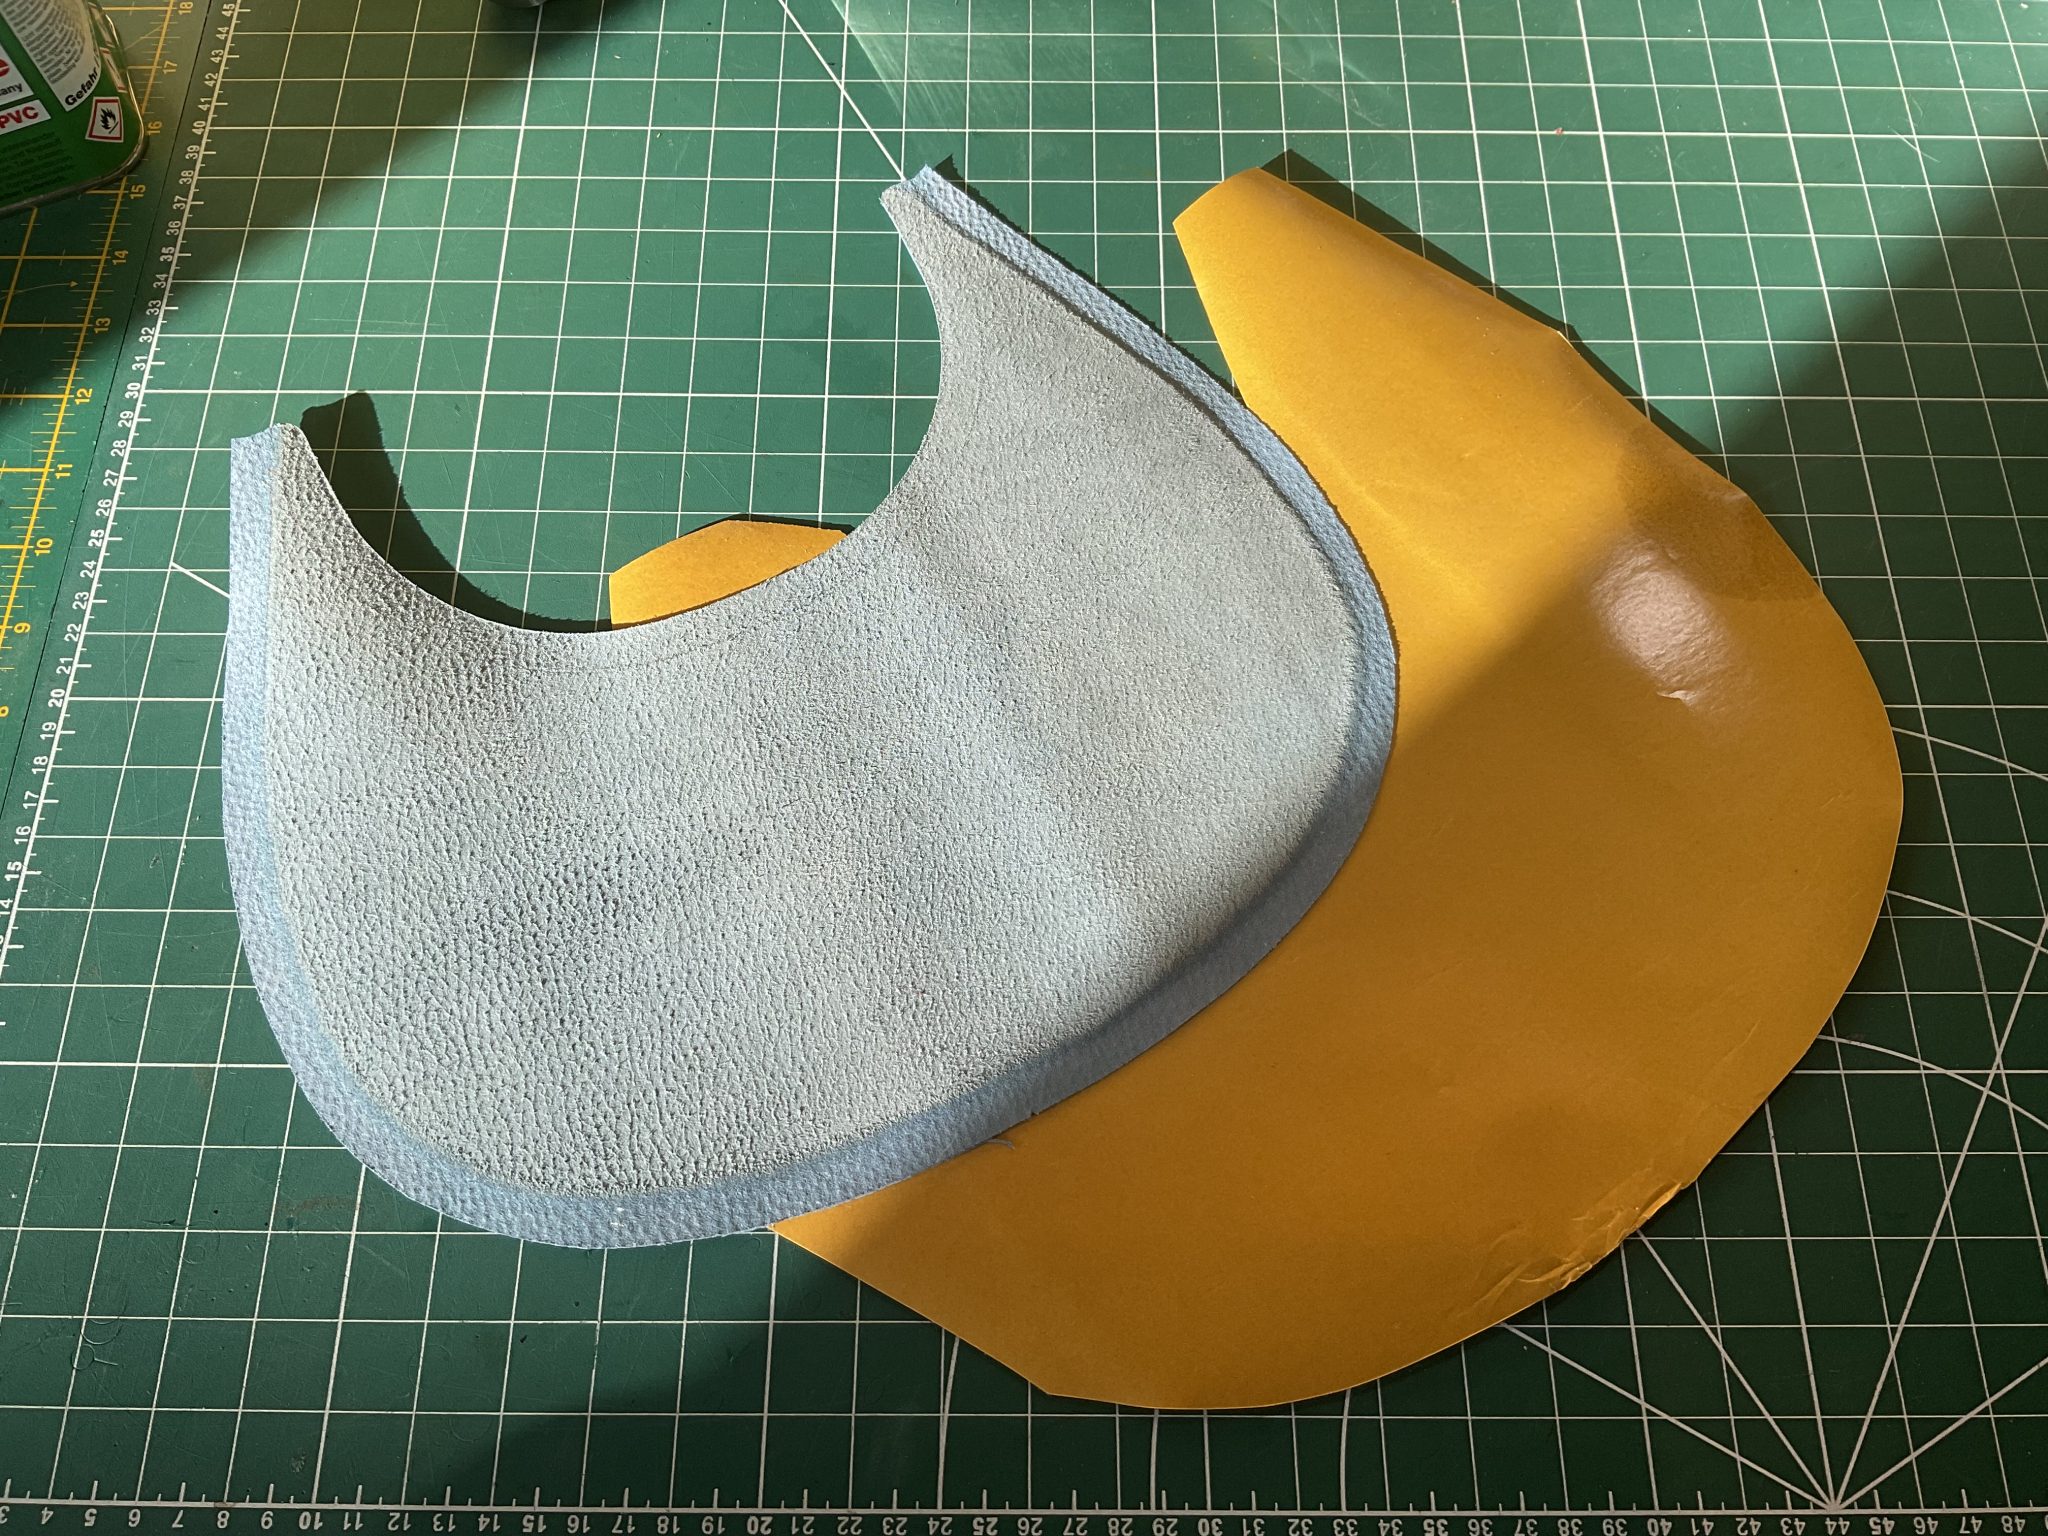
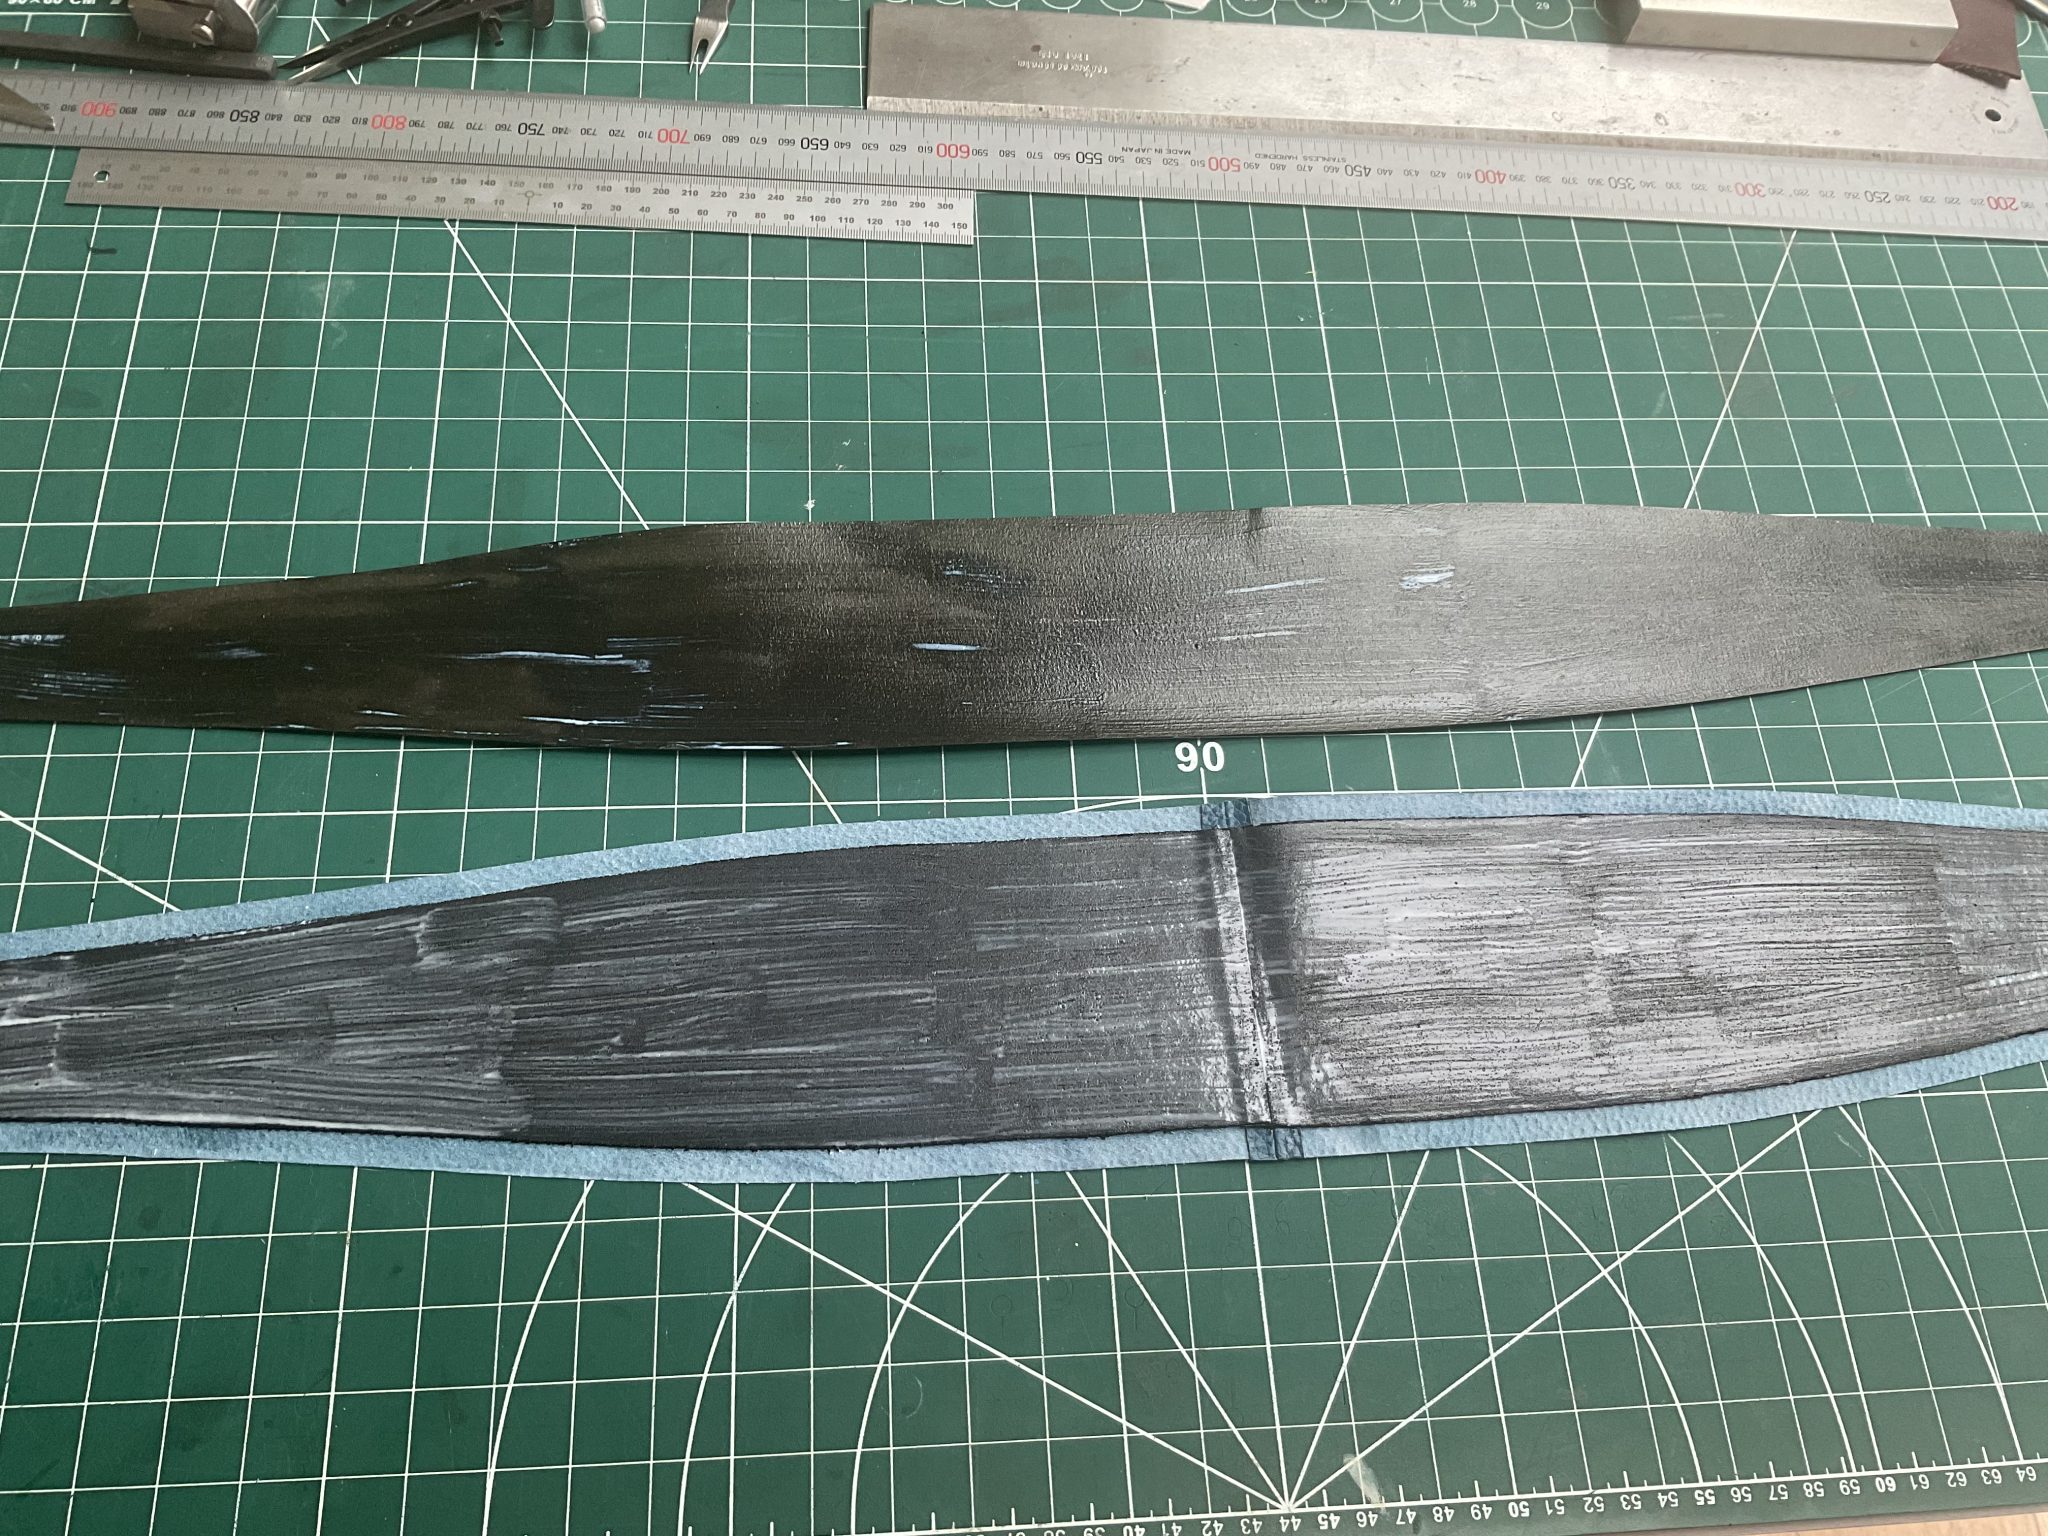
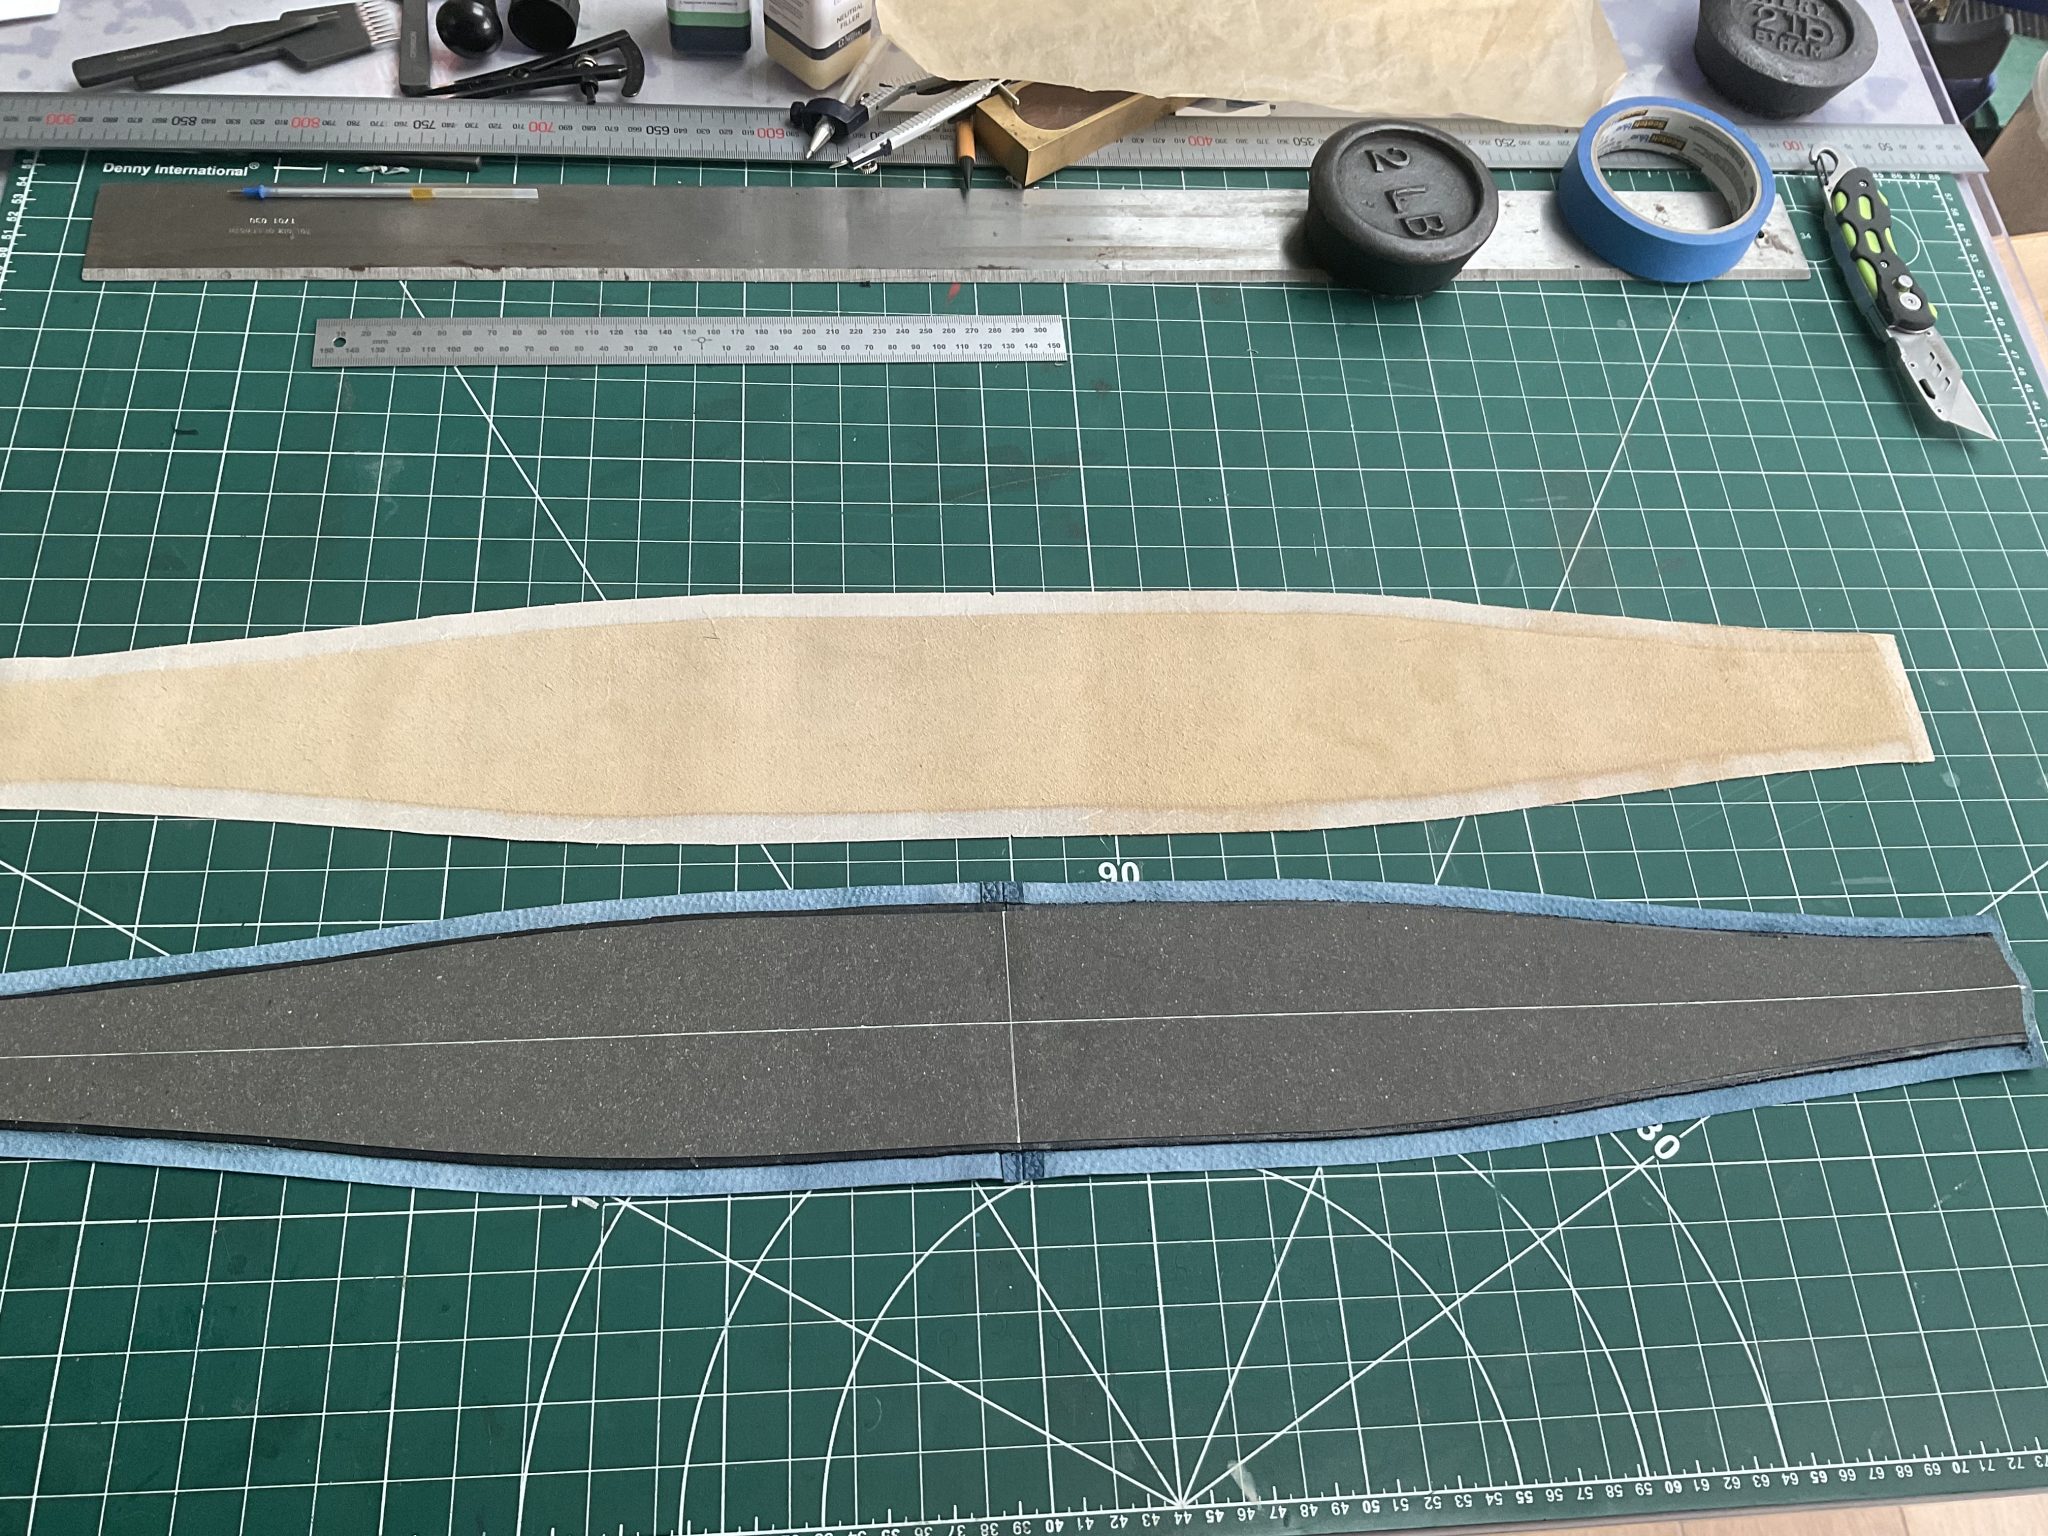
The front and rear panels are lined with 1.5mm self-adhesive foam to give a more luxurious feel.
The outer 10mm of the panels was skived down to 0.7mm at the edges.
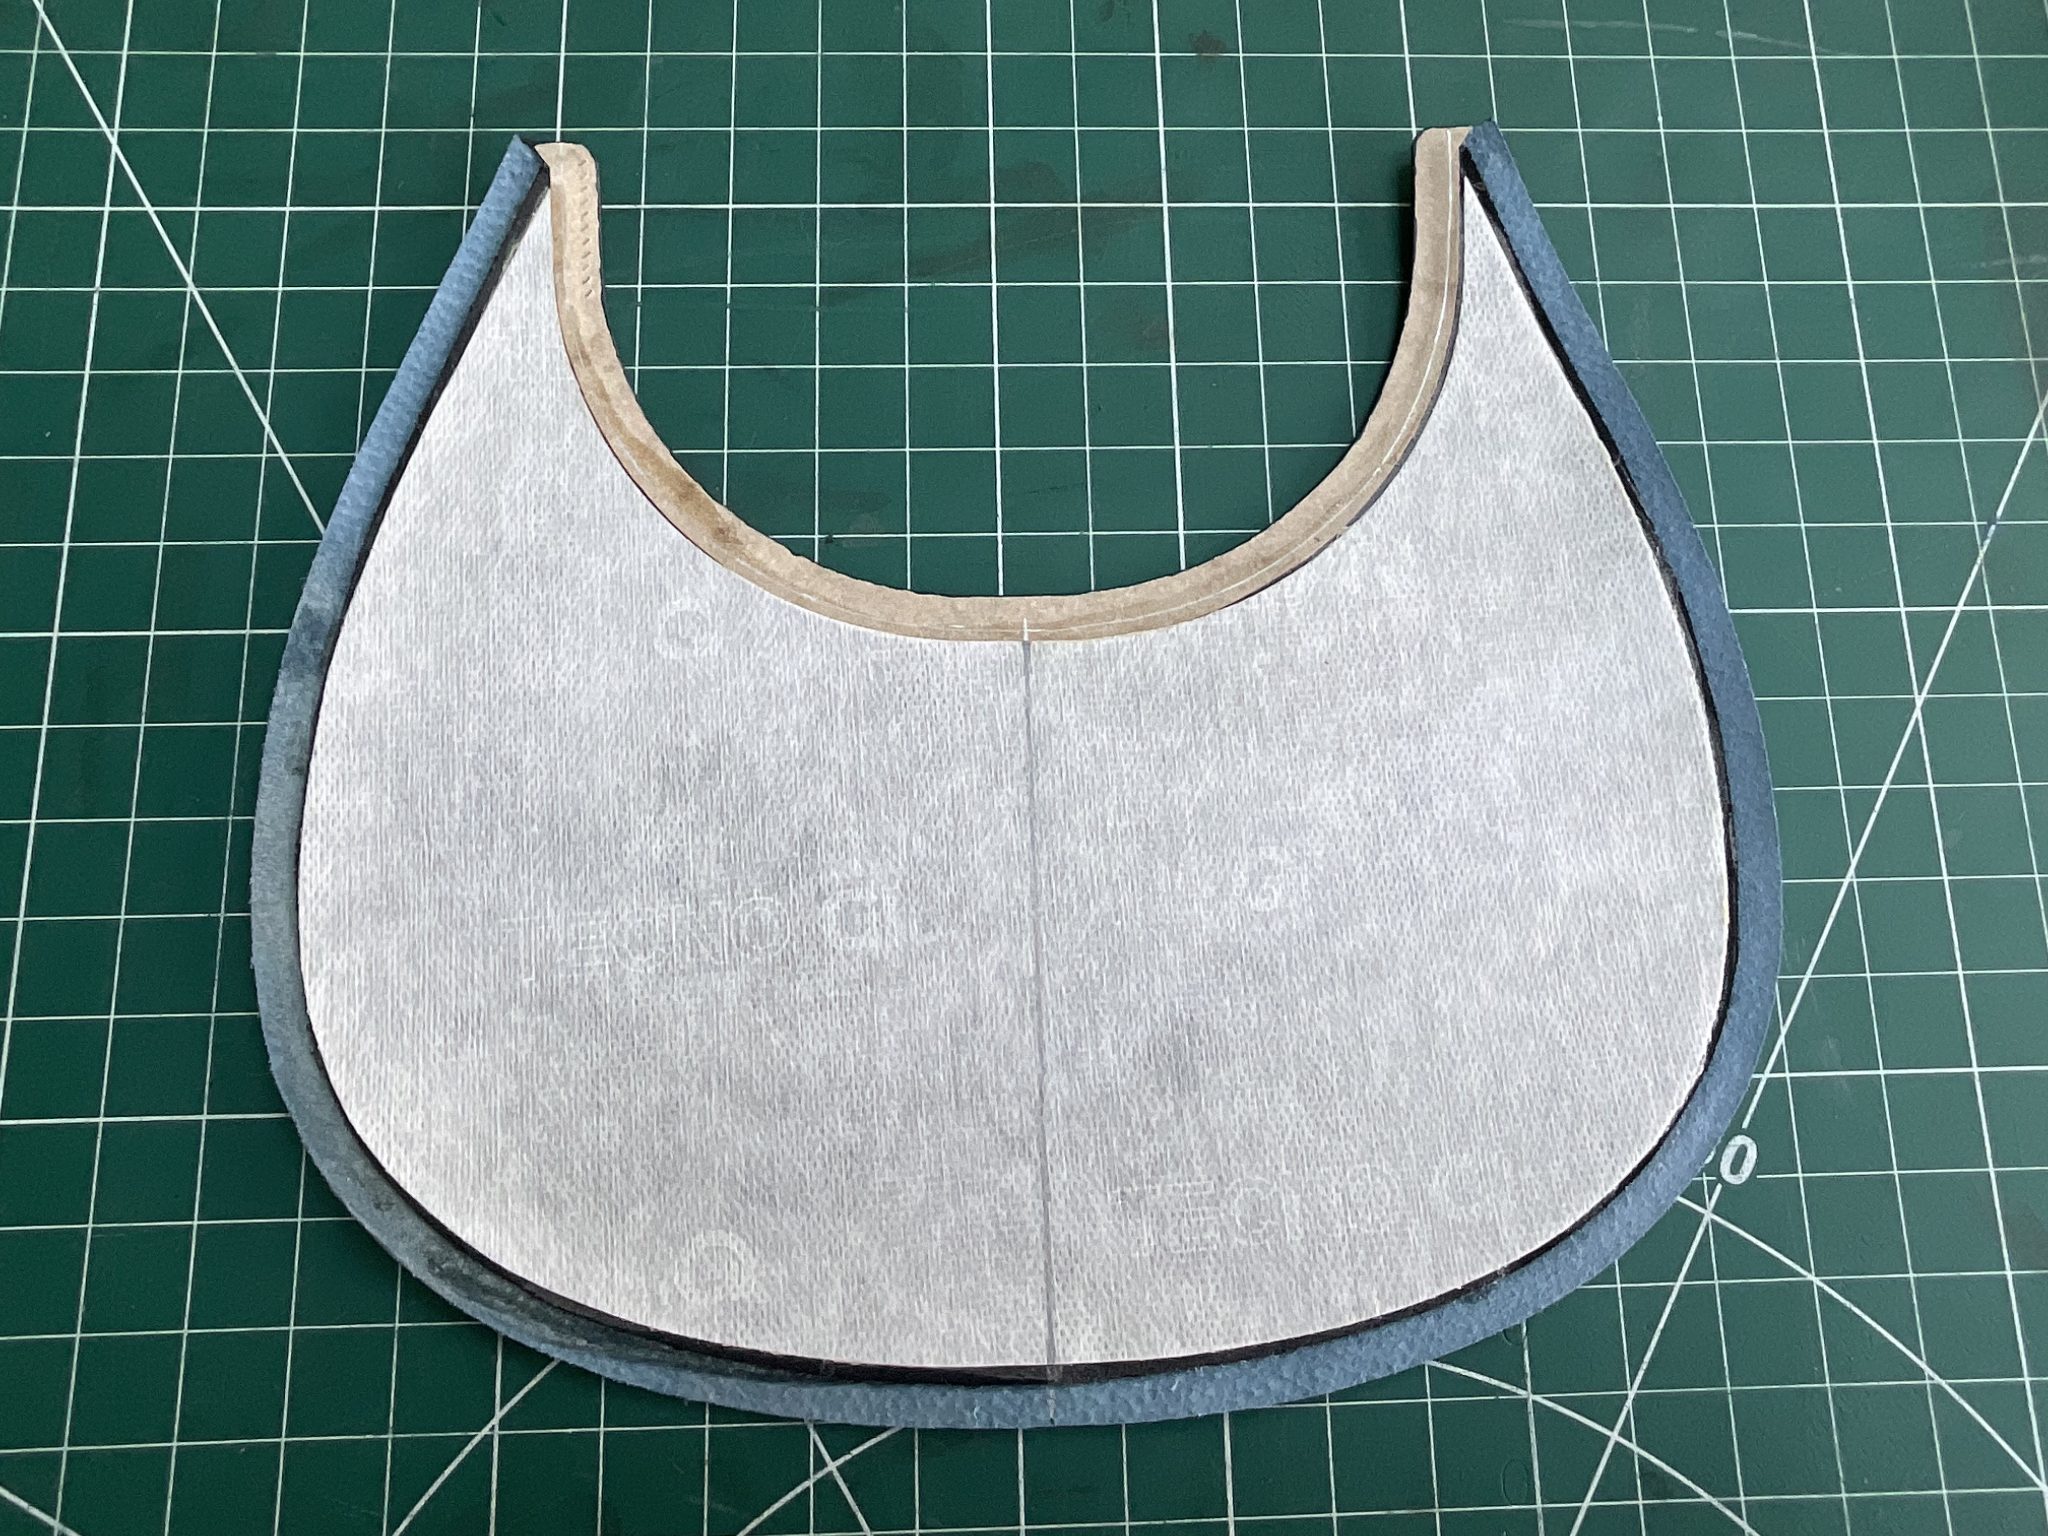
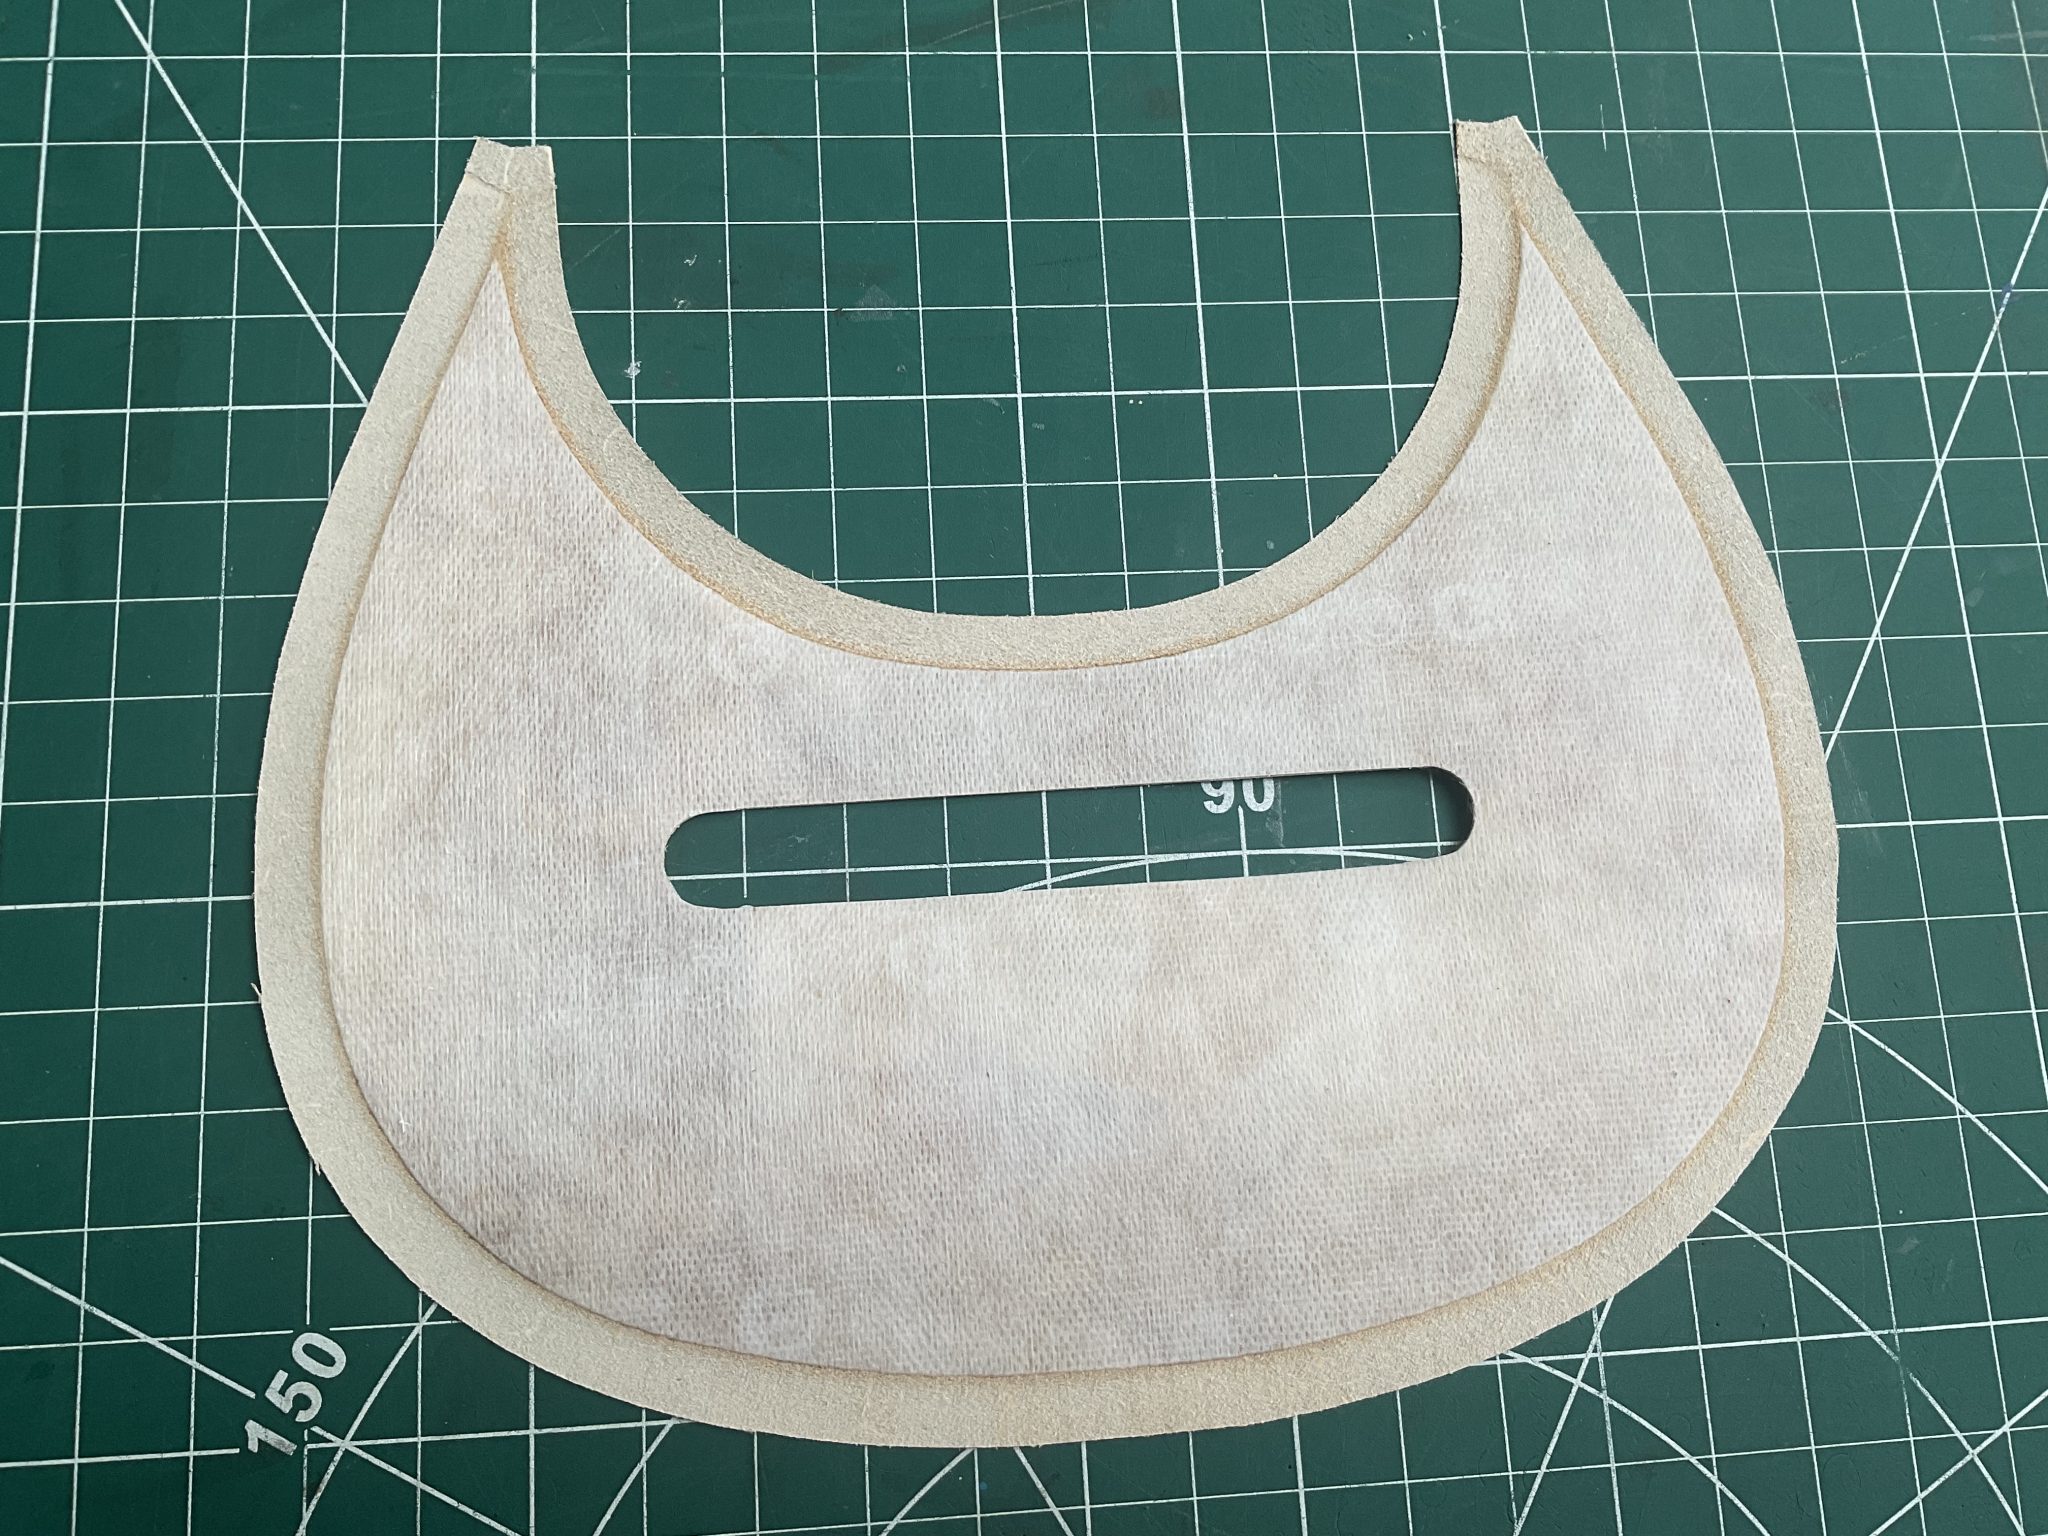
Renia contact adhesive was applied to the leather panels even though the foam has a self-adhesive backing. This is to ensure a really good bond.

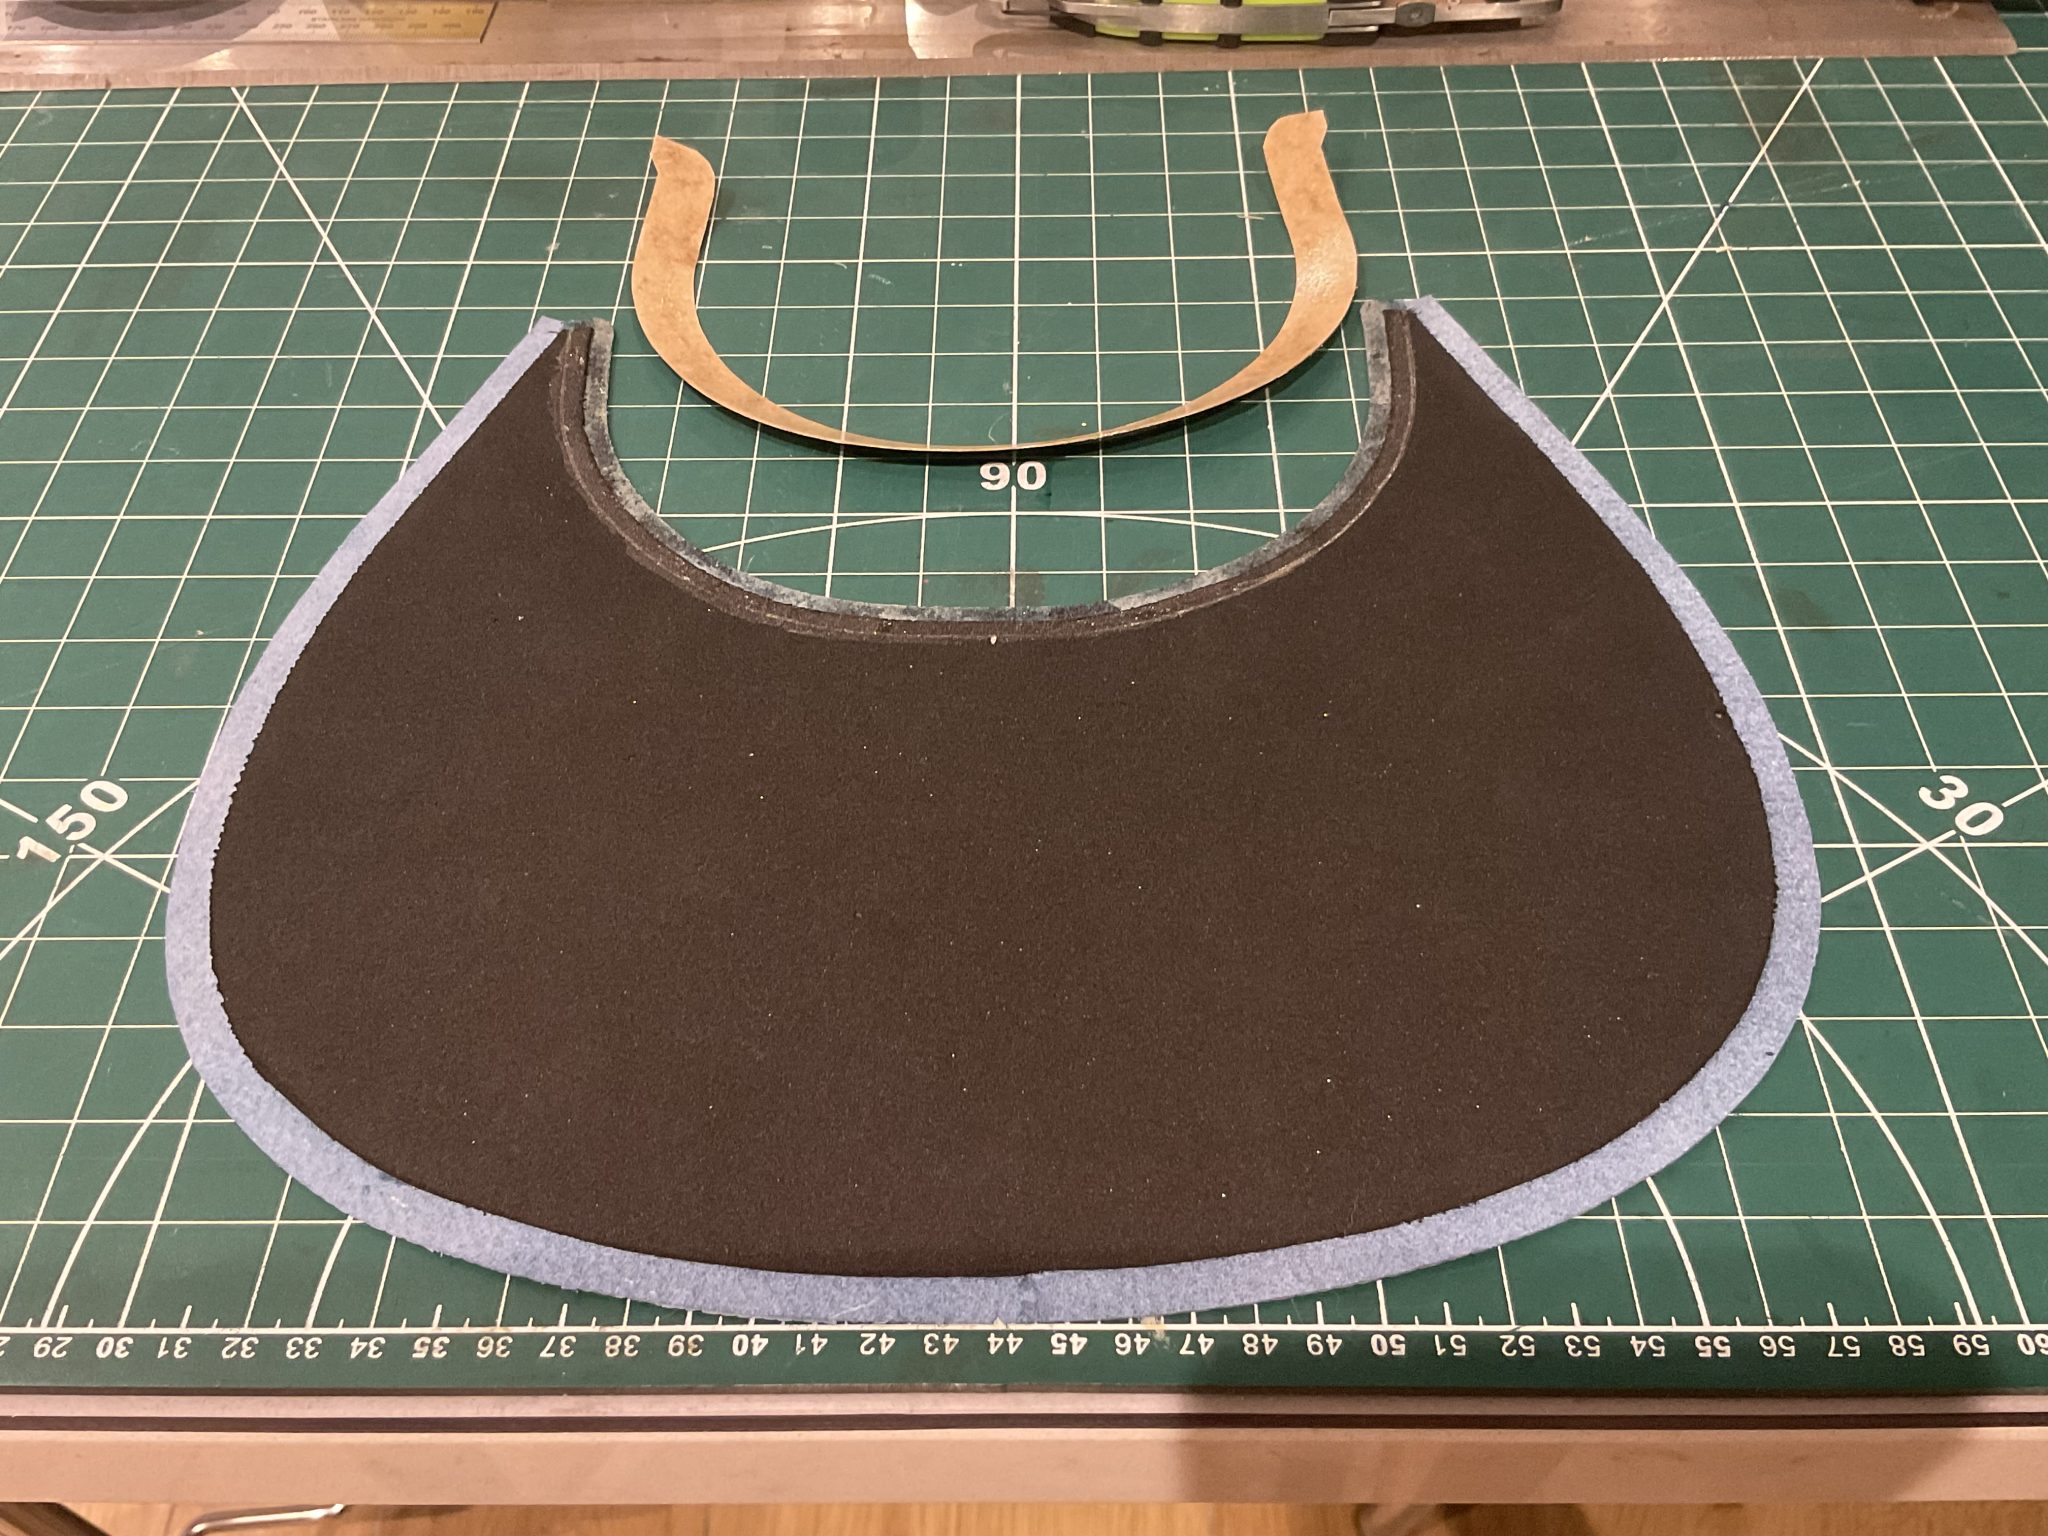
The foam was cut oversized to ease application.
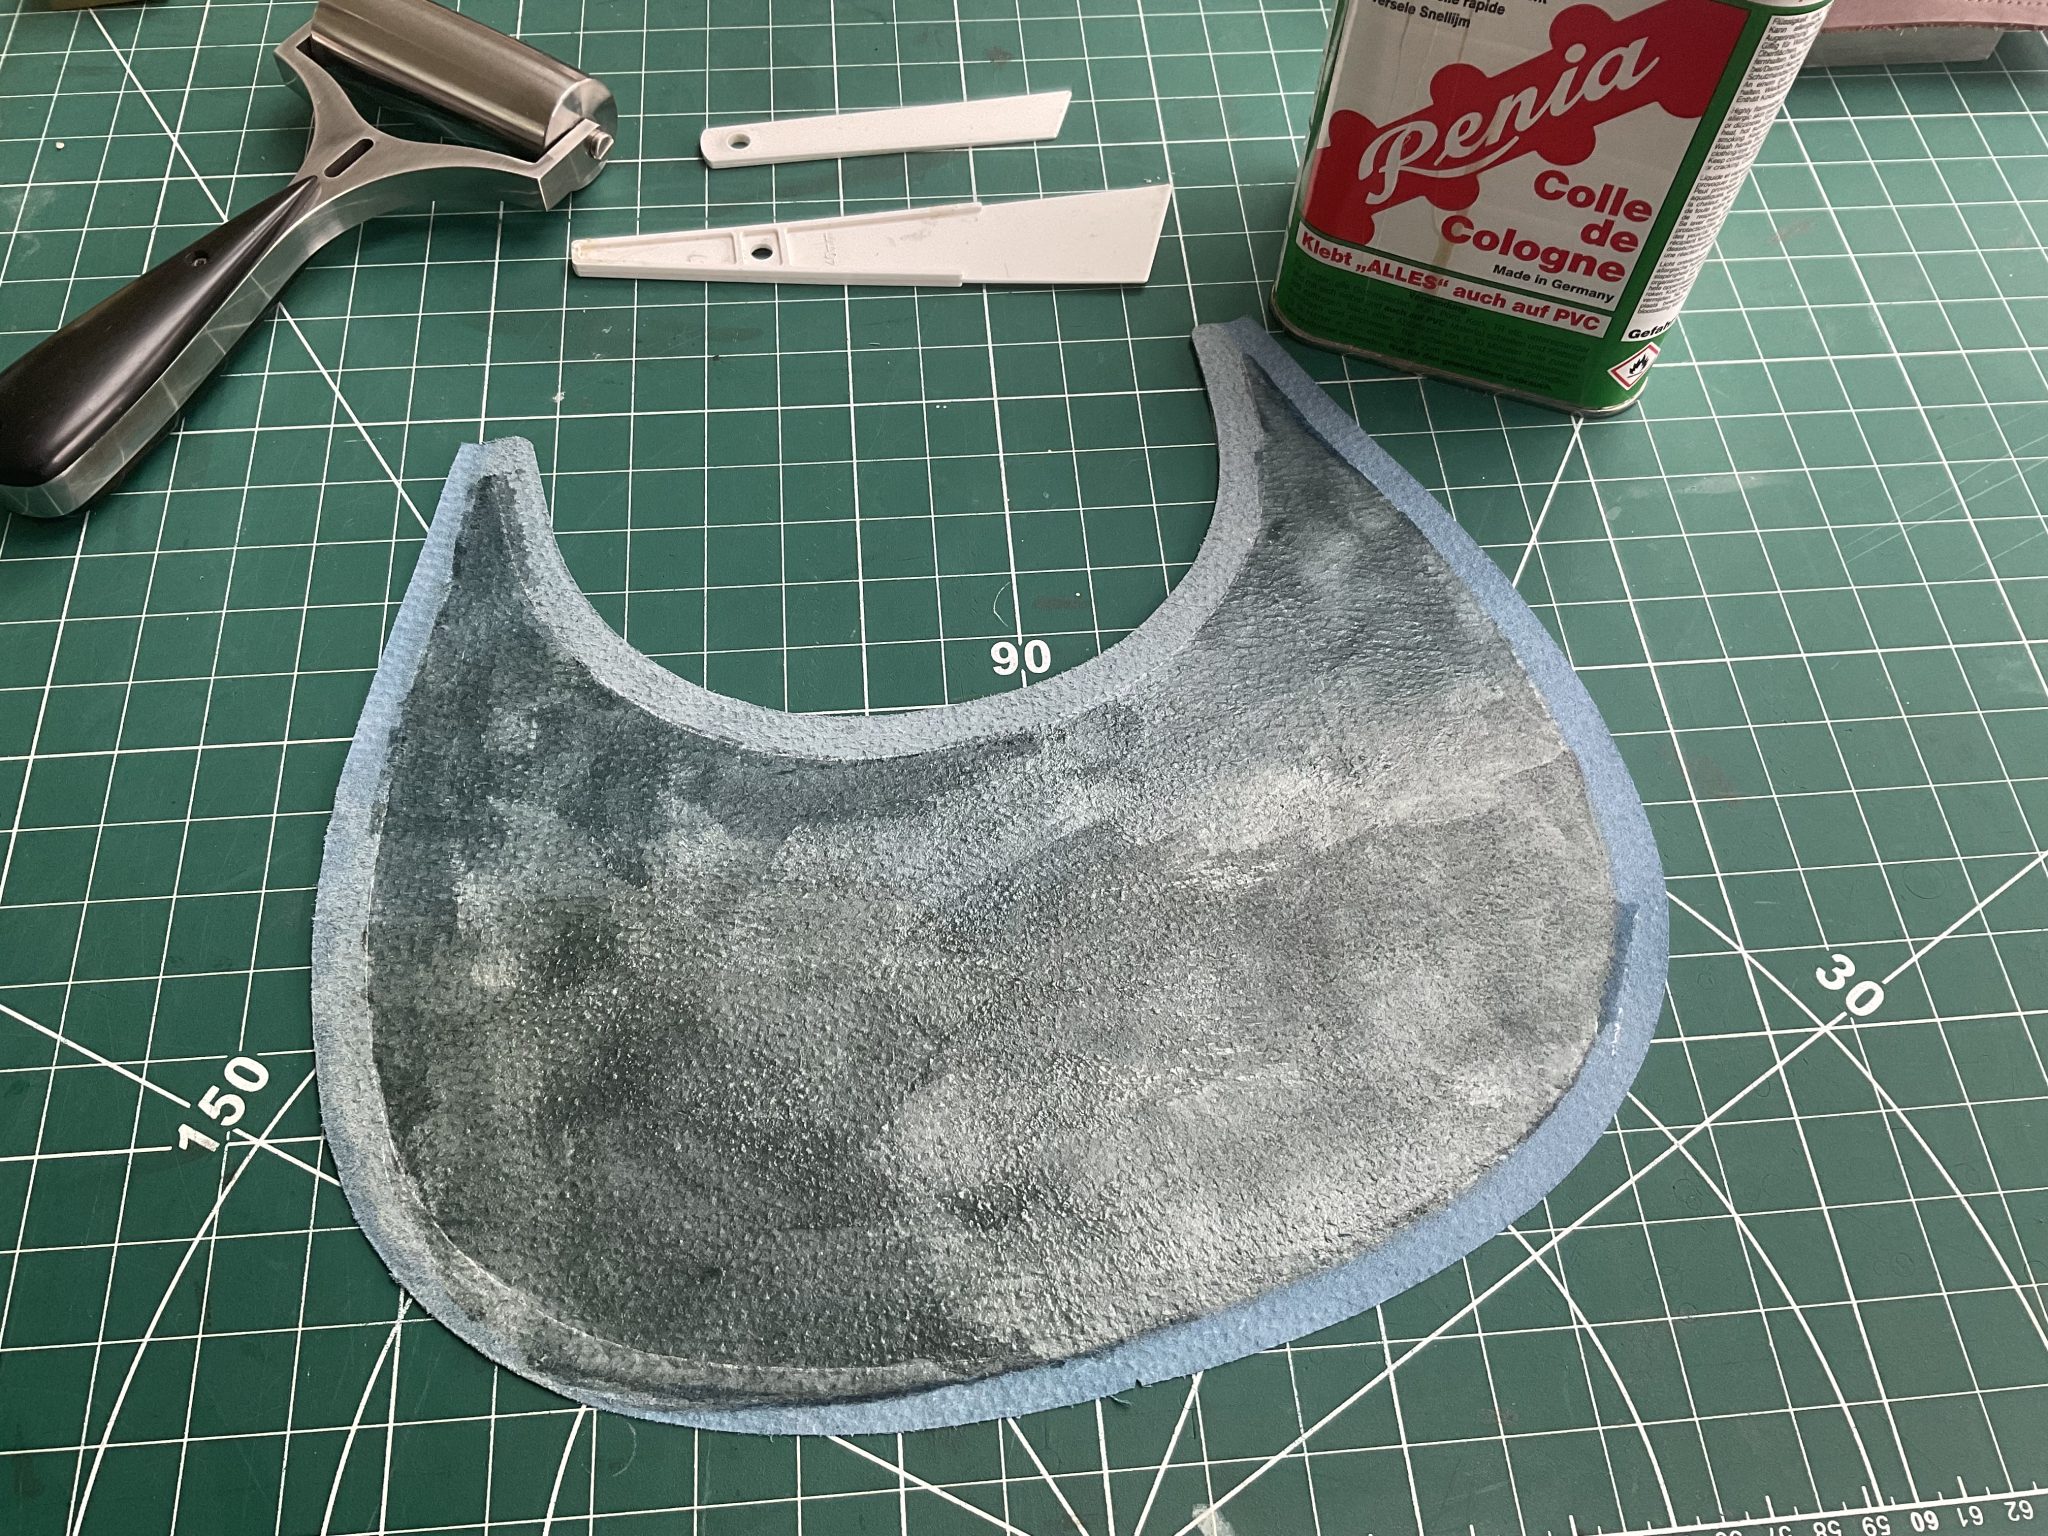
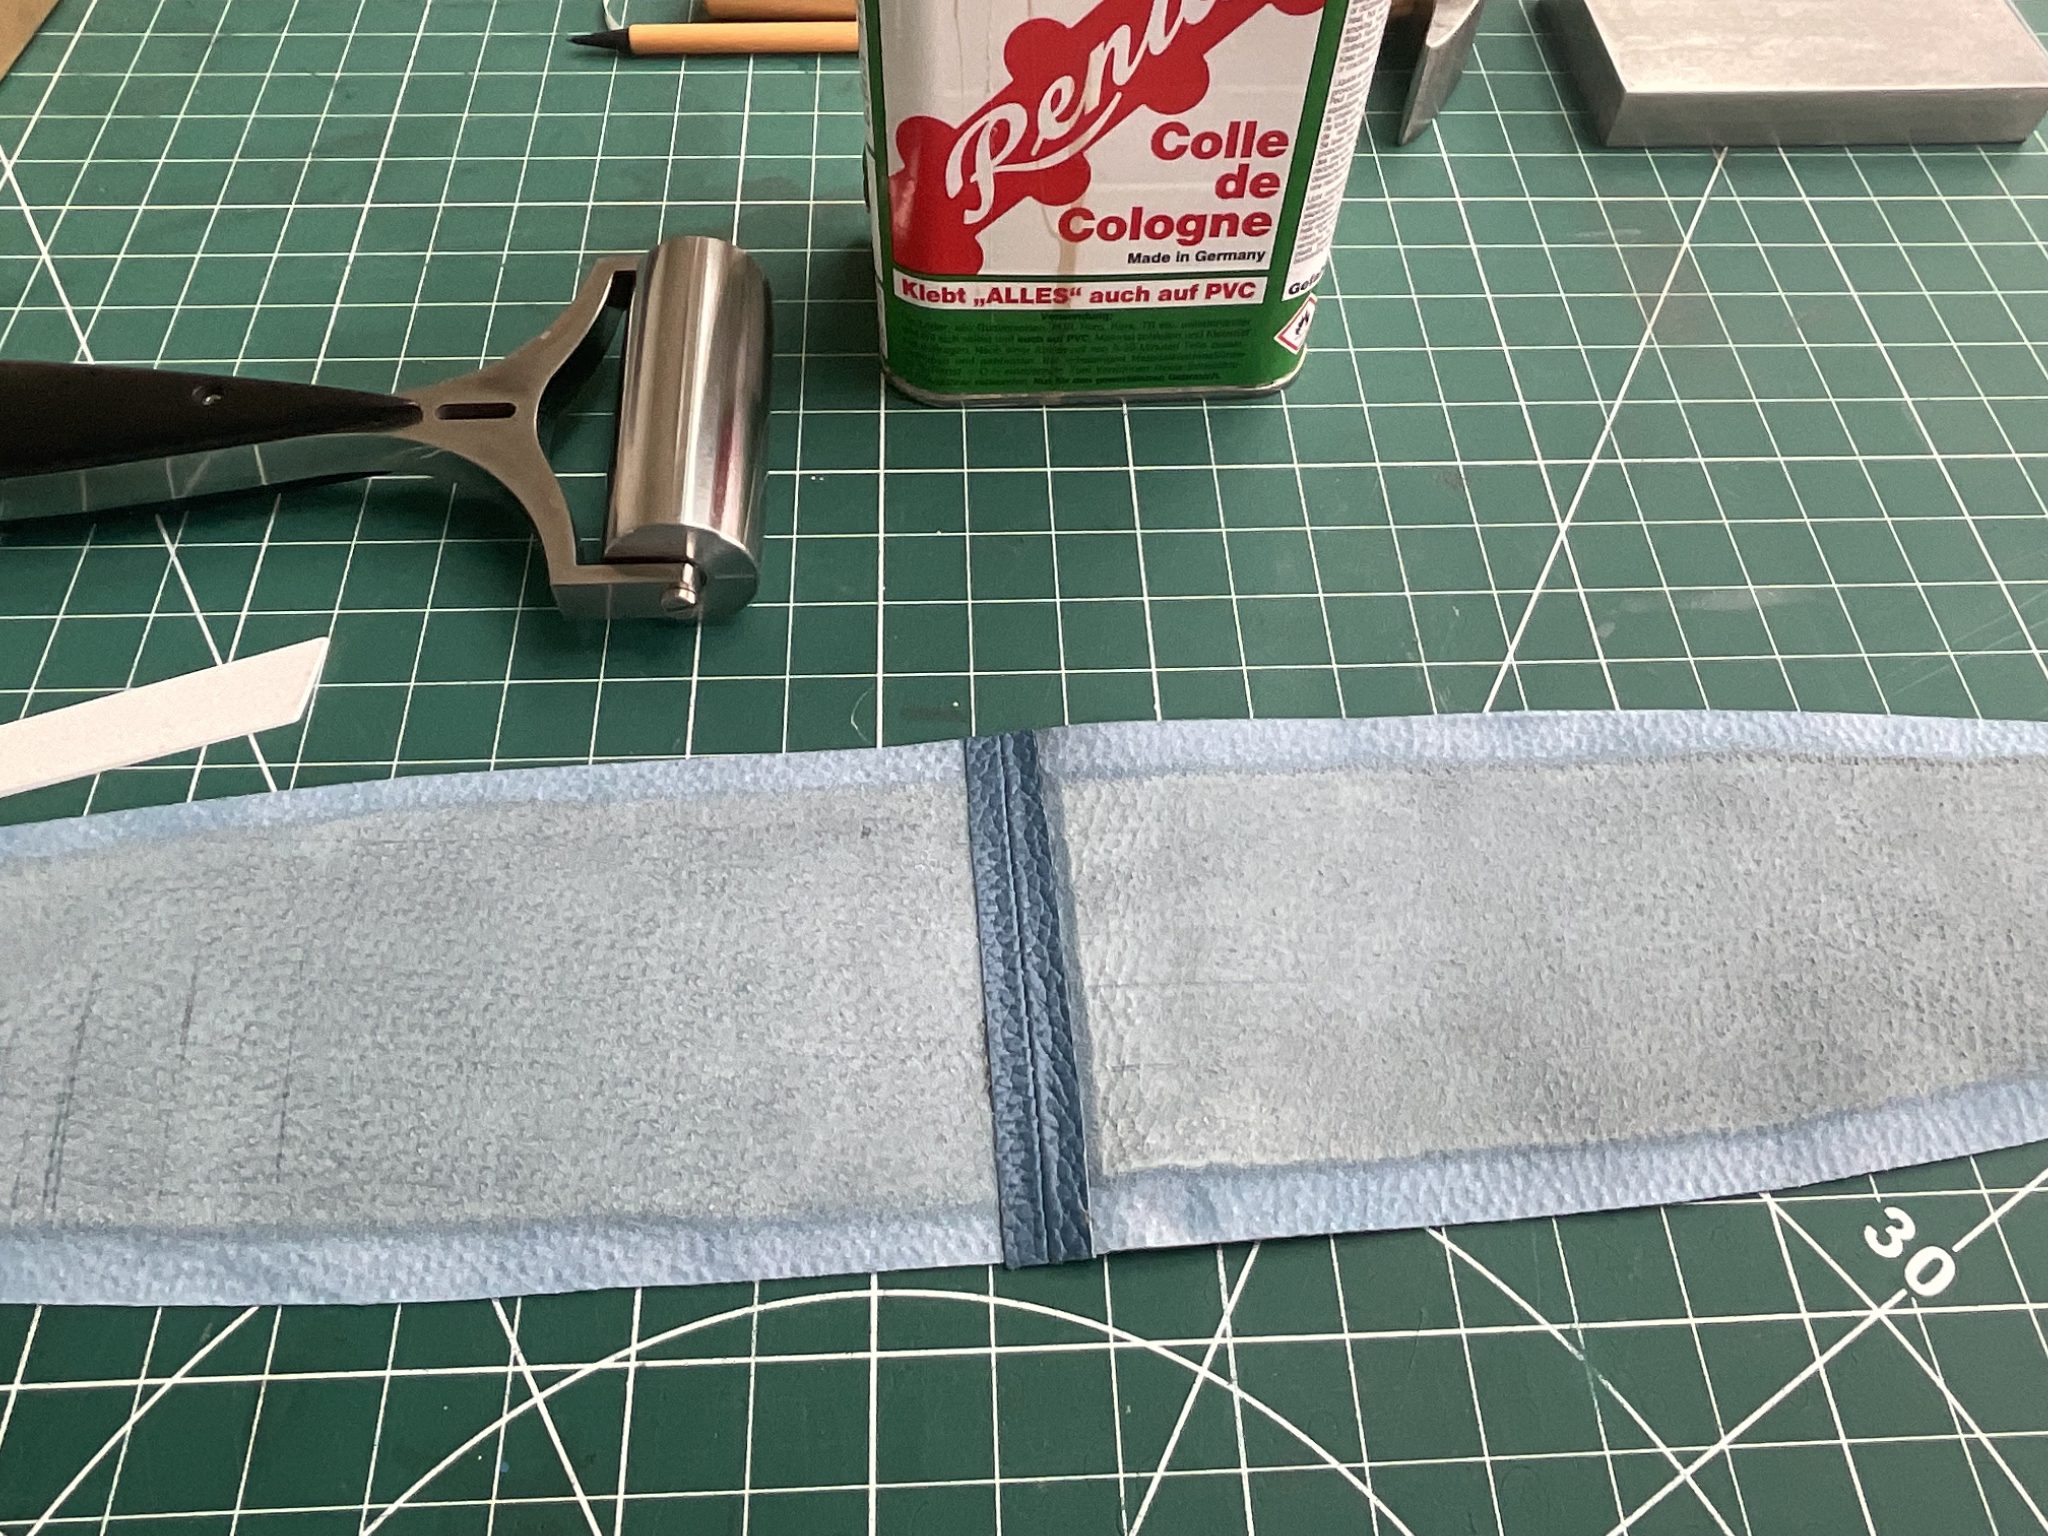
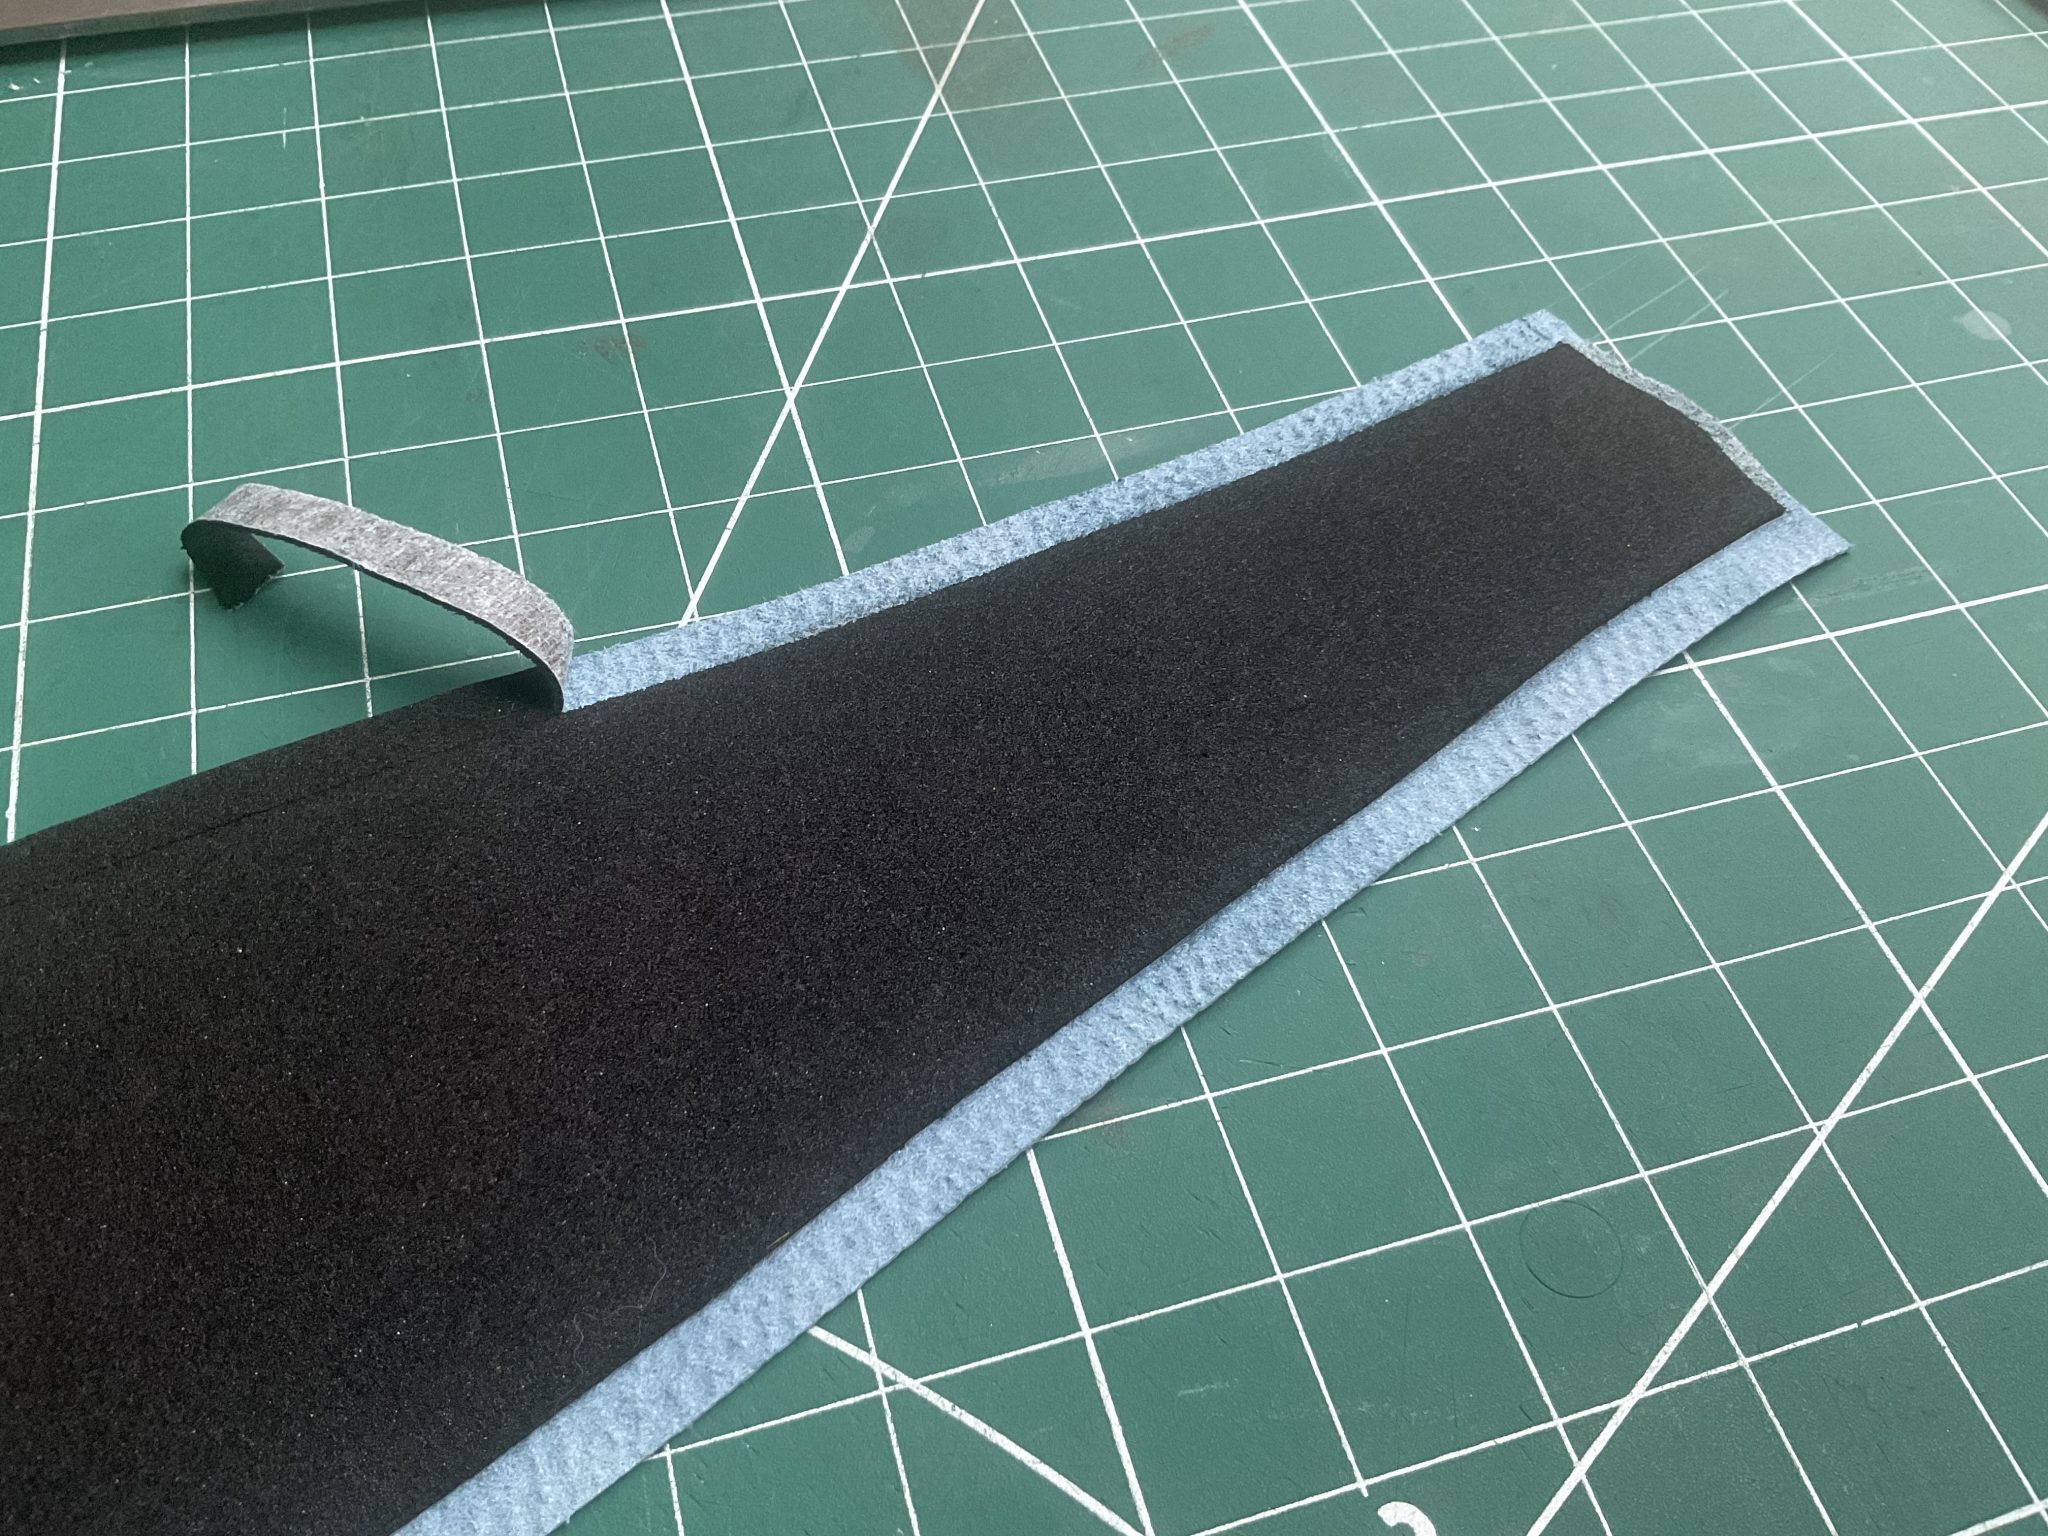
The foam is then trimmed back afterwards.
The outer edge of the foam, 9mm around the edges and 5mm along the top edge, was removed as these are the seam areas.
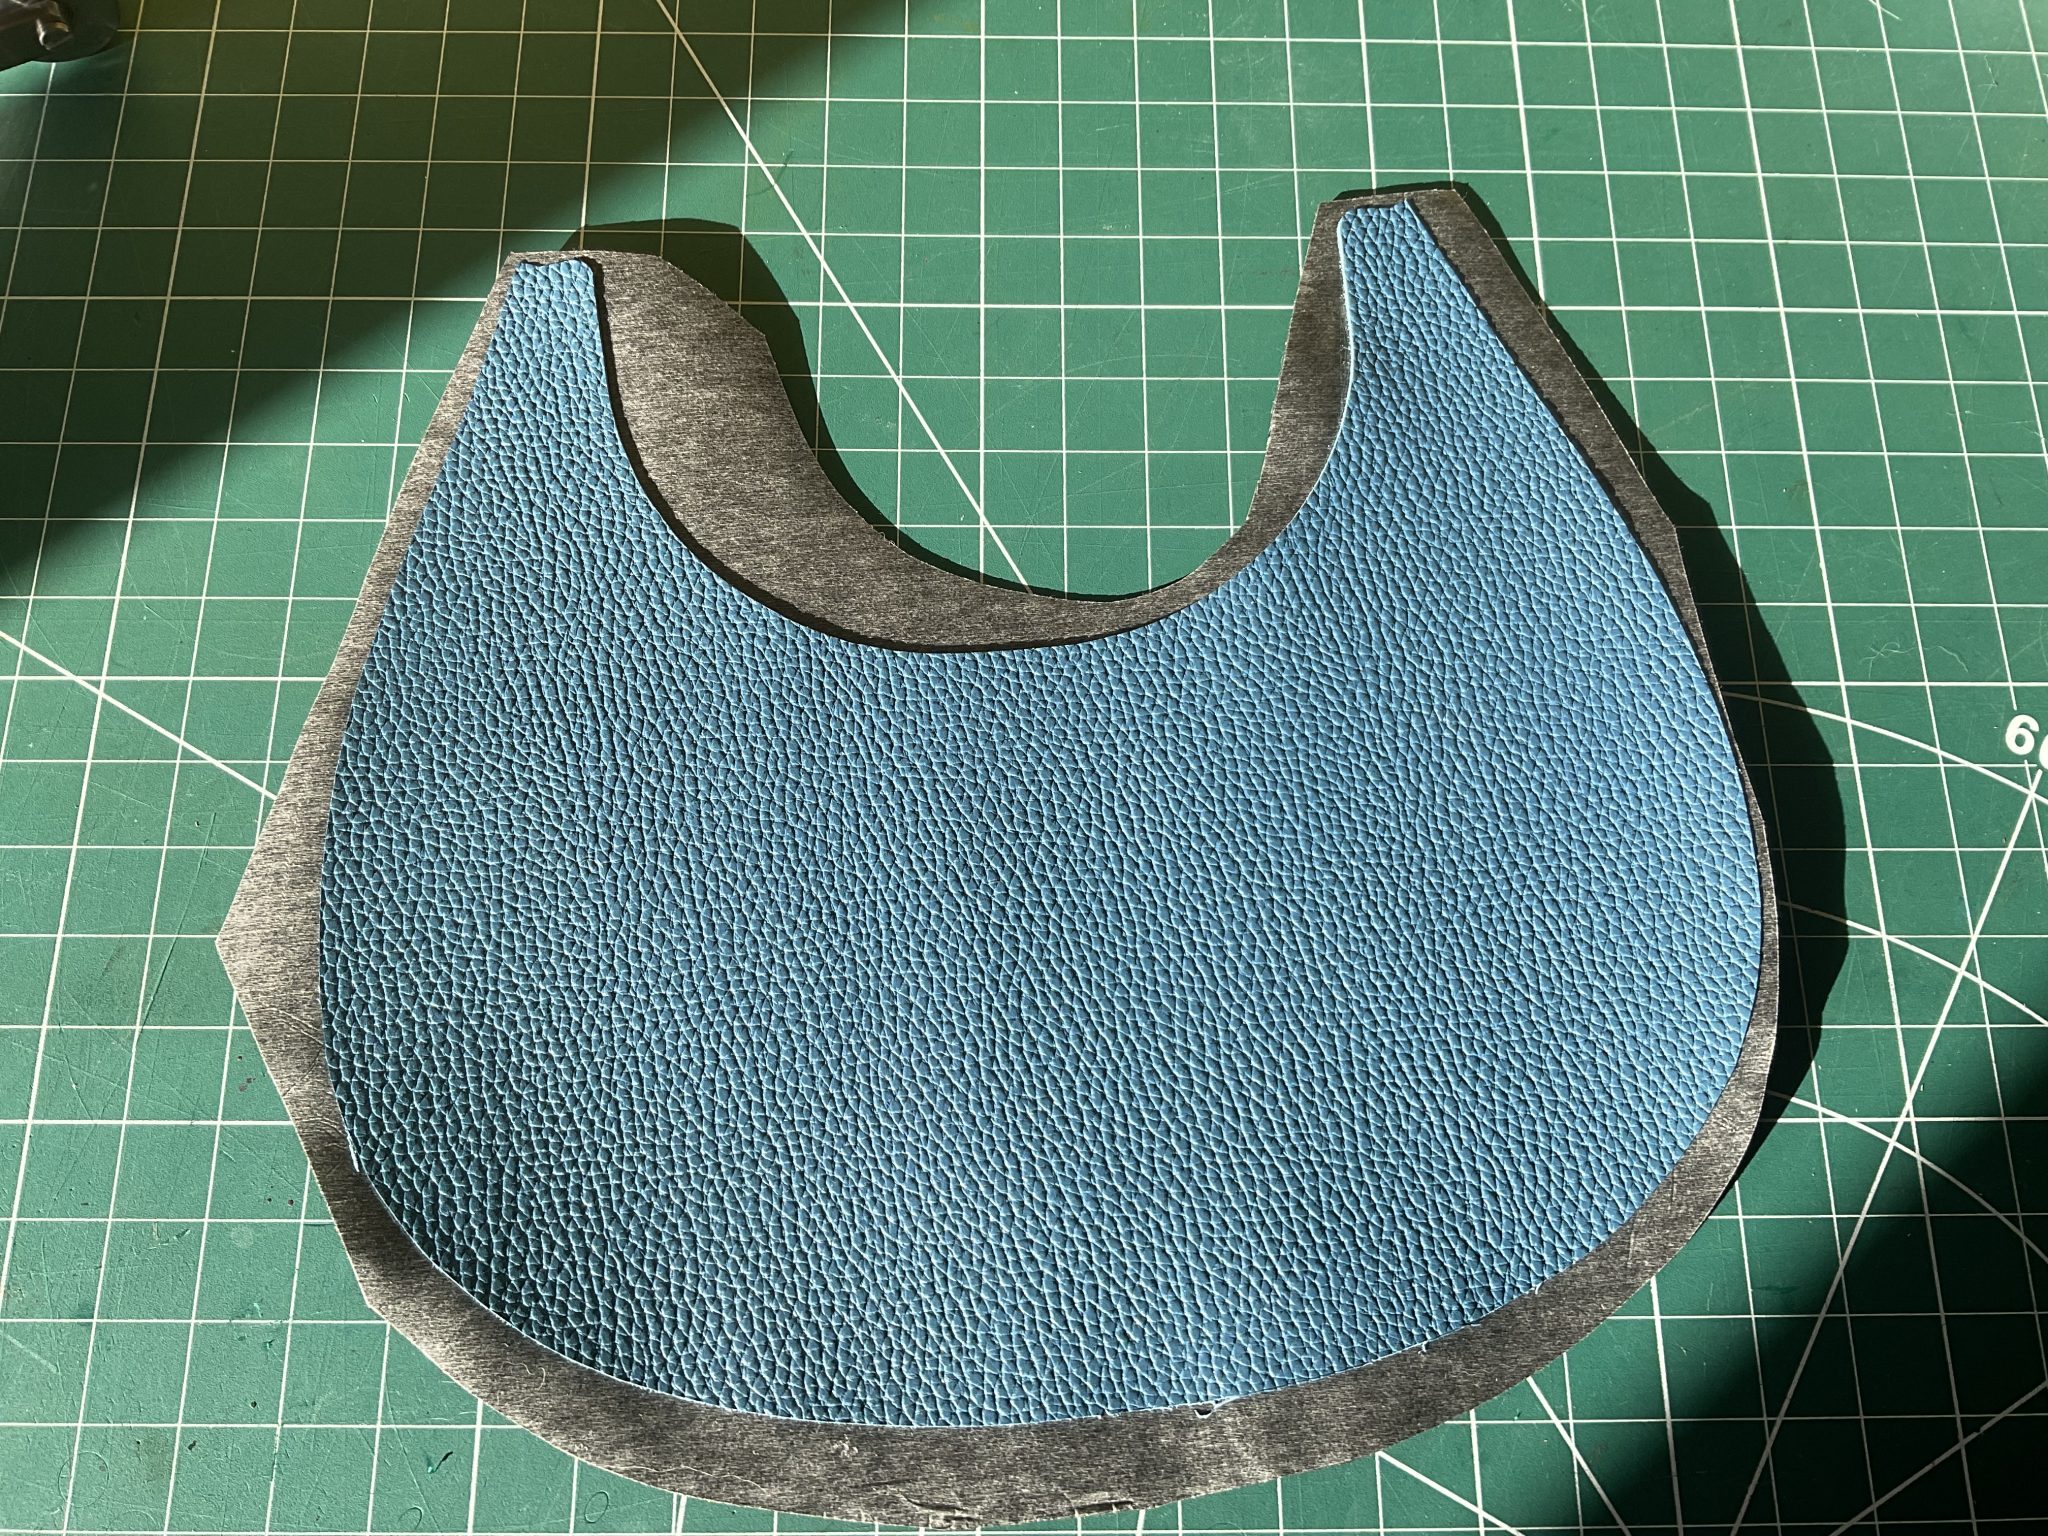
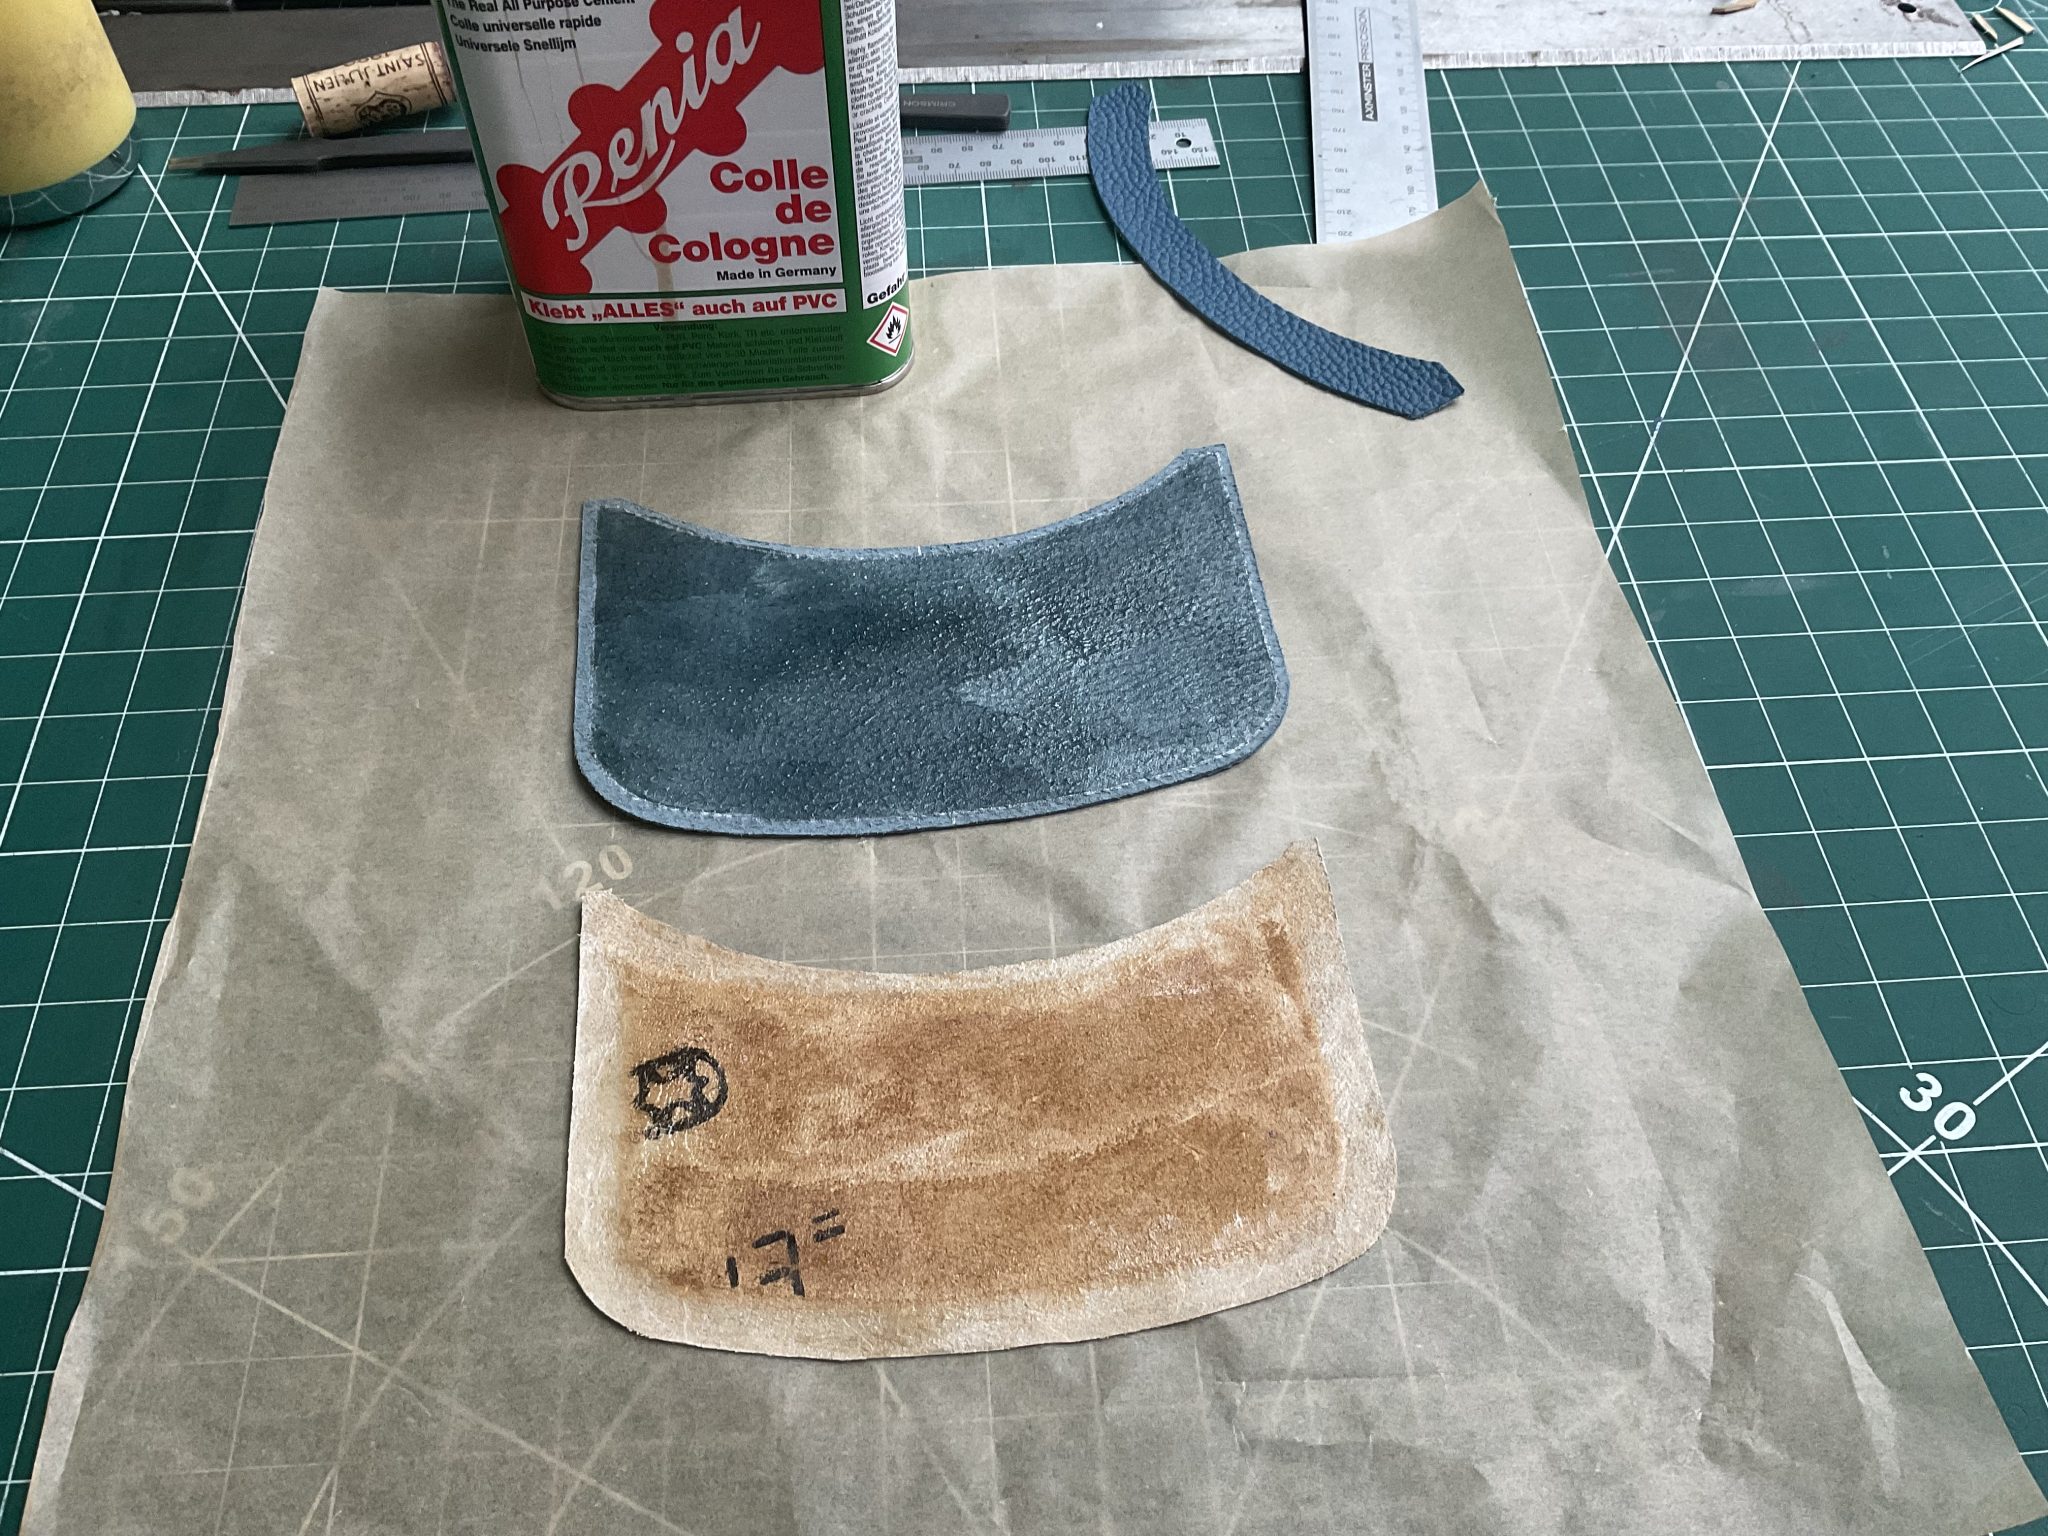
A thin strip of 0.6mm bonded leather glued to the top edge provides additional strengthening.
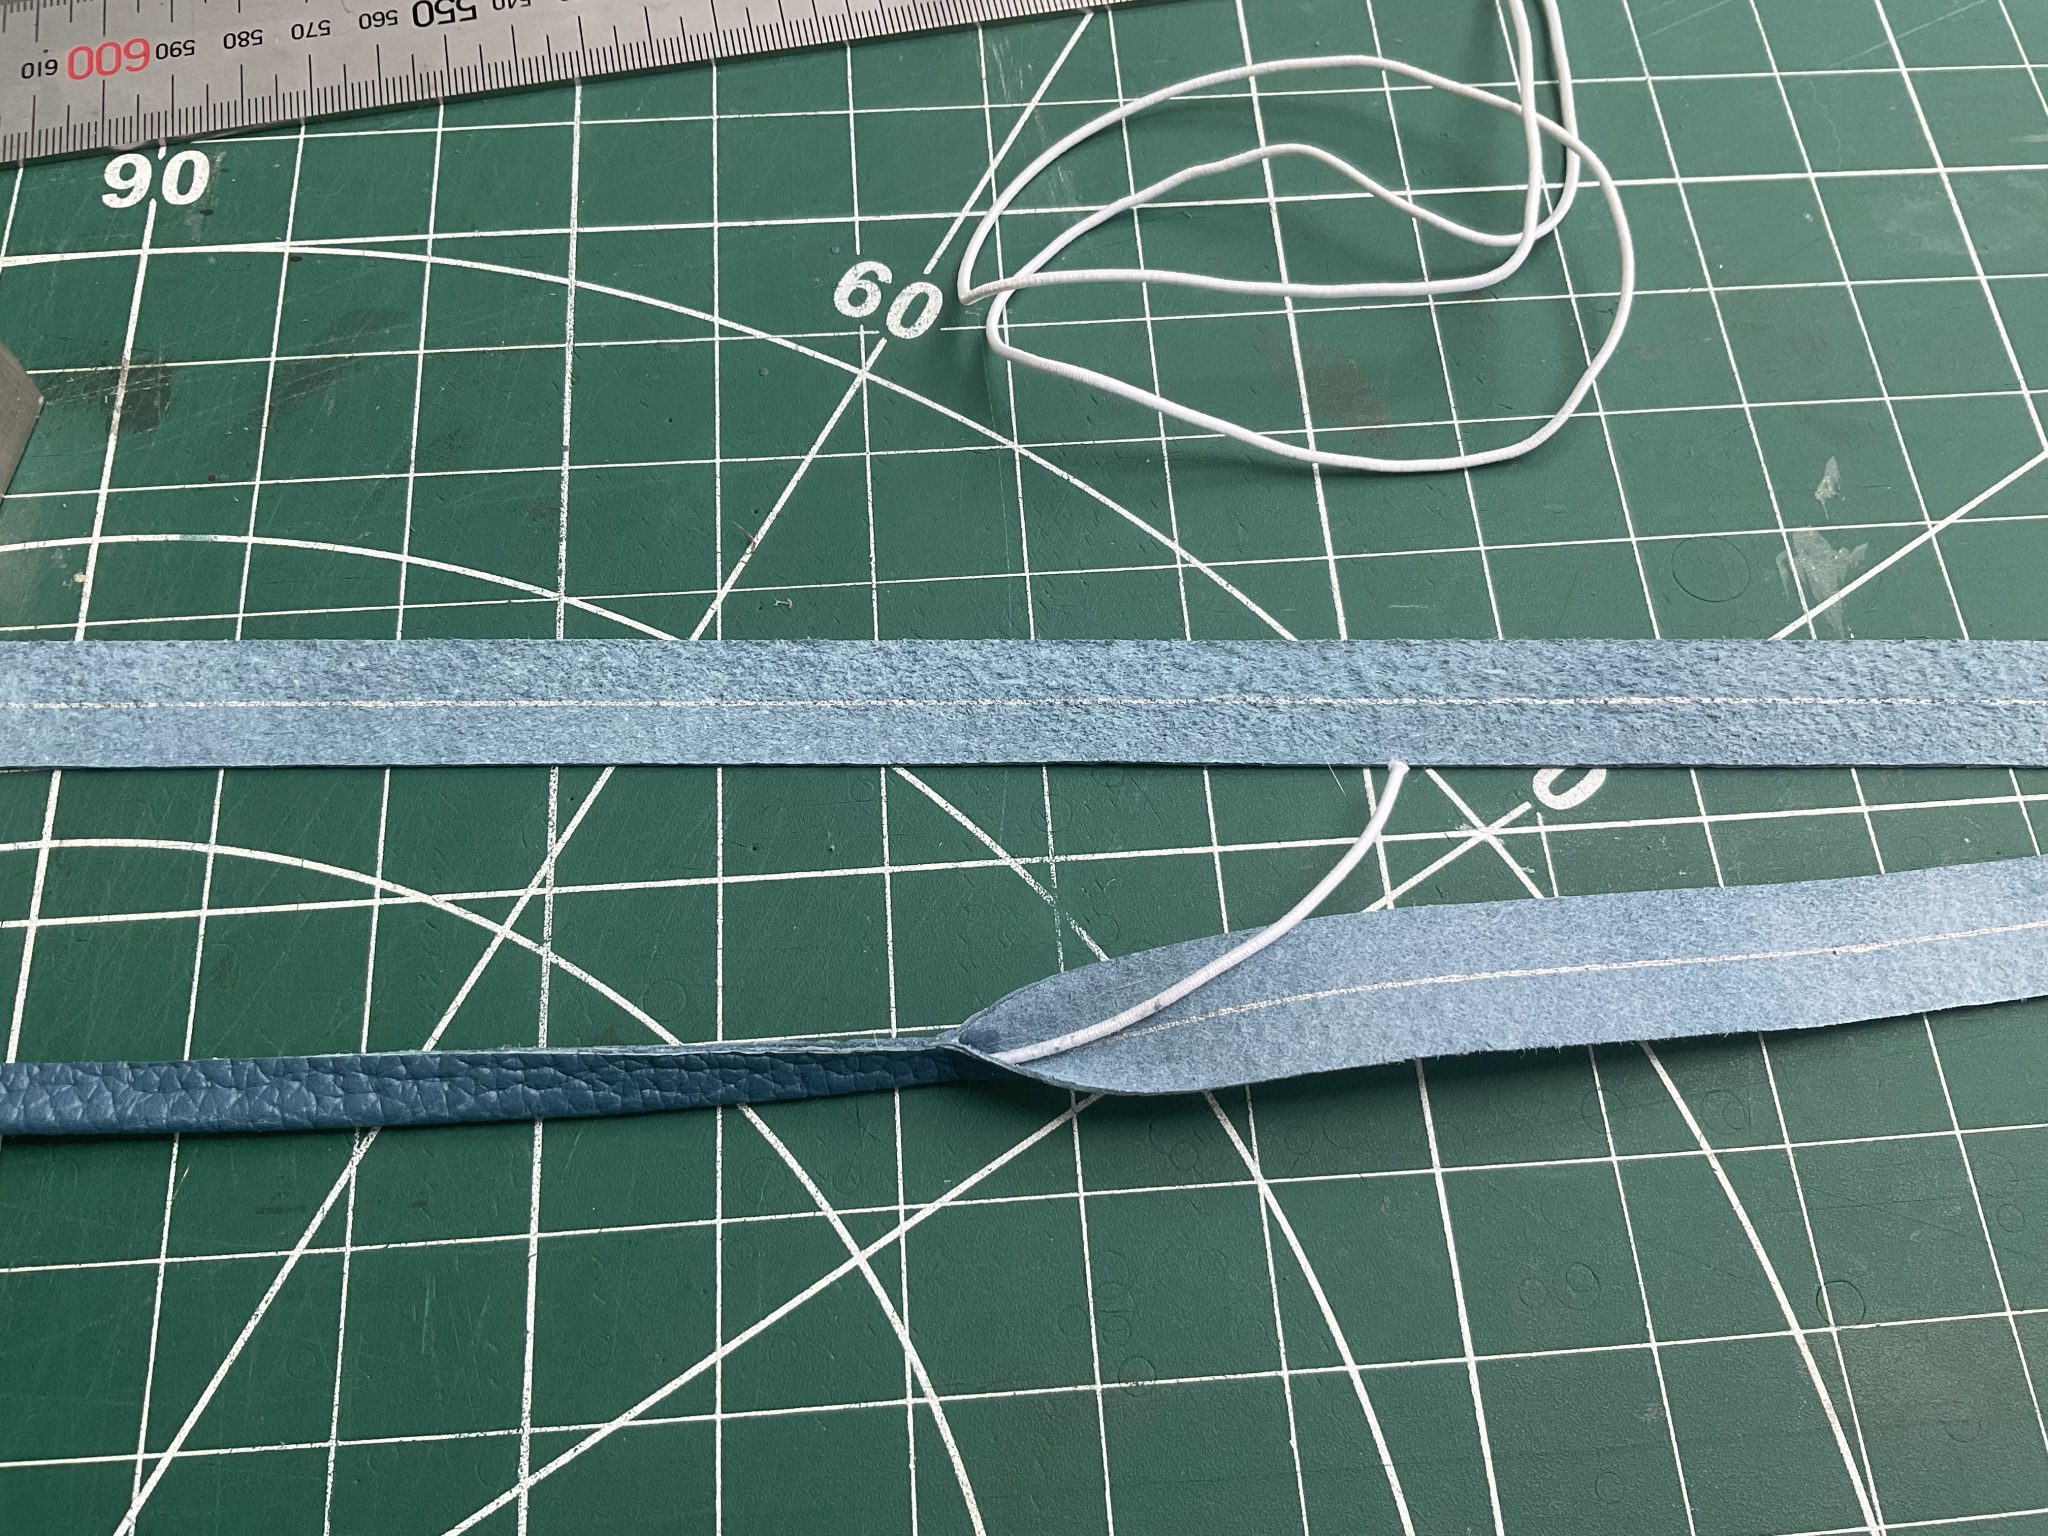
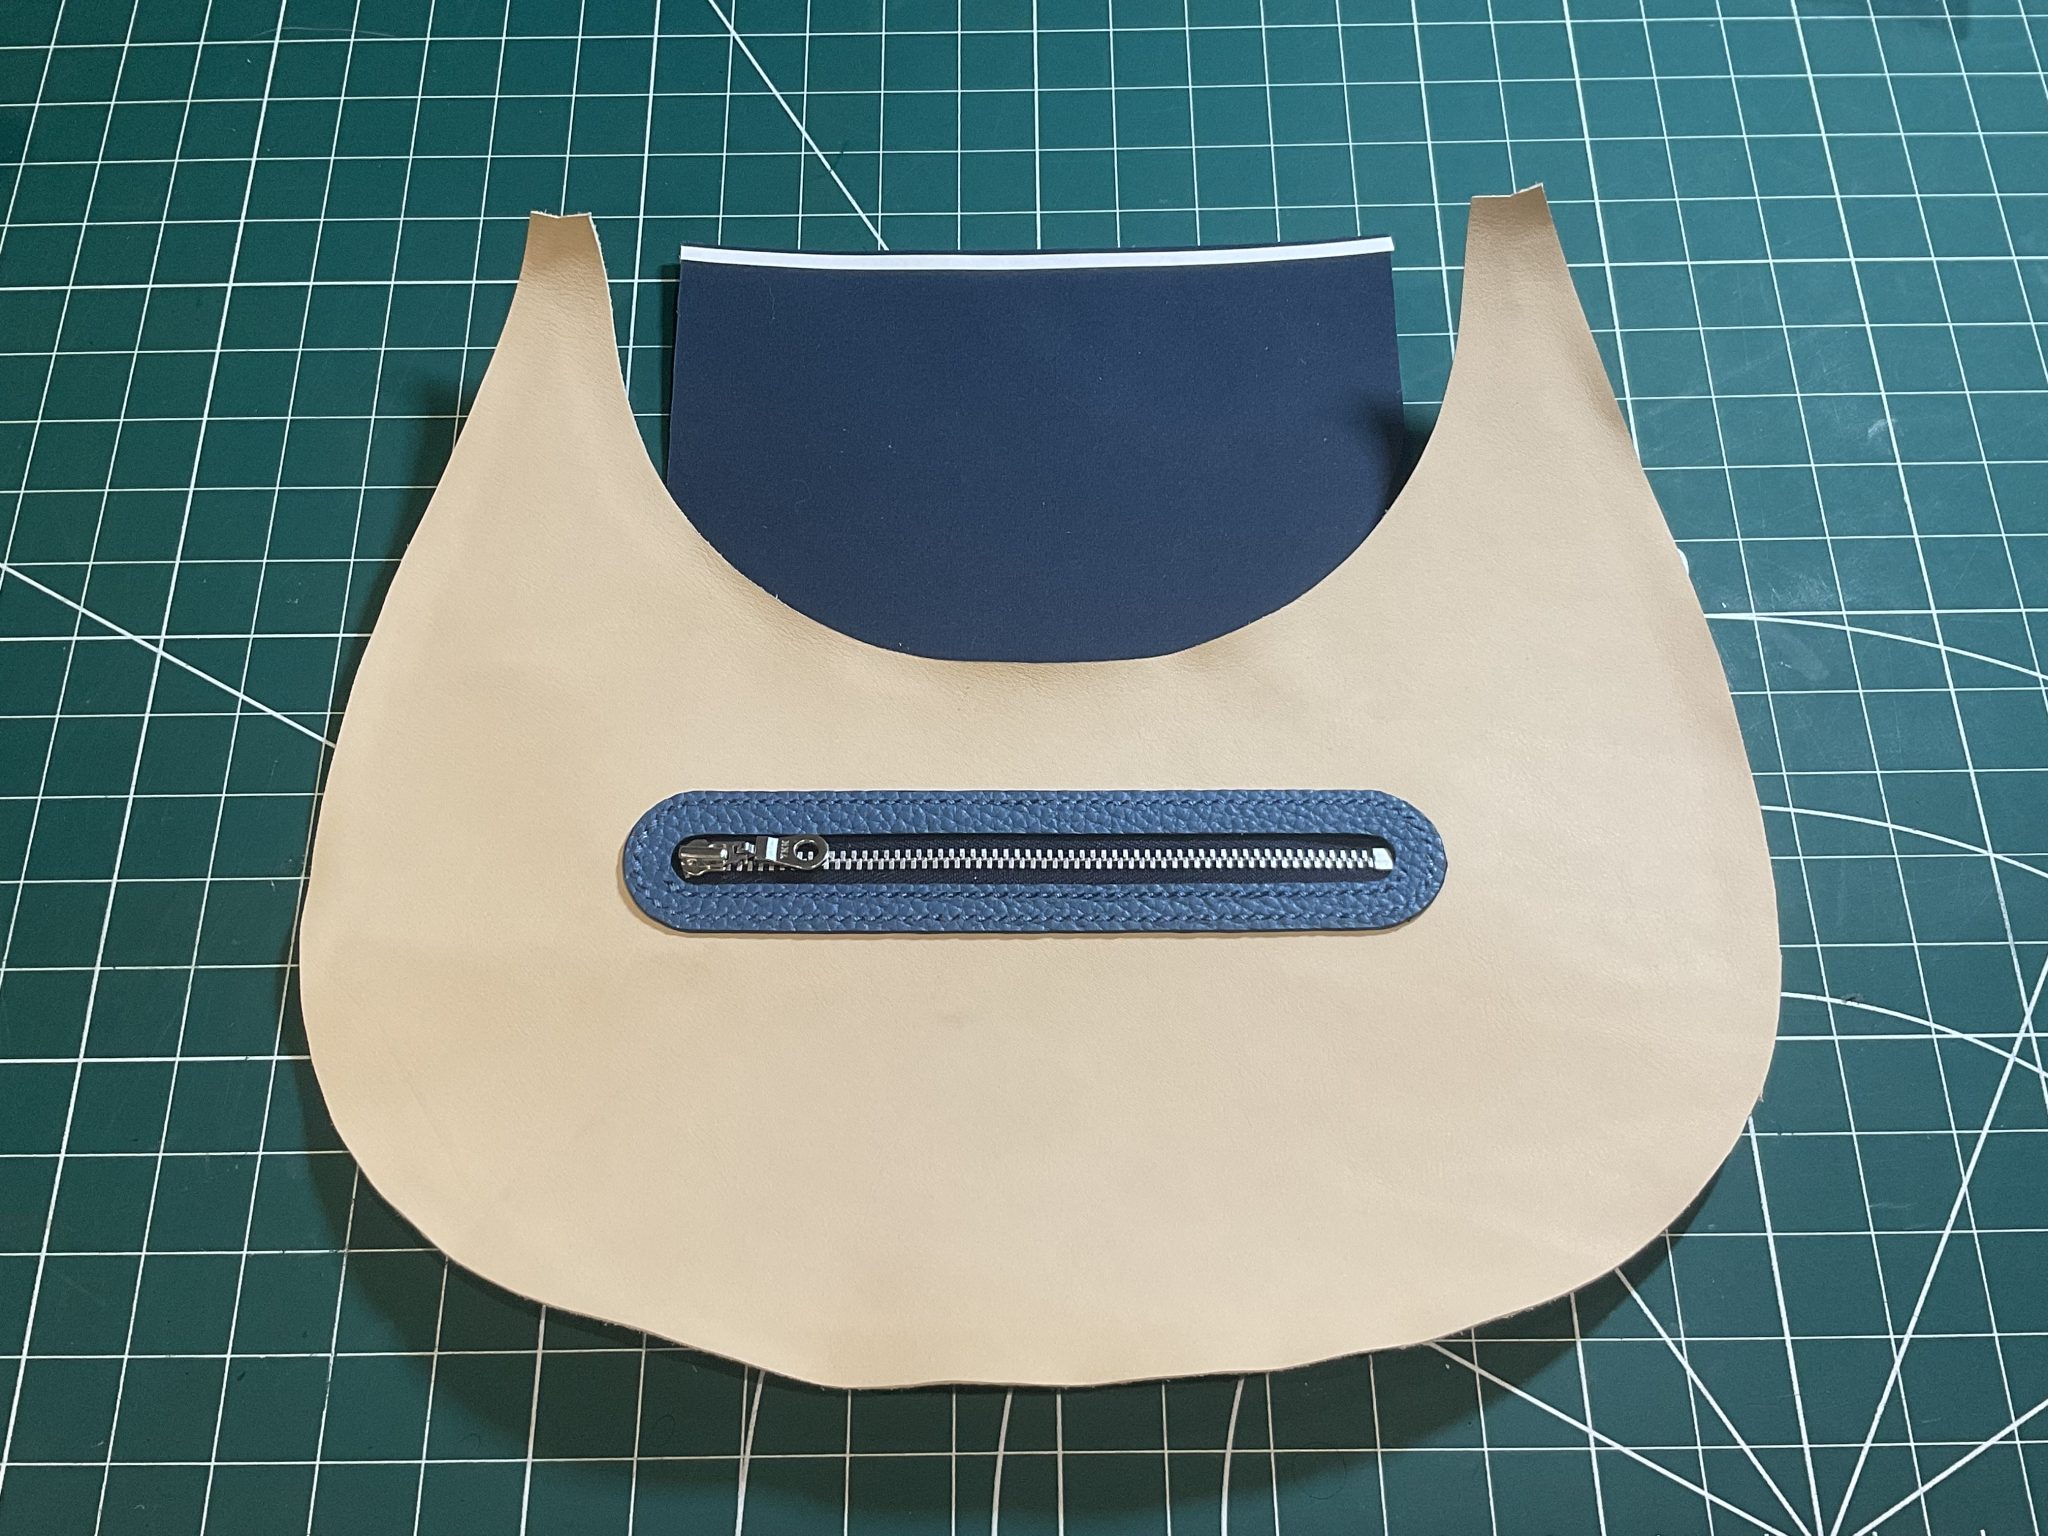
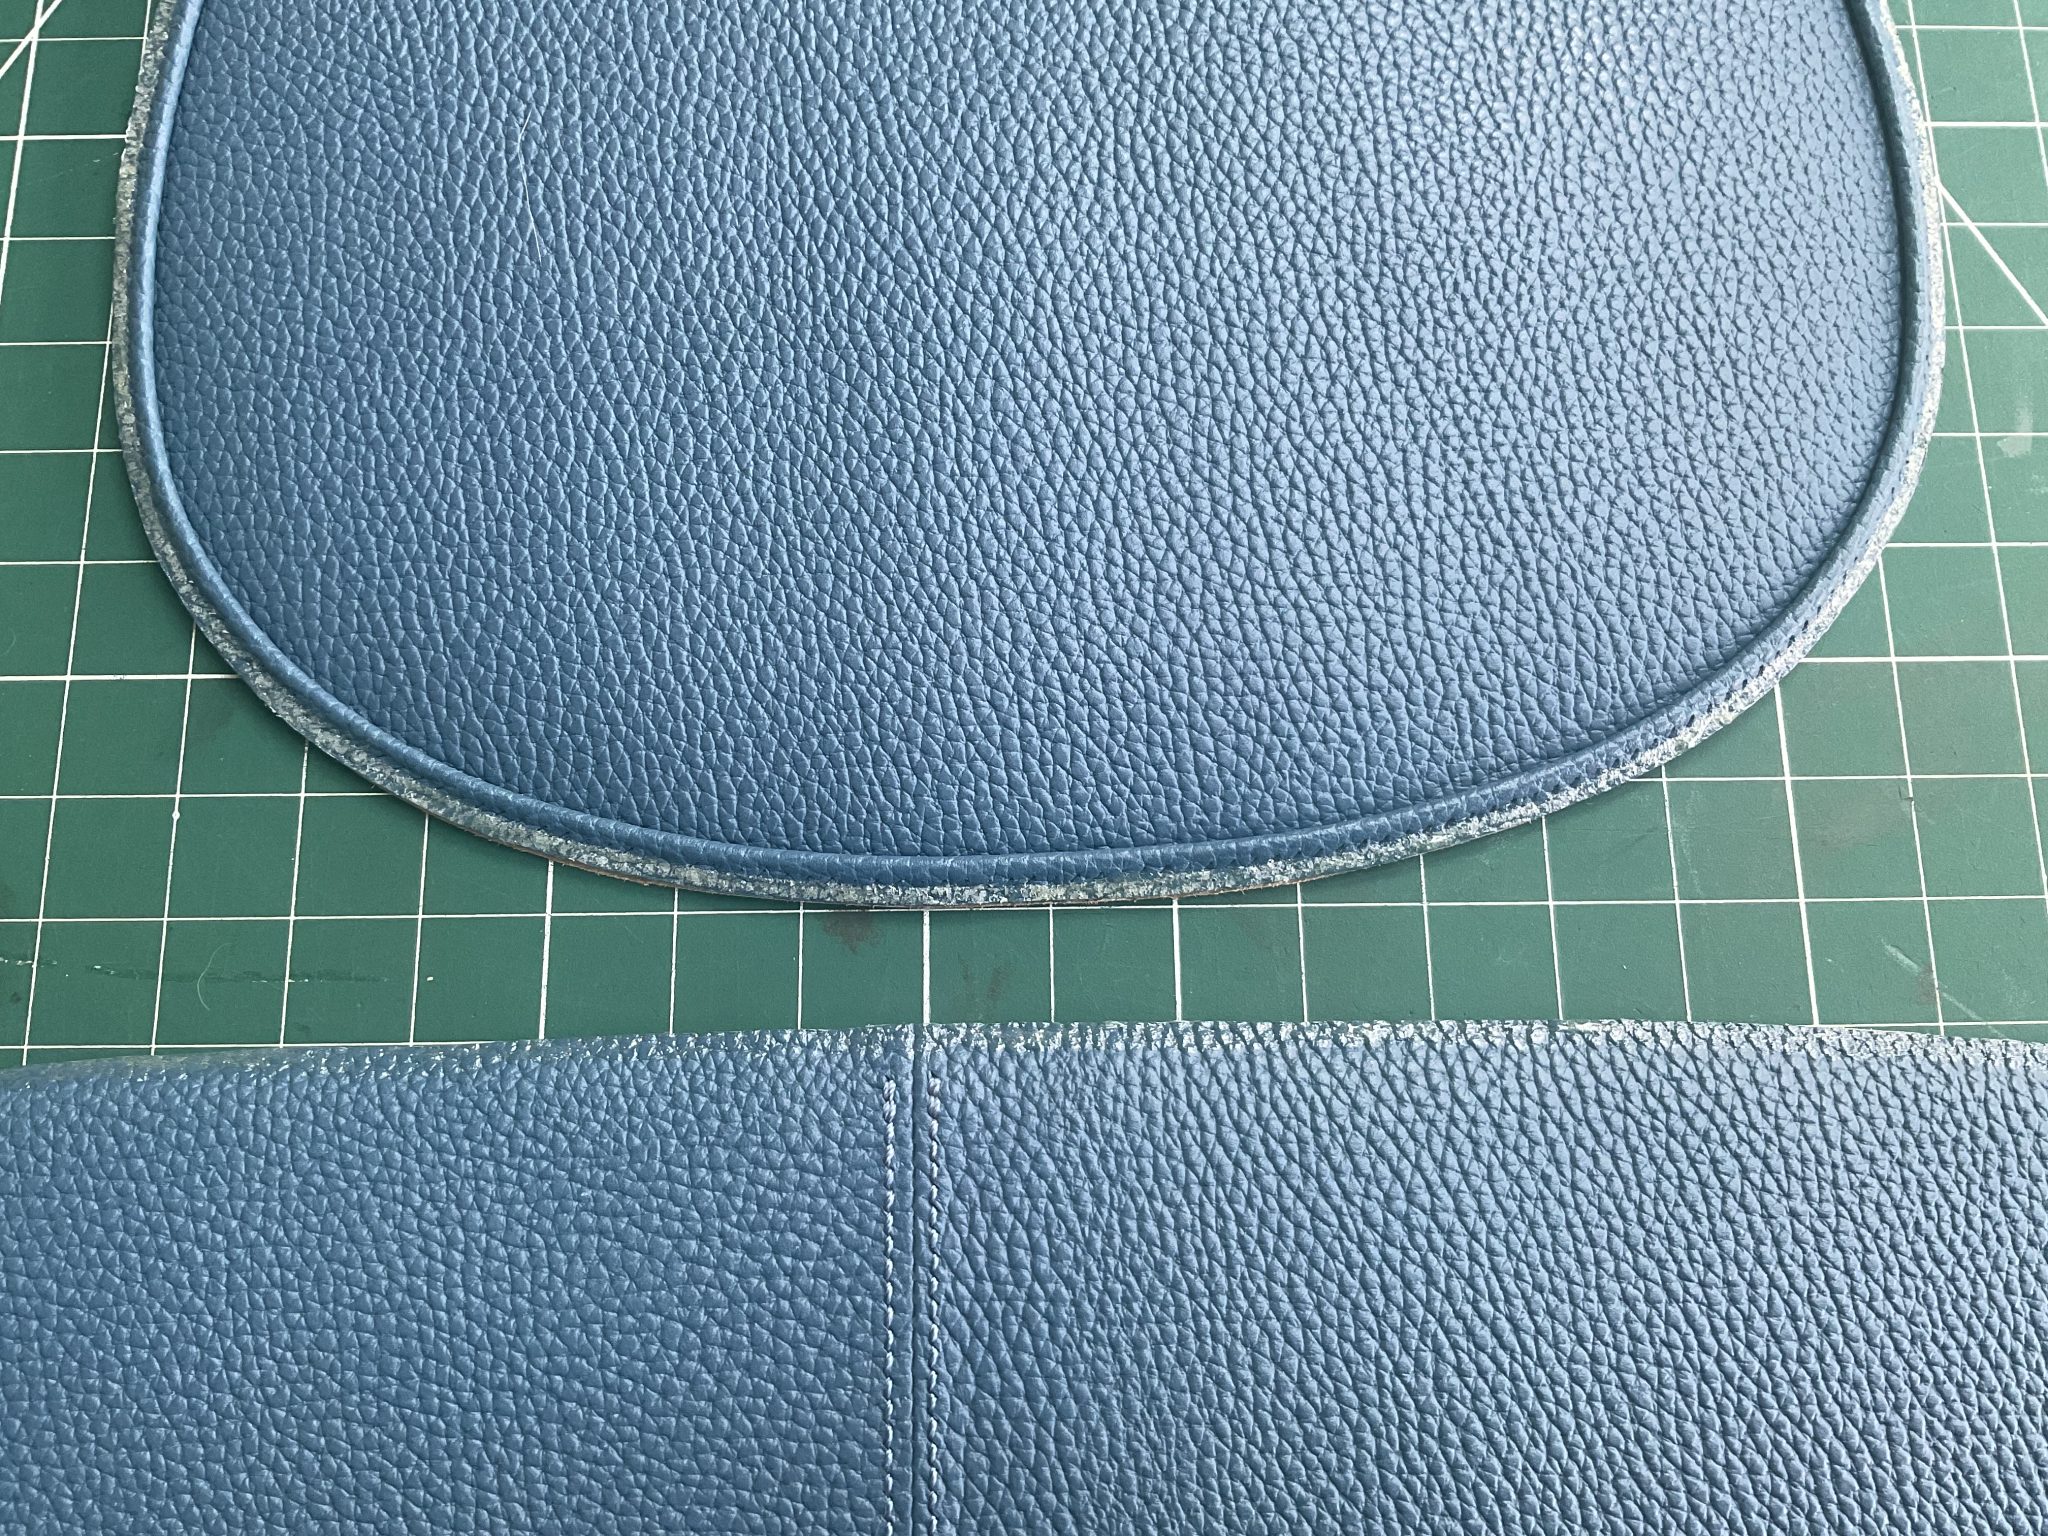
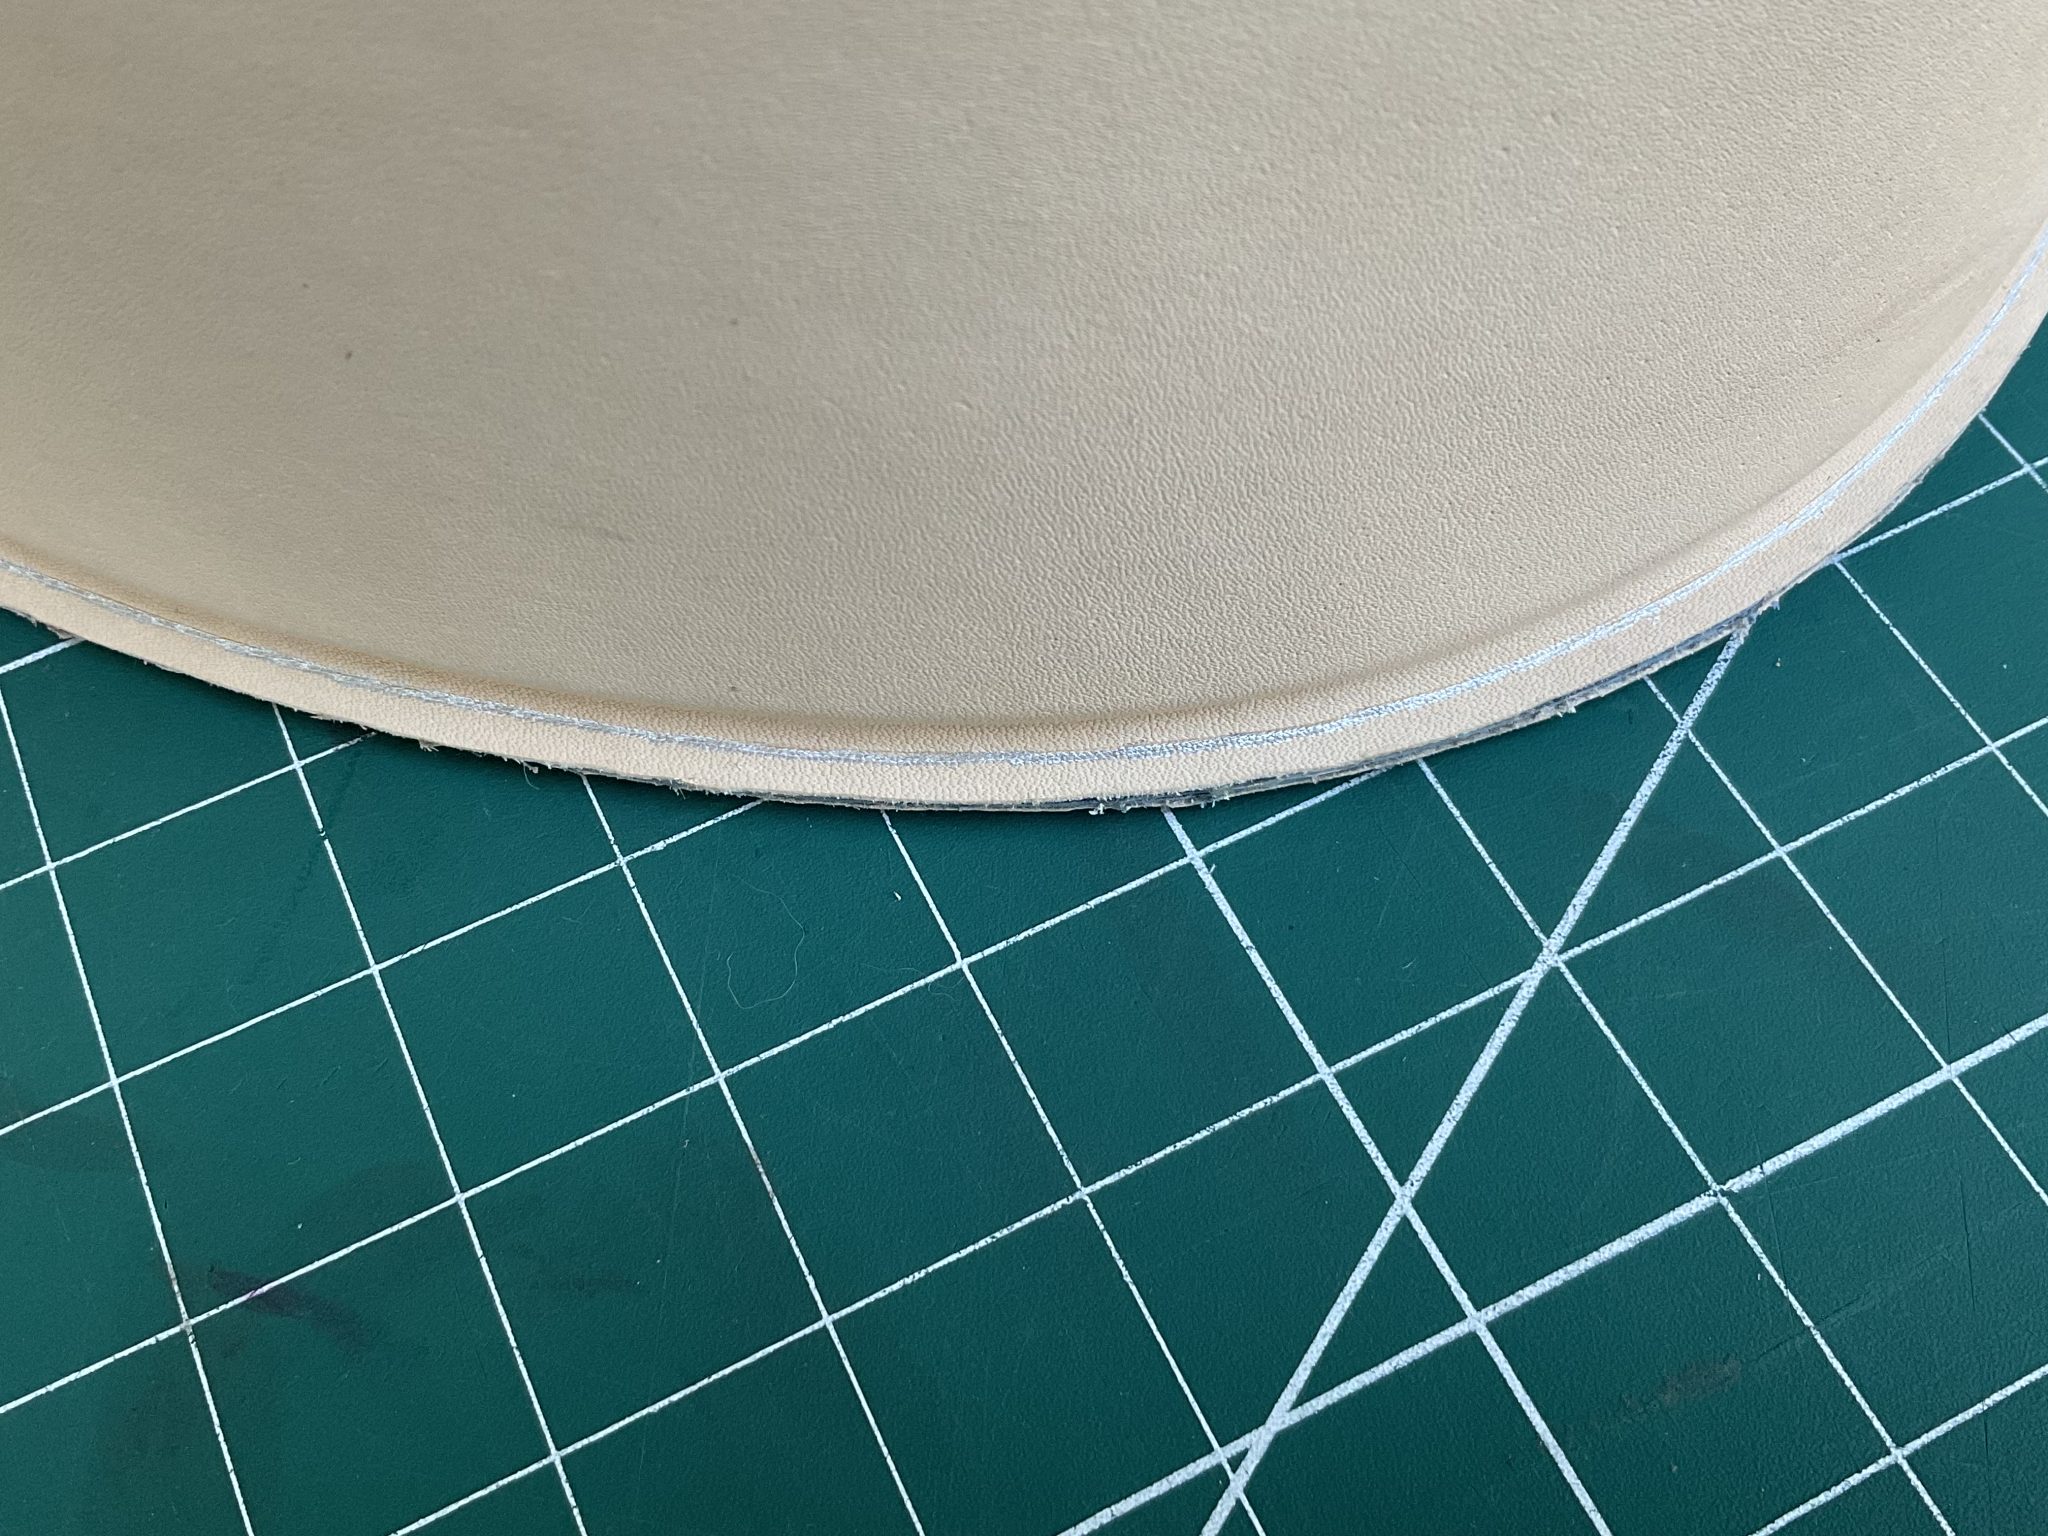
A 17mm strip of leather was thinned to approx 0.75mm and wrapped around a 1.5mm cord. It’s important to make sure the cord is positioned along the centre line when closing – hence the silver guide line.
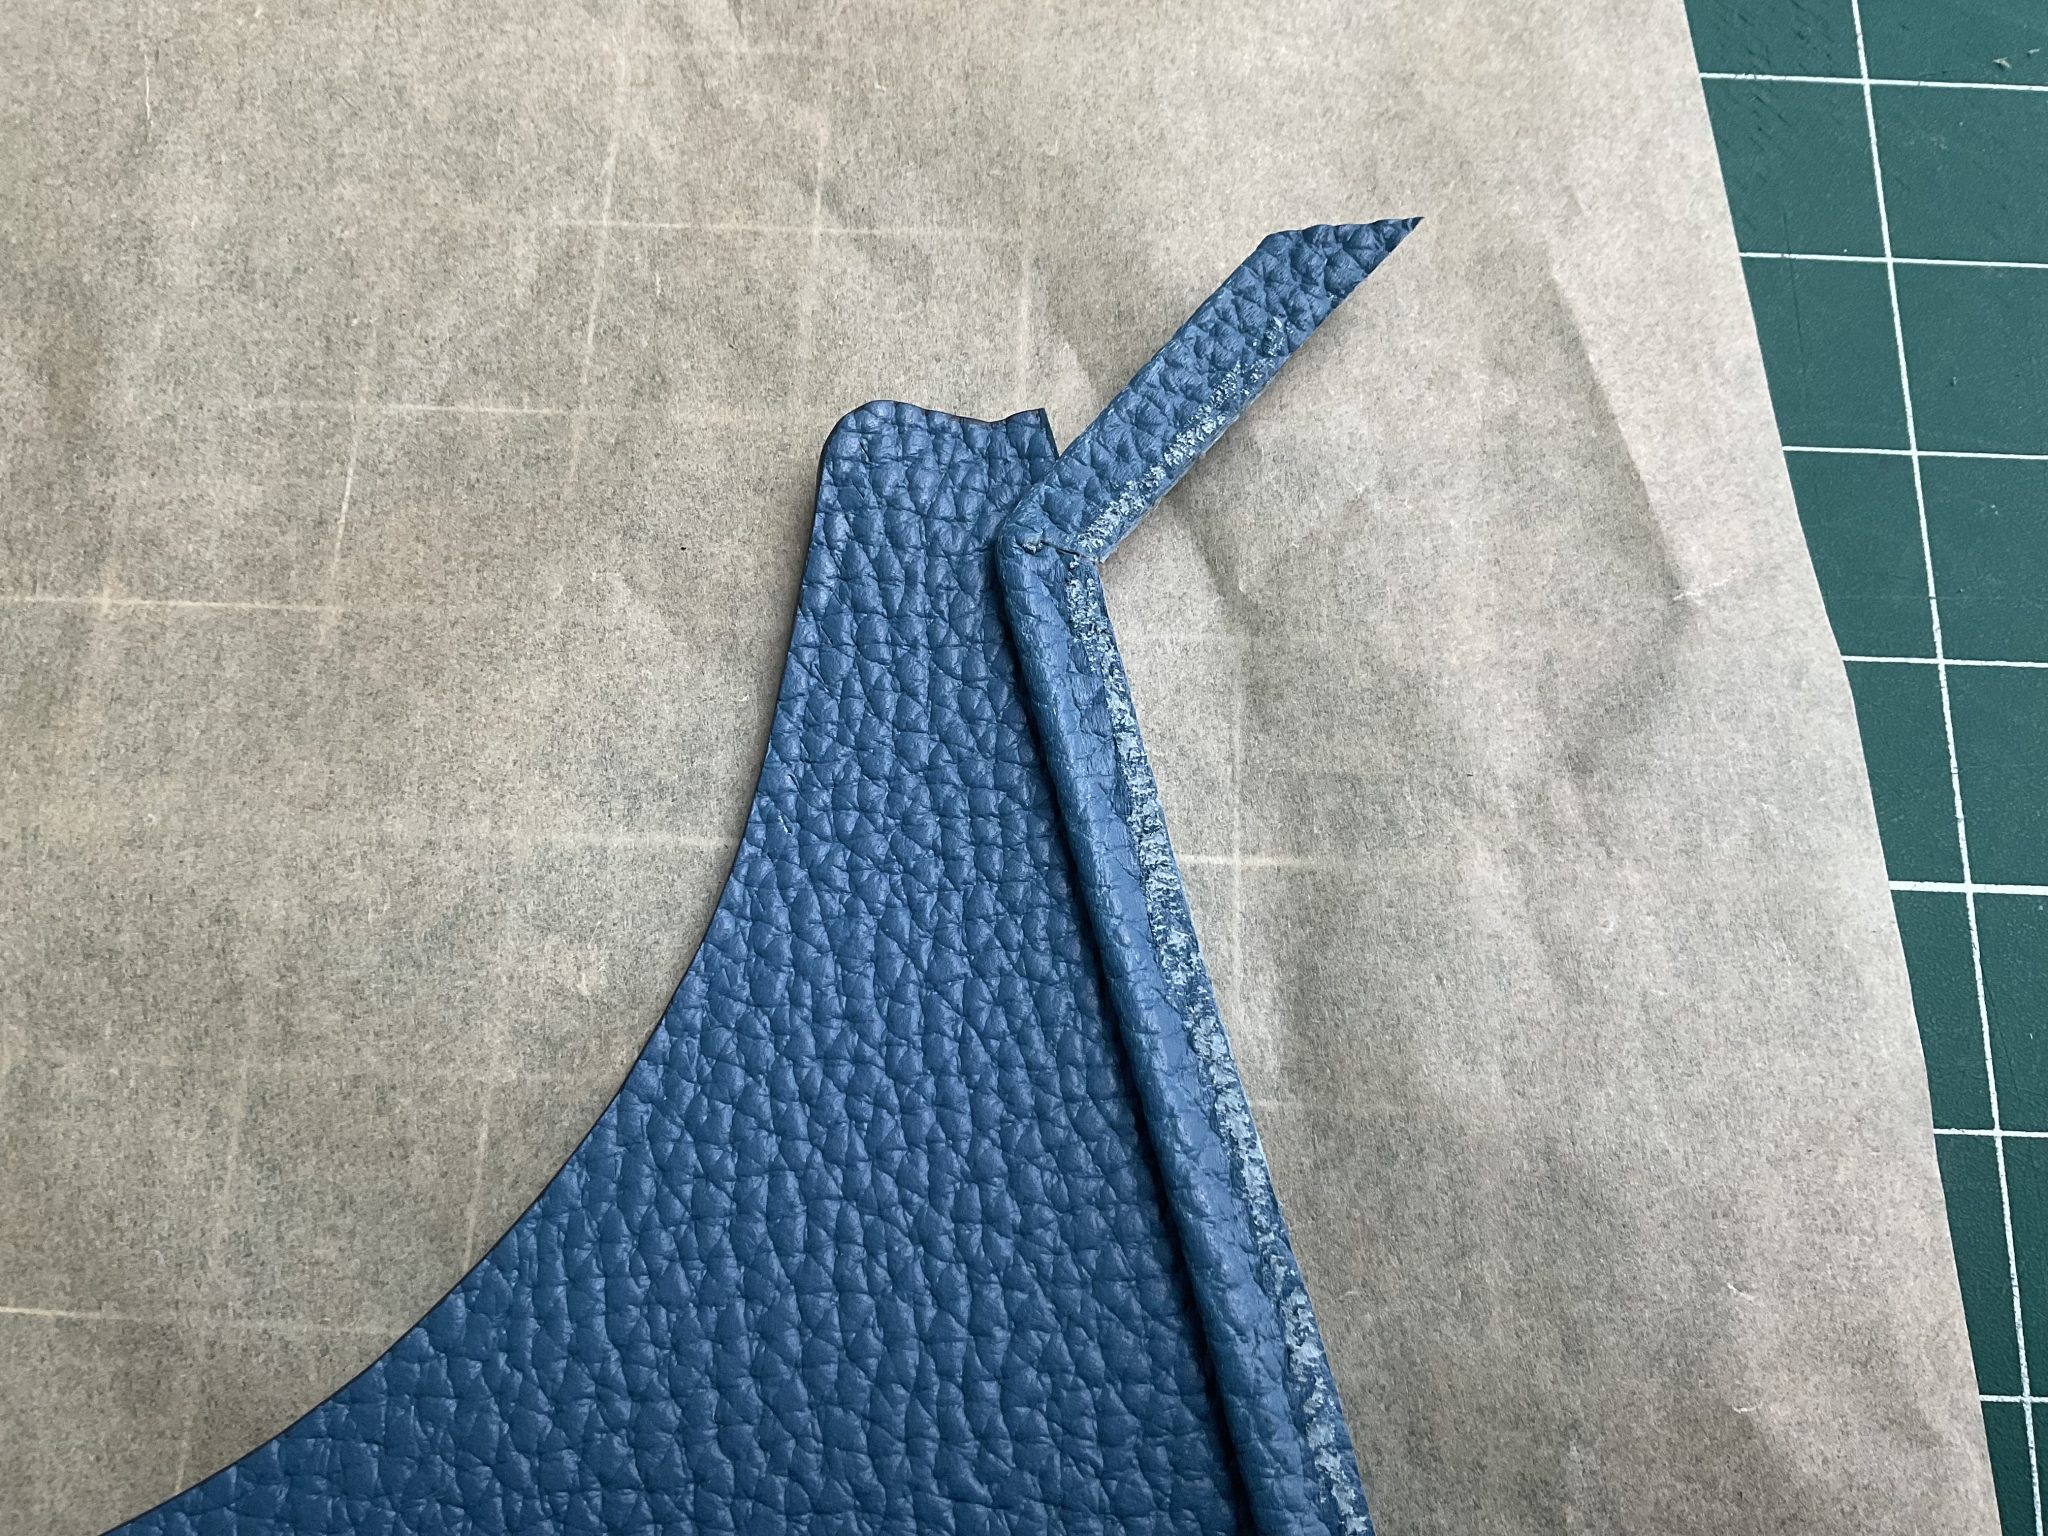
Cutting out a notch in the piping just where the inner cord ends enables it to be bent outwards approx 5mm from the top of the seam. This makes a neater finish to the piping once everything is stitched and turned the right way out.
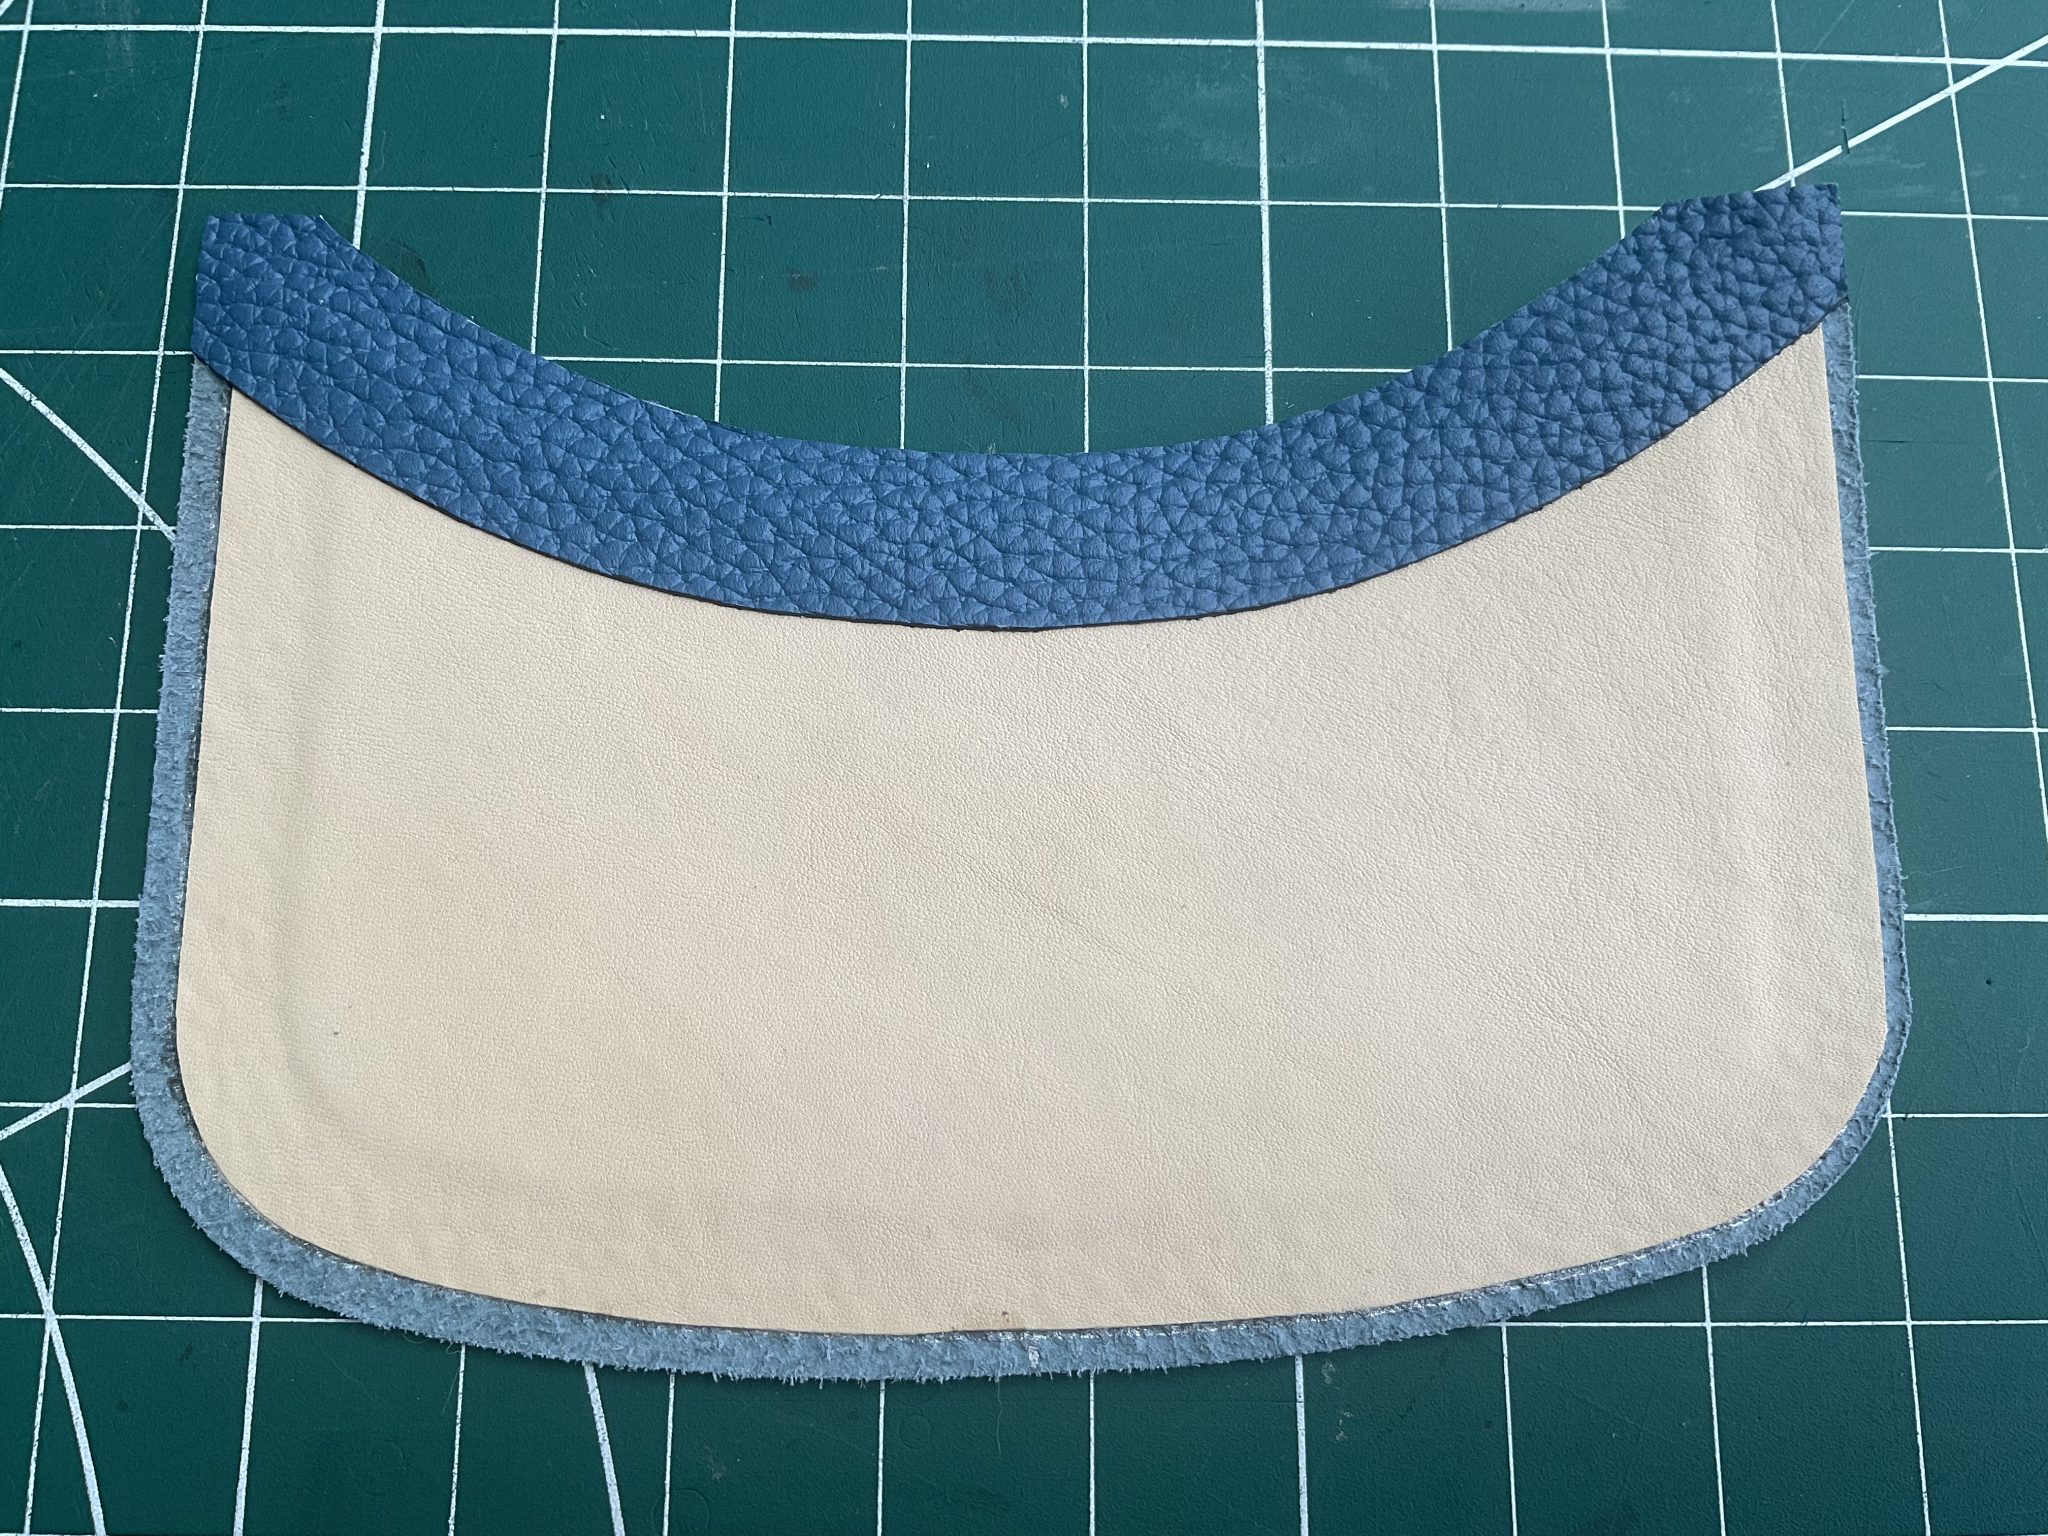
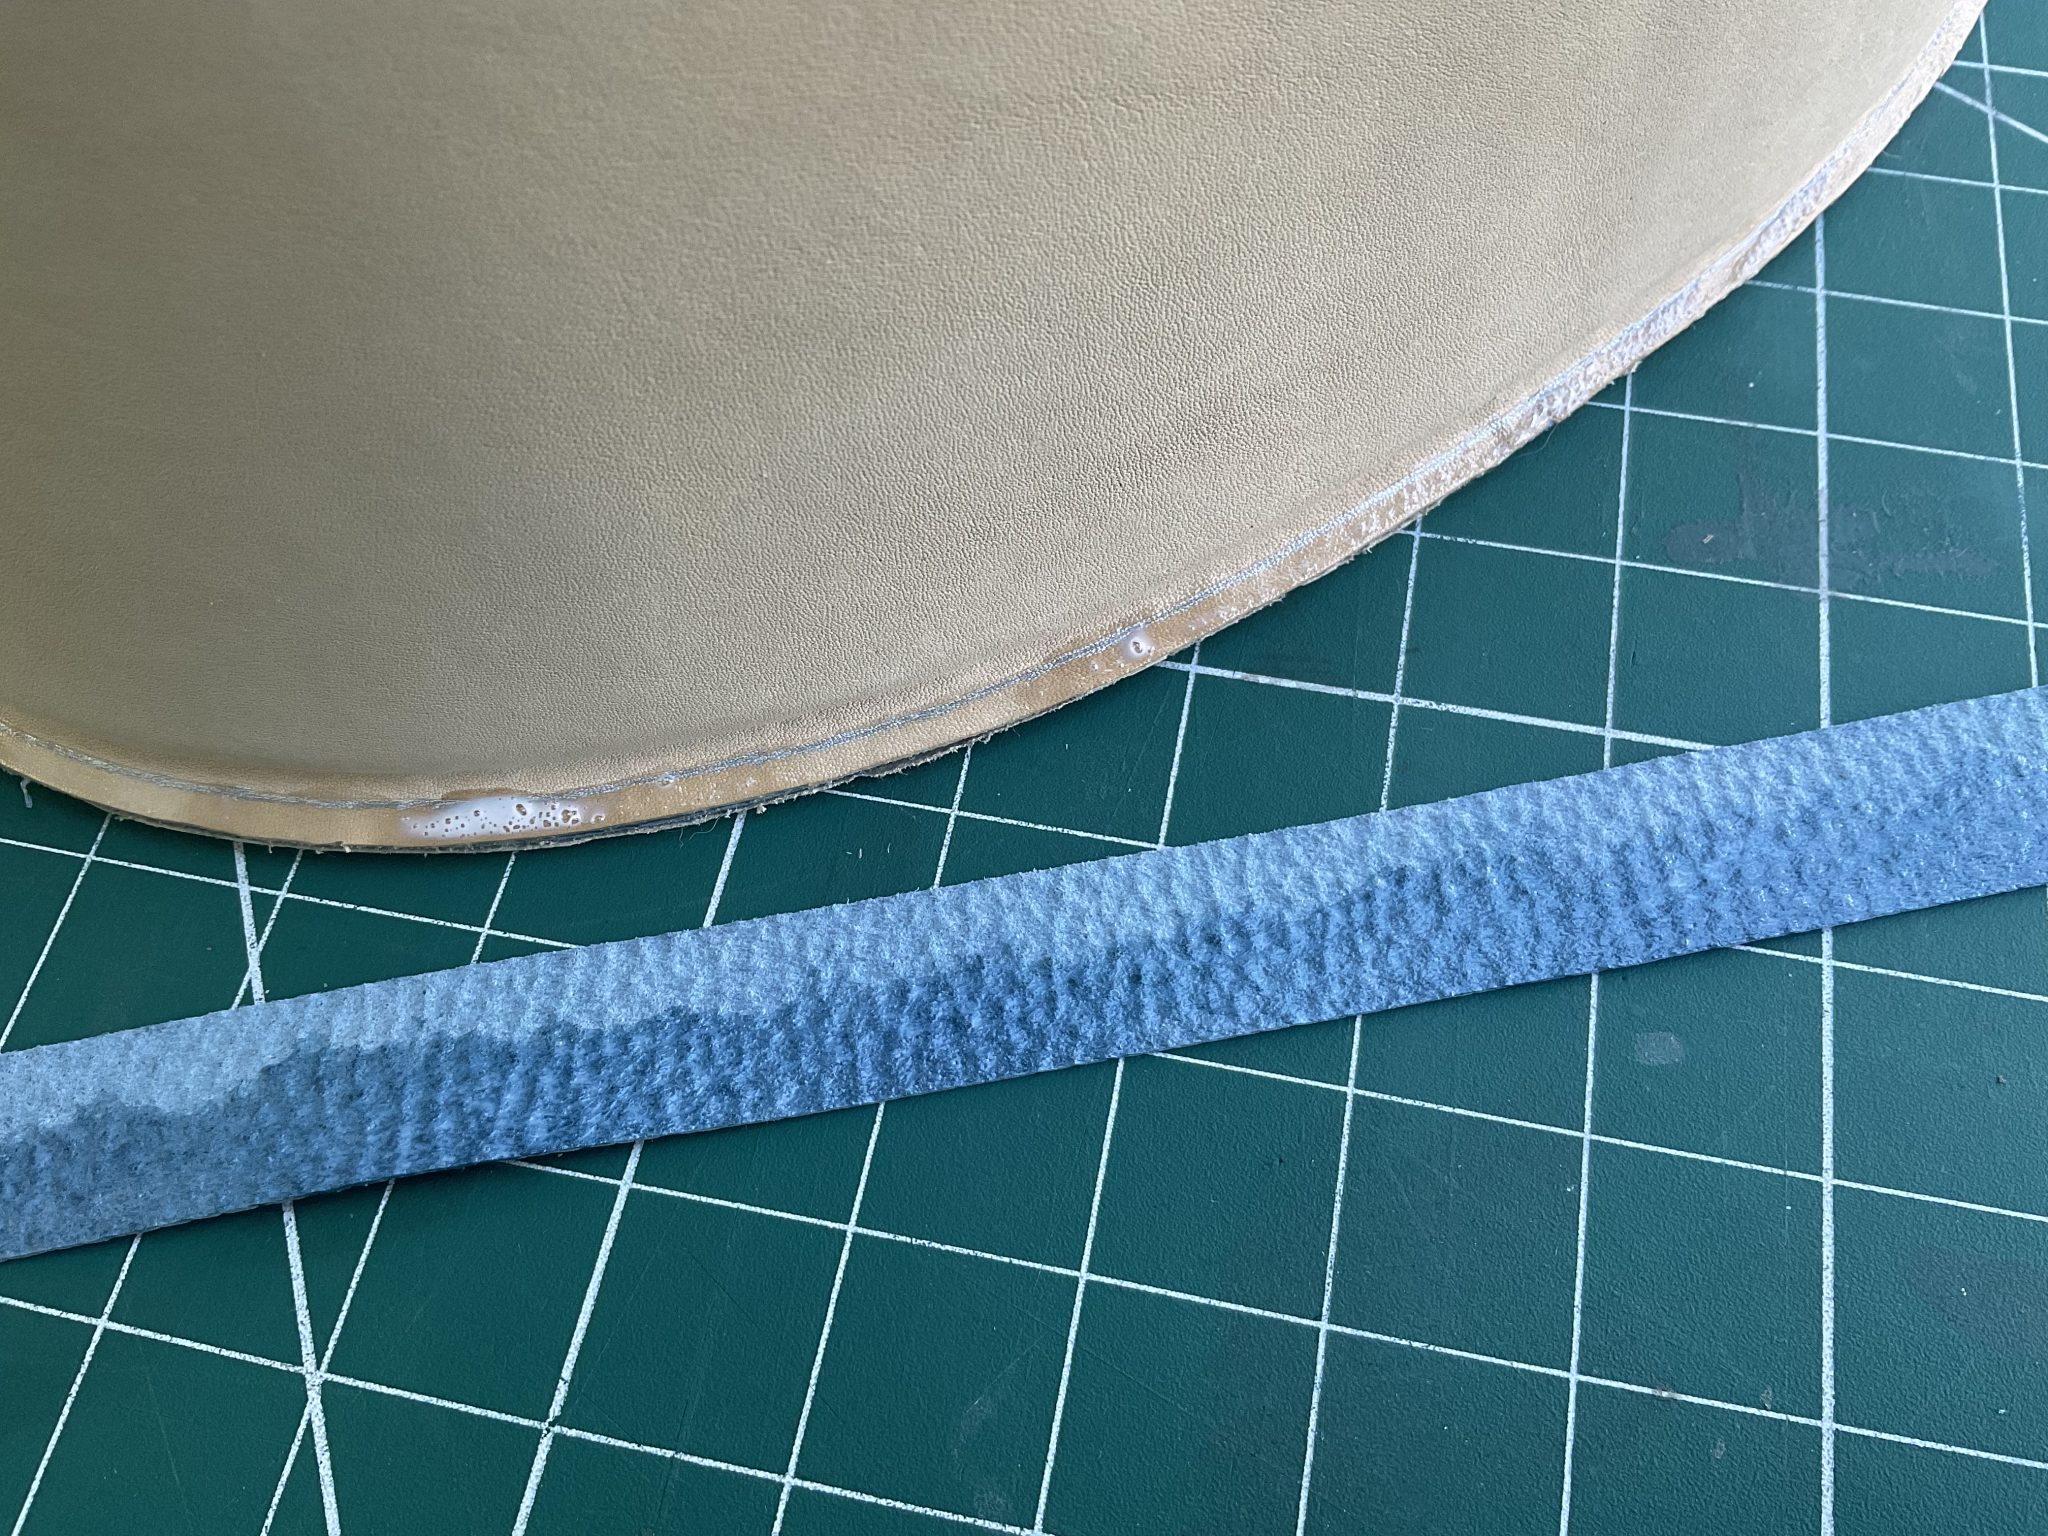
The piping bonded to the outer edge. The outer few millimetres of the piping was scraped with a blade to remove the top surface of the leather to achieve a strong bond.
A piece of 0.3mm Talyn Soft Leather Reinforcement bonded to the rear to add stiffness edge.
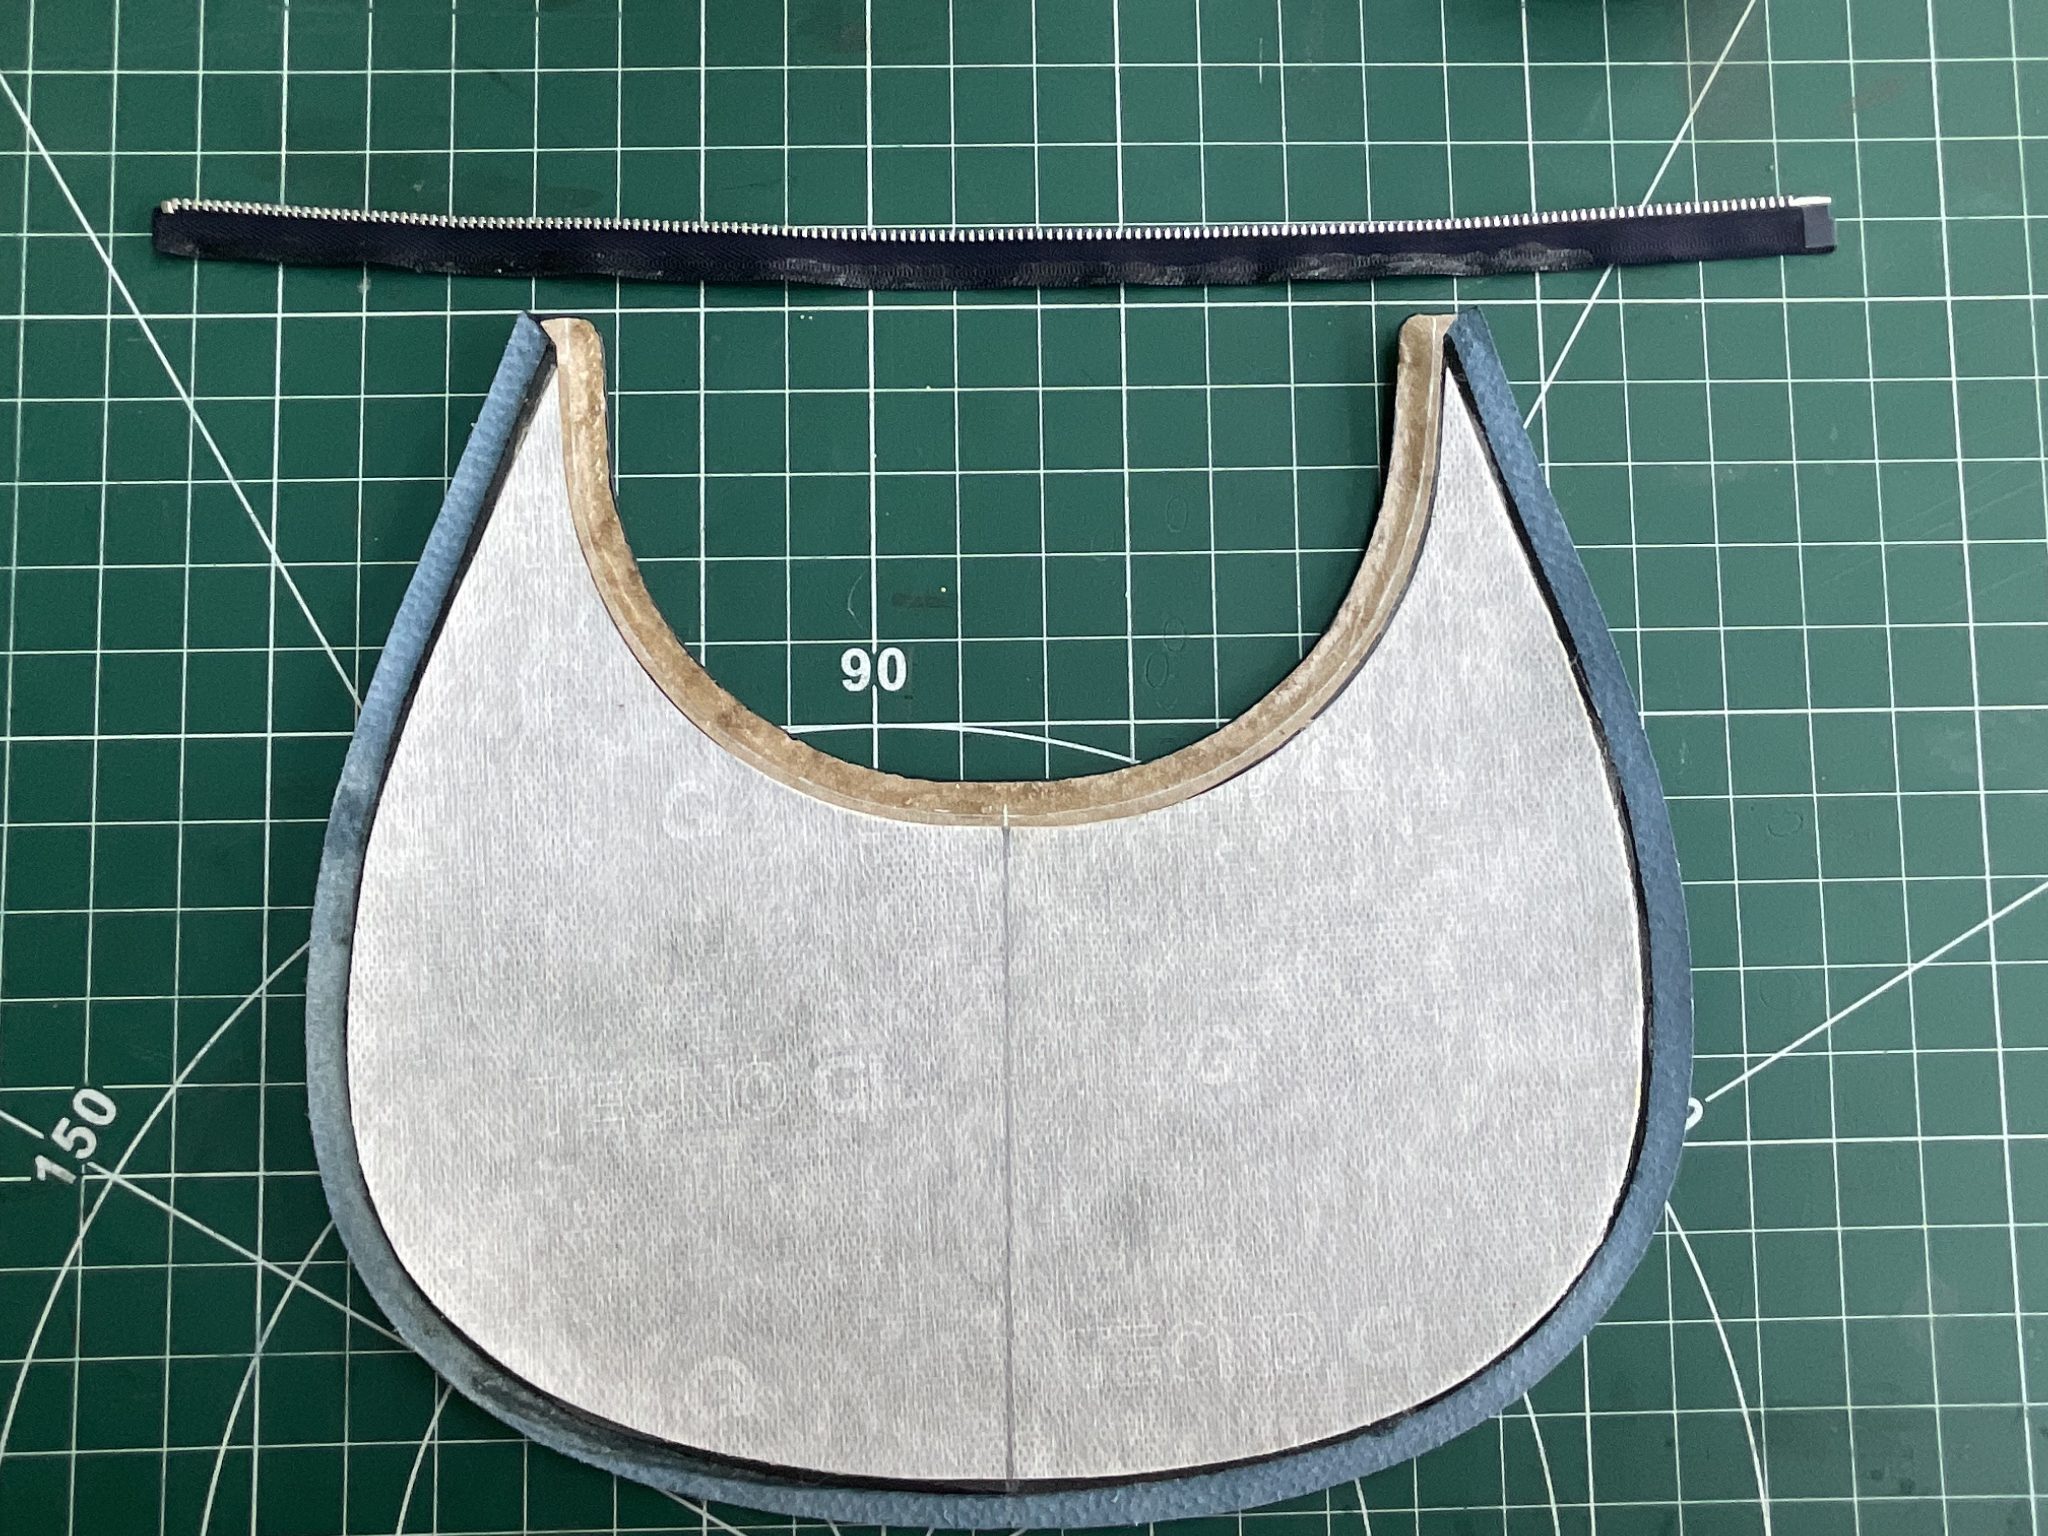
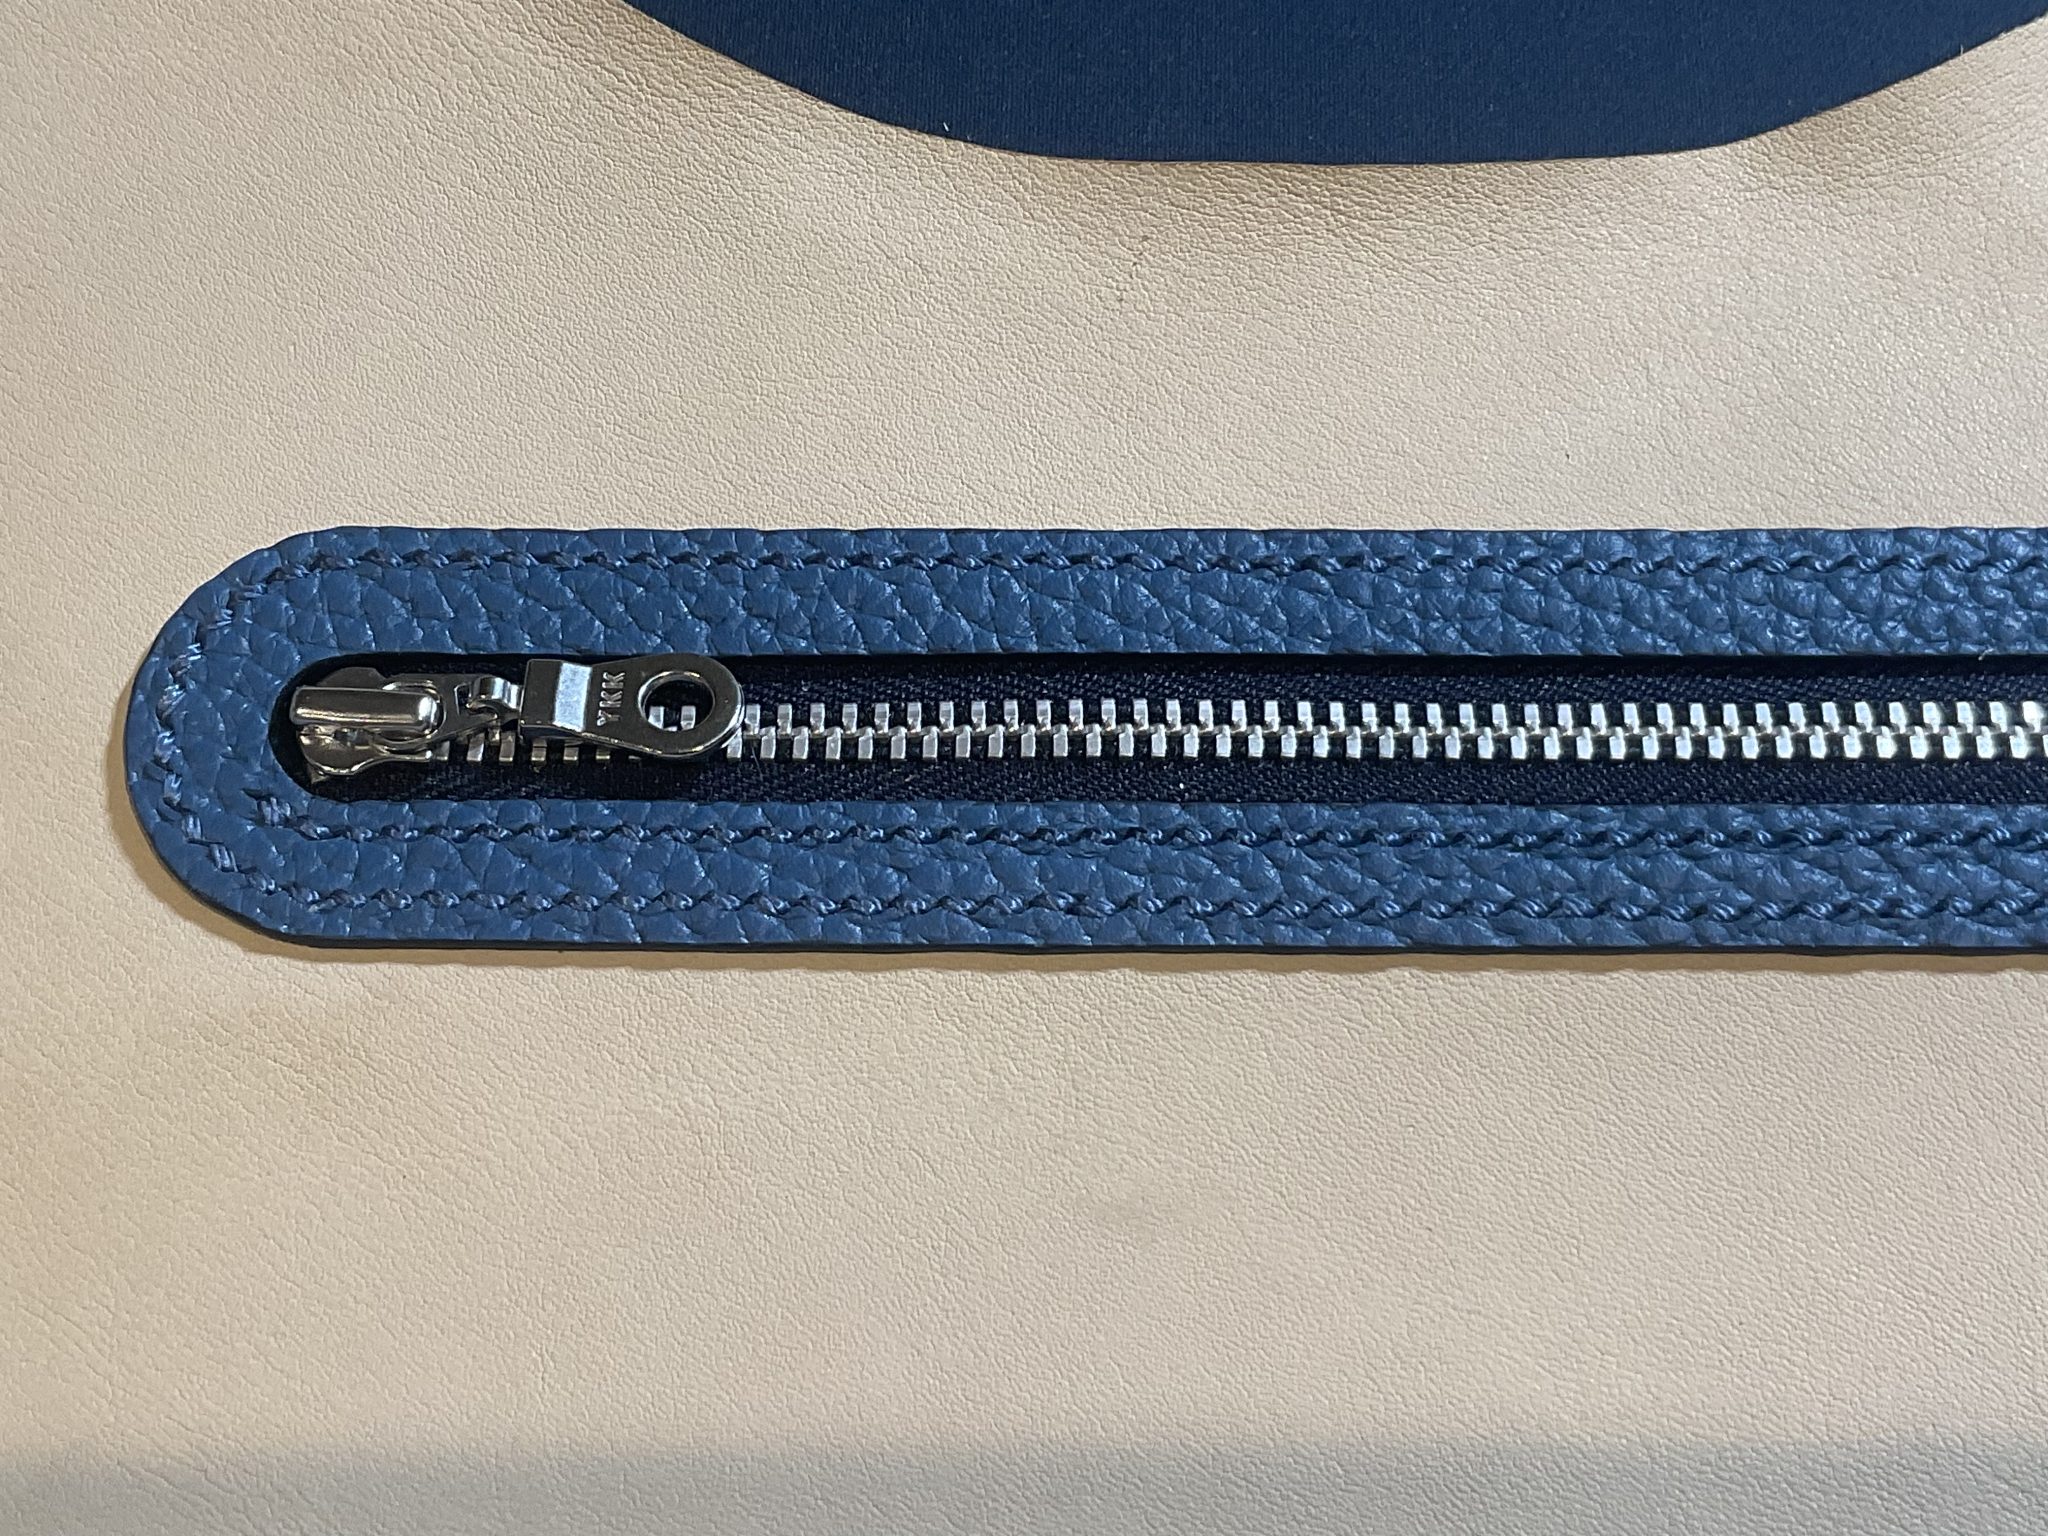
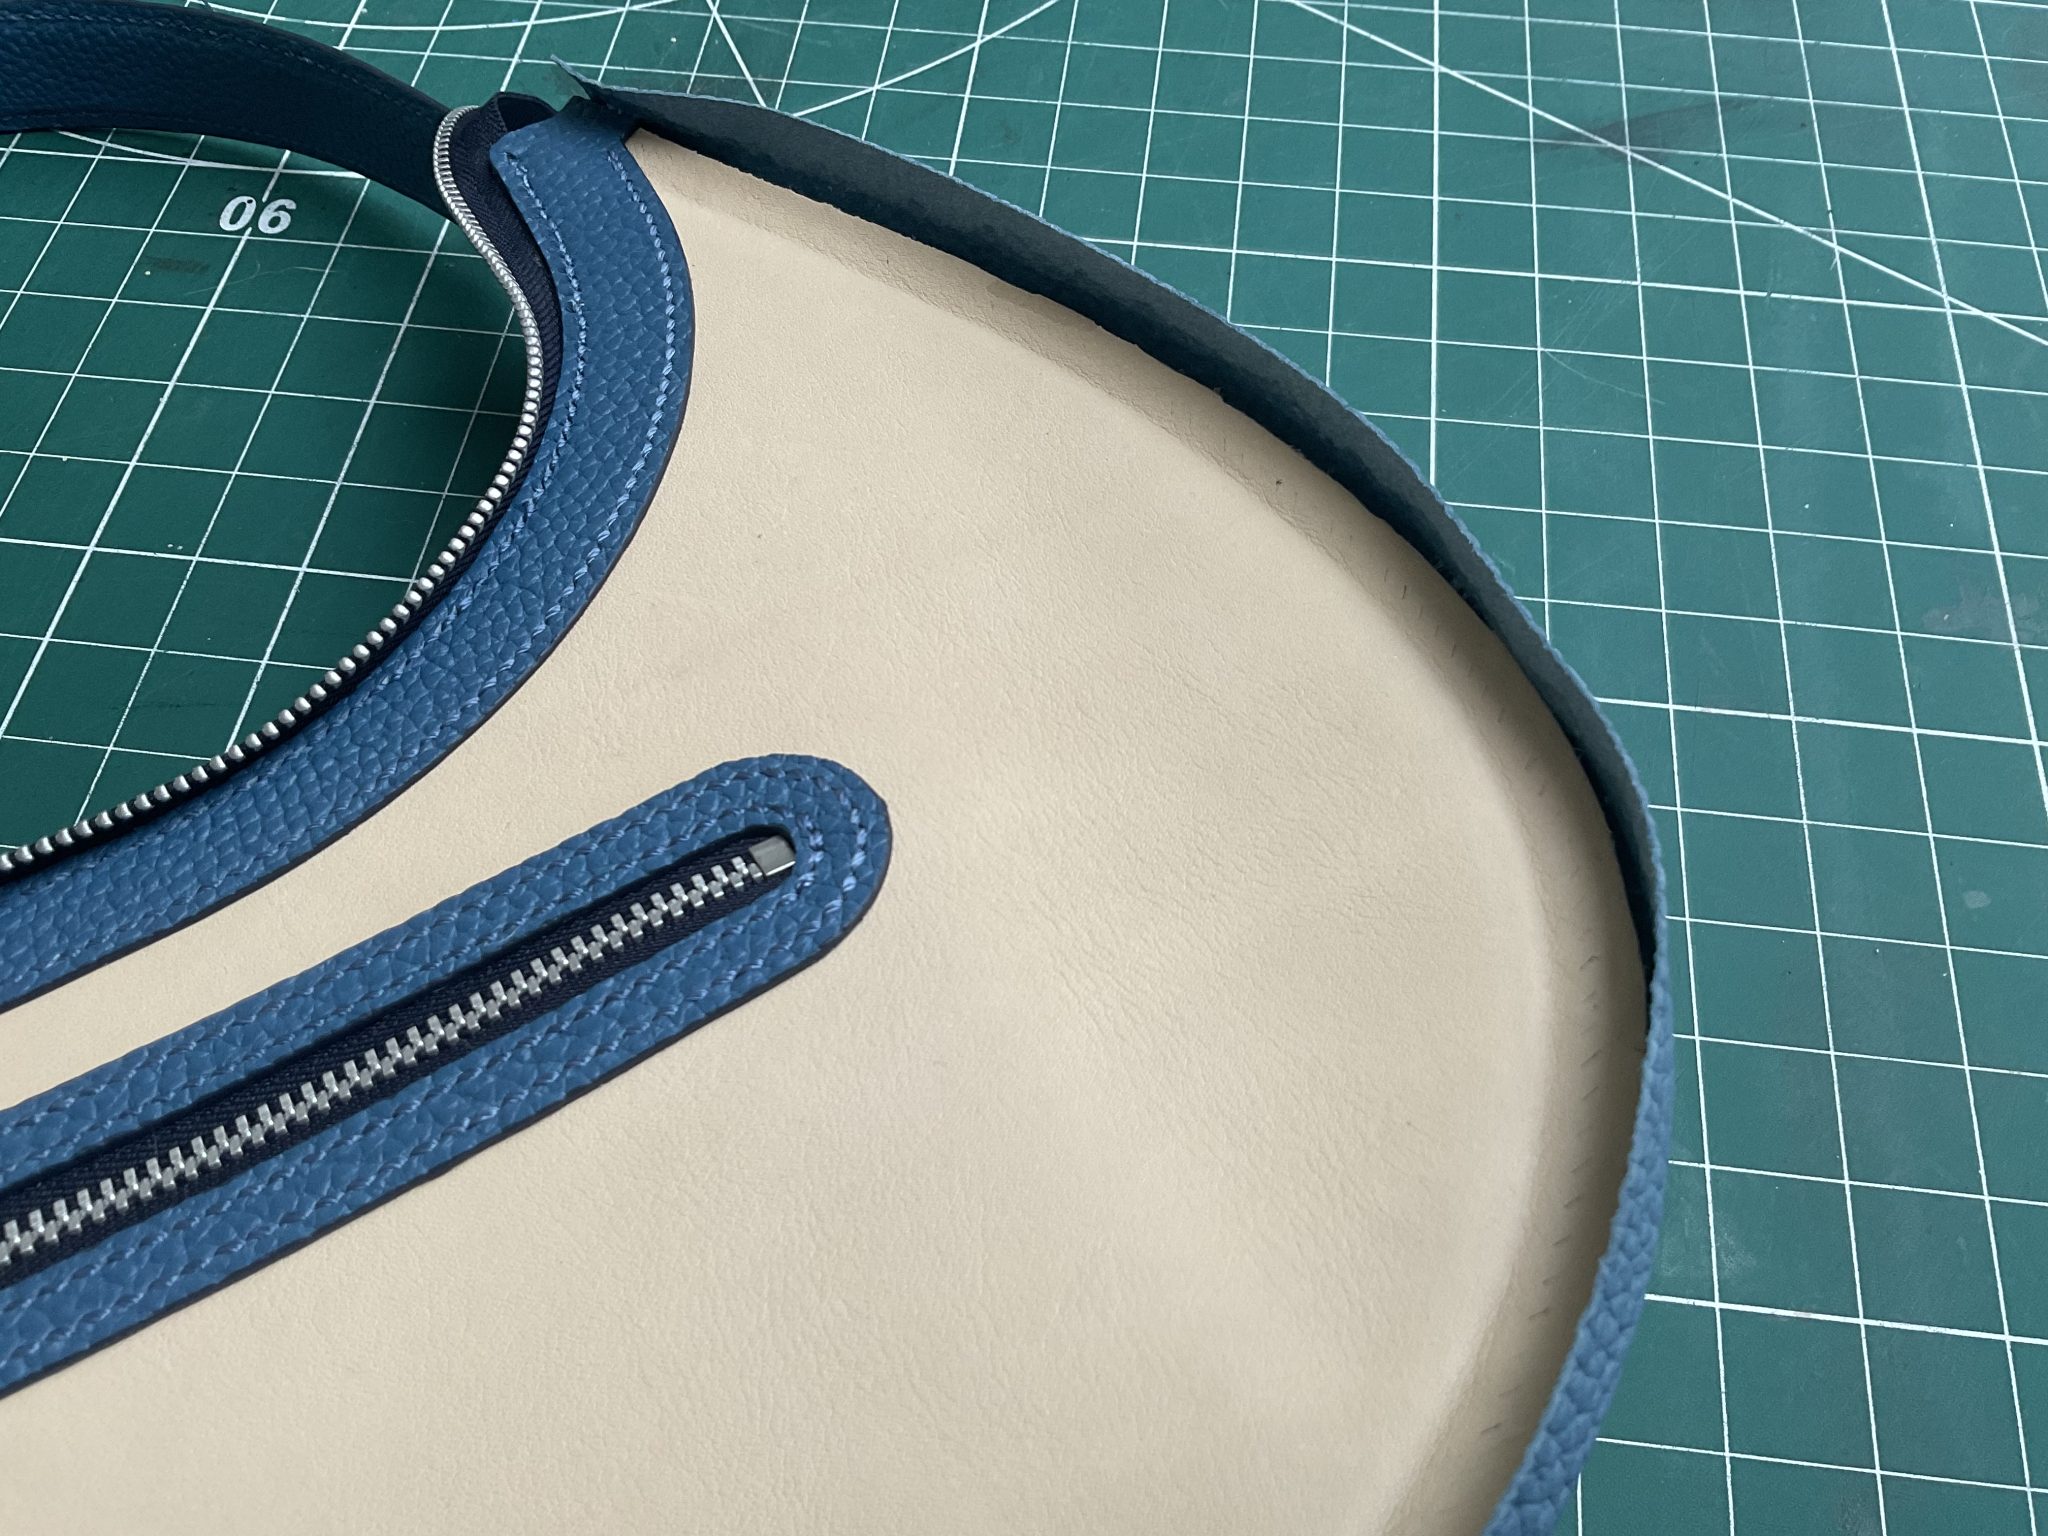
Bonding the zip to the top edge – this was quite tricky and required a couple of attempts. It’s all too easy to end up with a quite rippled zip tap. The solution that worked best was to ensure the zip tape was first applied taught against the thin cut edge. Then, holding the tape along the cut edge, wrap the bonded section of tape inward and down the rear face of the panel. This effectively stretches the bonded part of the tape into an arc.
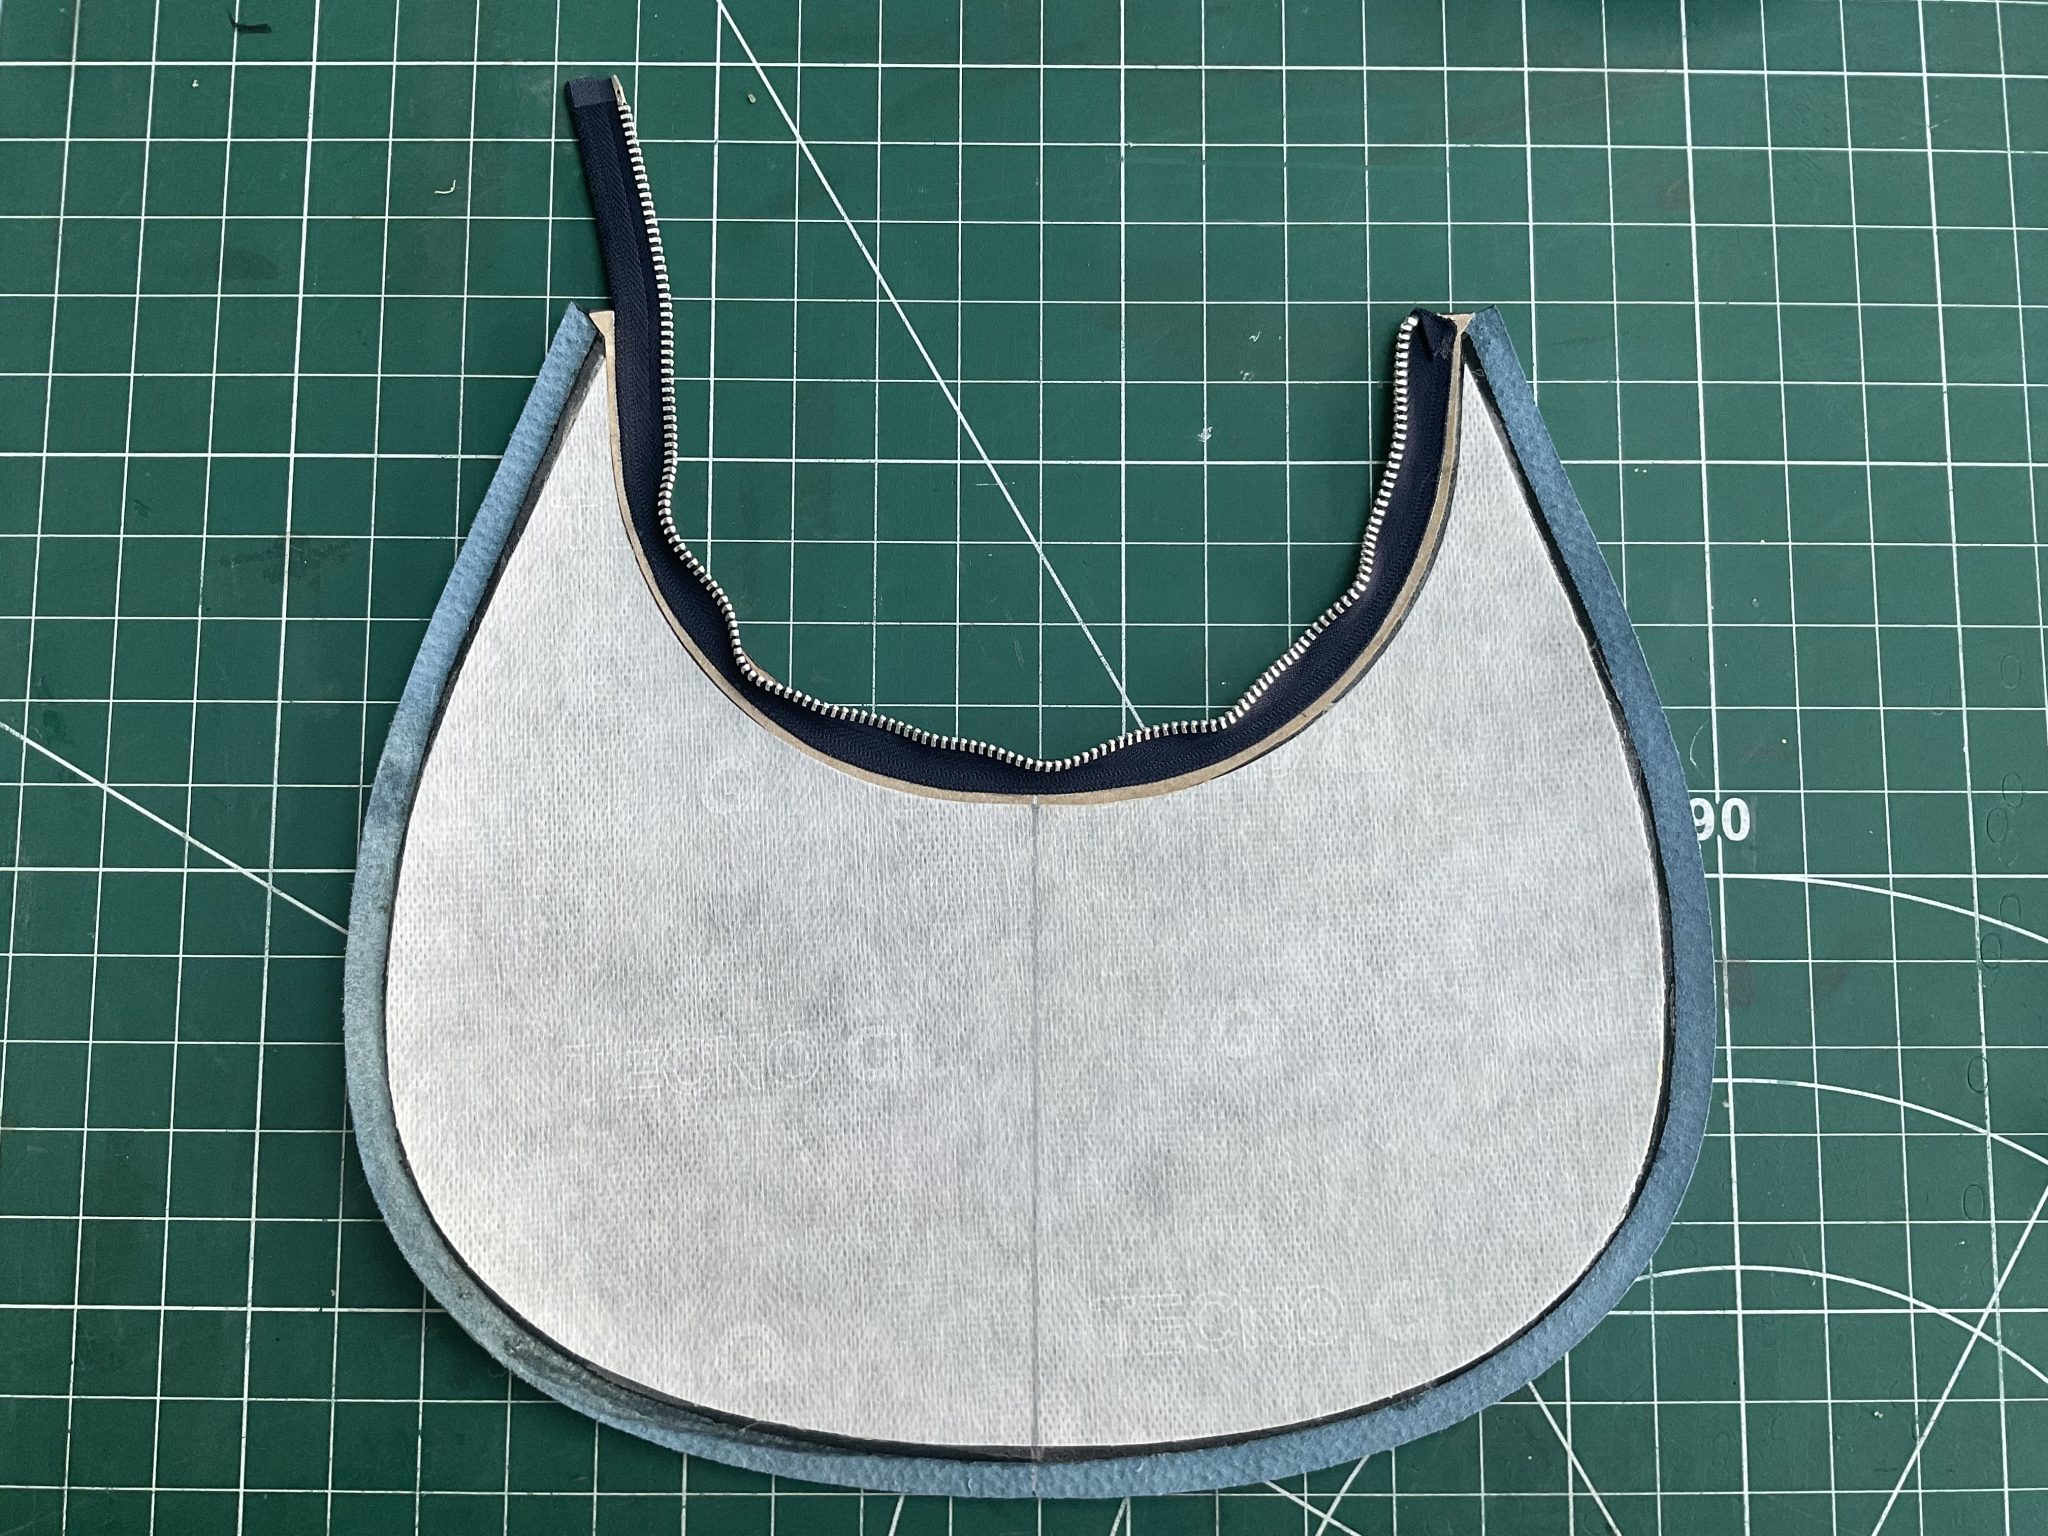
This was the first attempt – note the rippled zip tape which does not look good once everything is finished and the two halves of the zip are closed.
The other issue with using Nappa lining leather is it’s quite stretchy so I had concerns it would stretch out of shape over time. To address this it was also backed with a piece of 0.3mm Talyn Soft Leather Reinforcement.
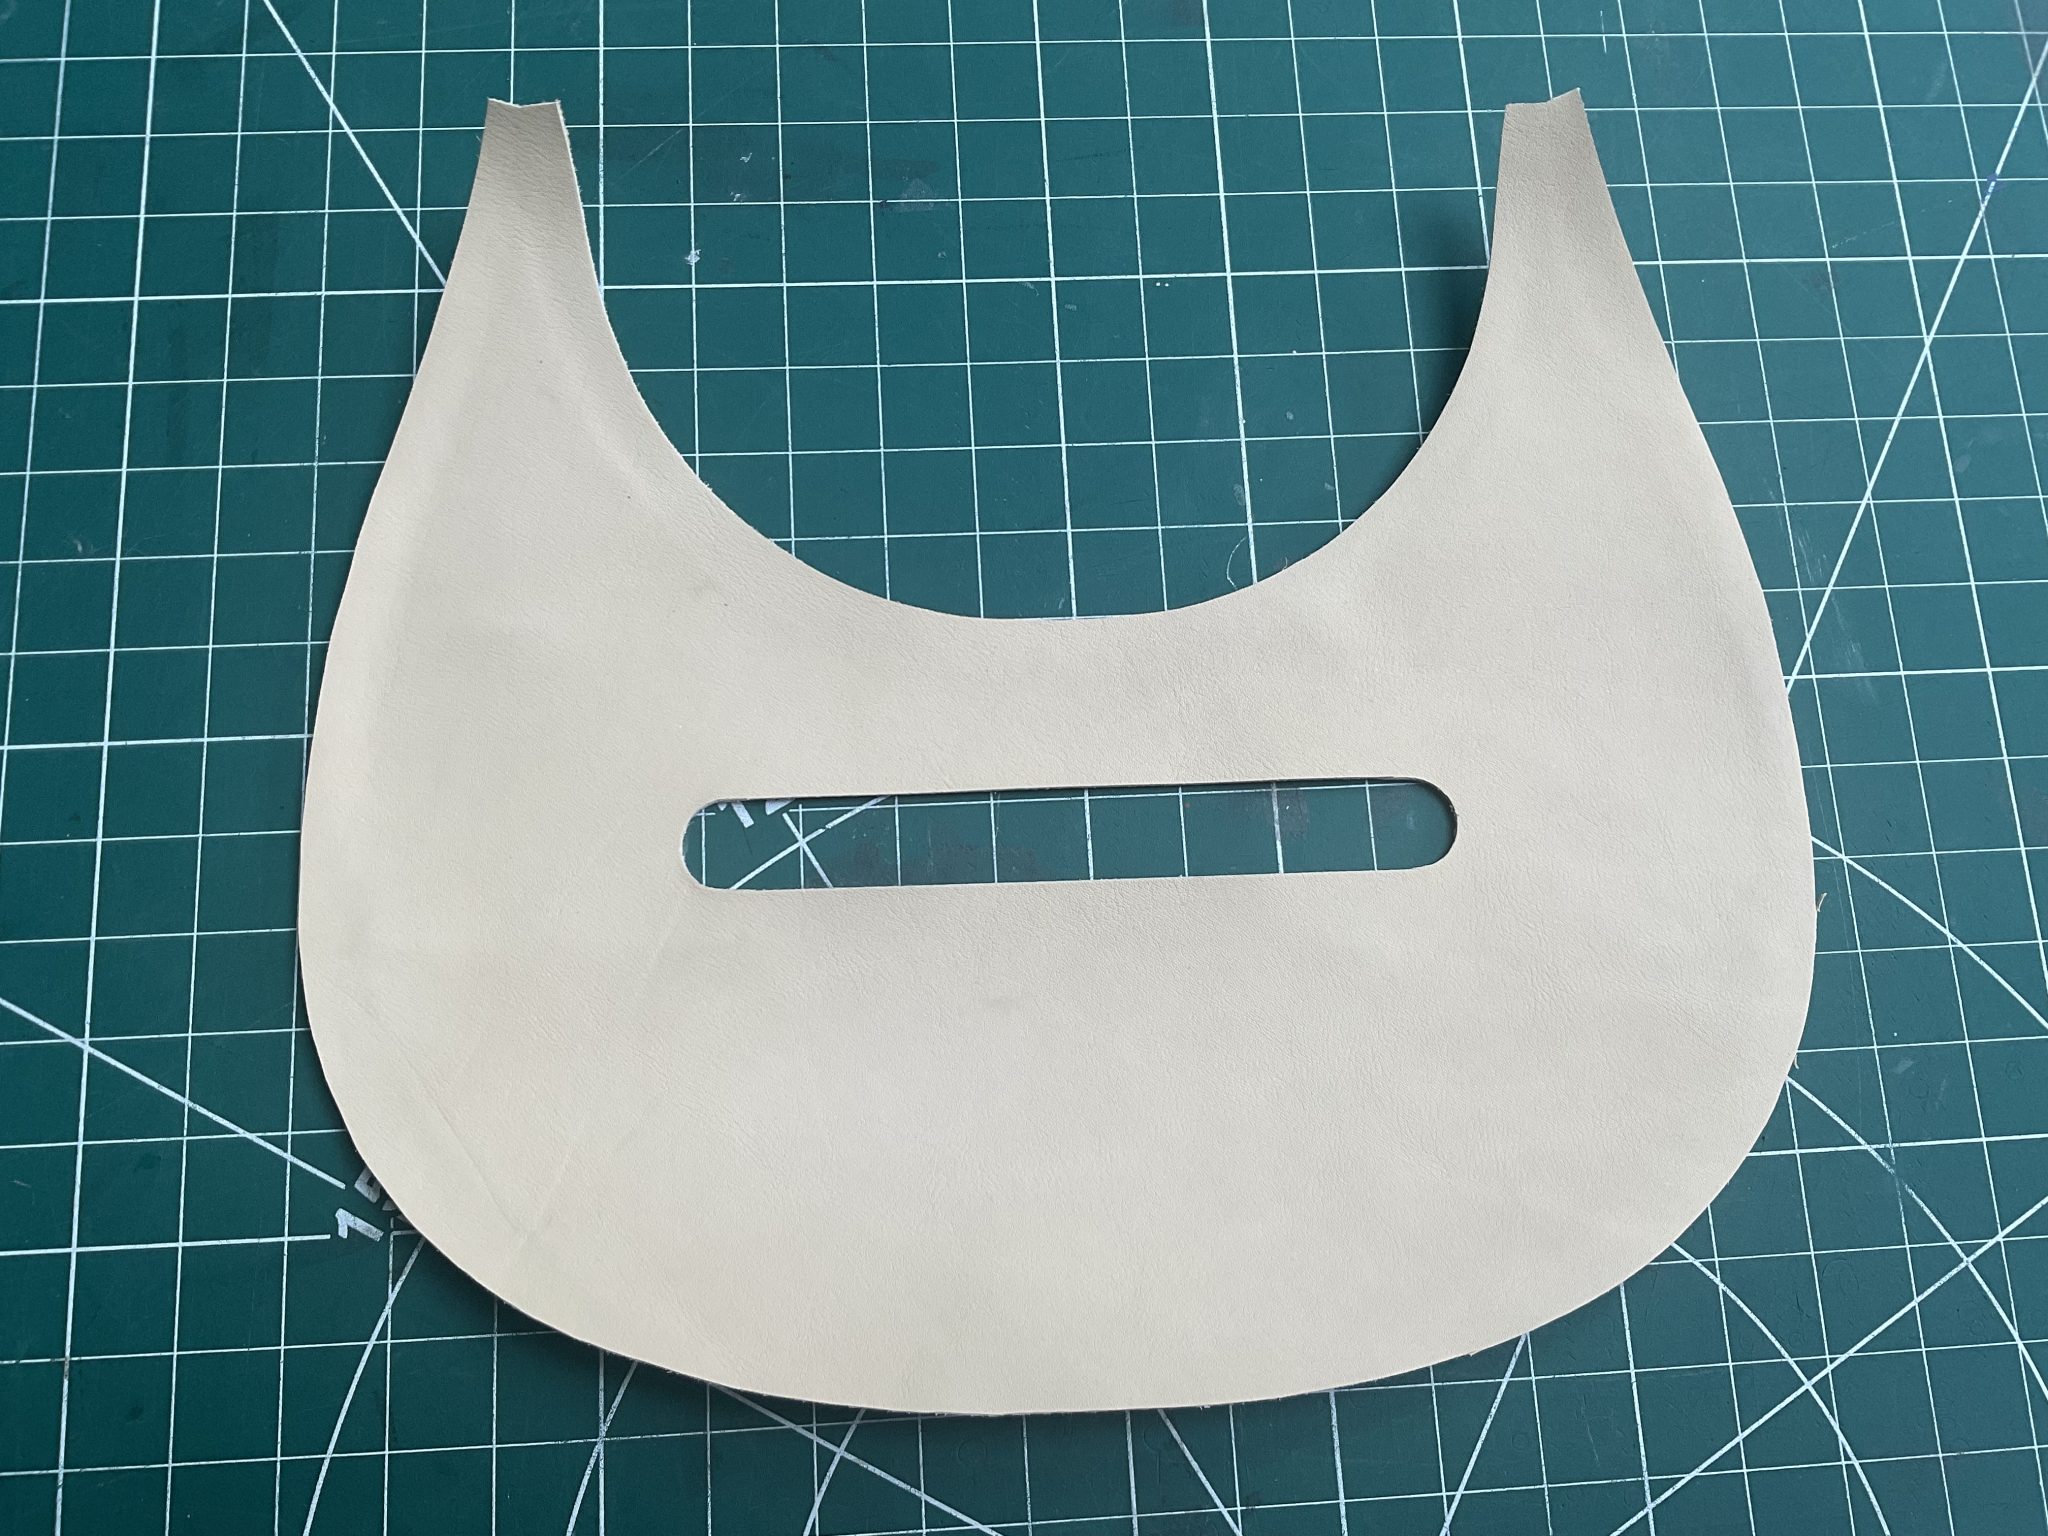
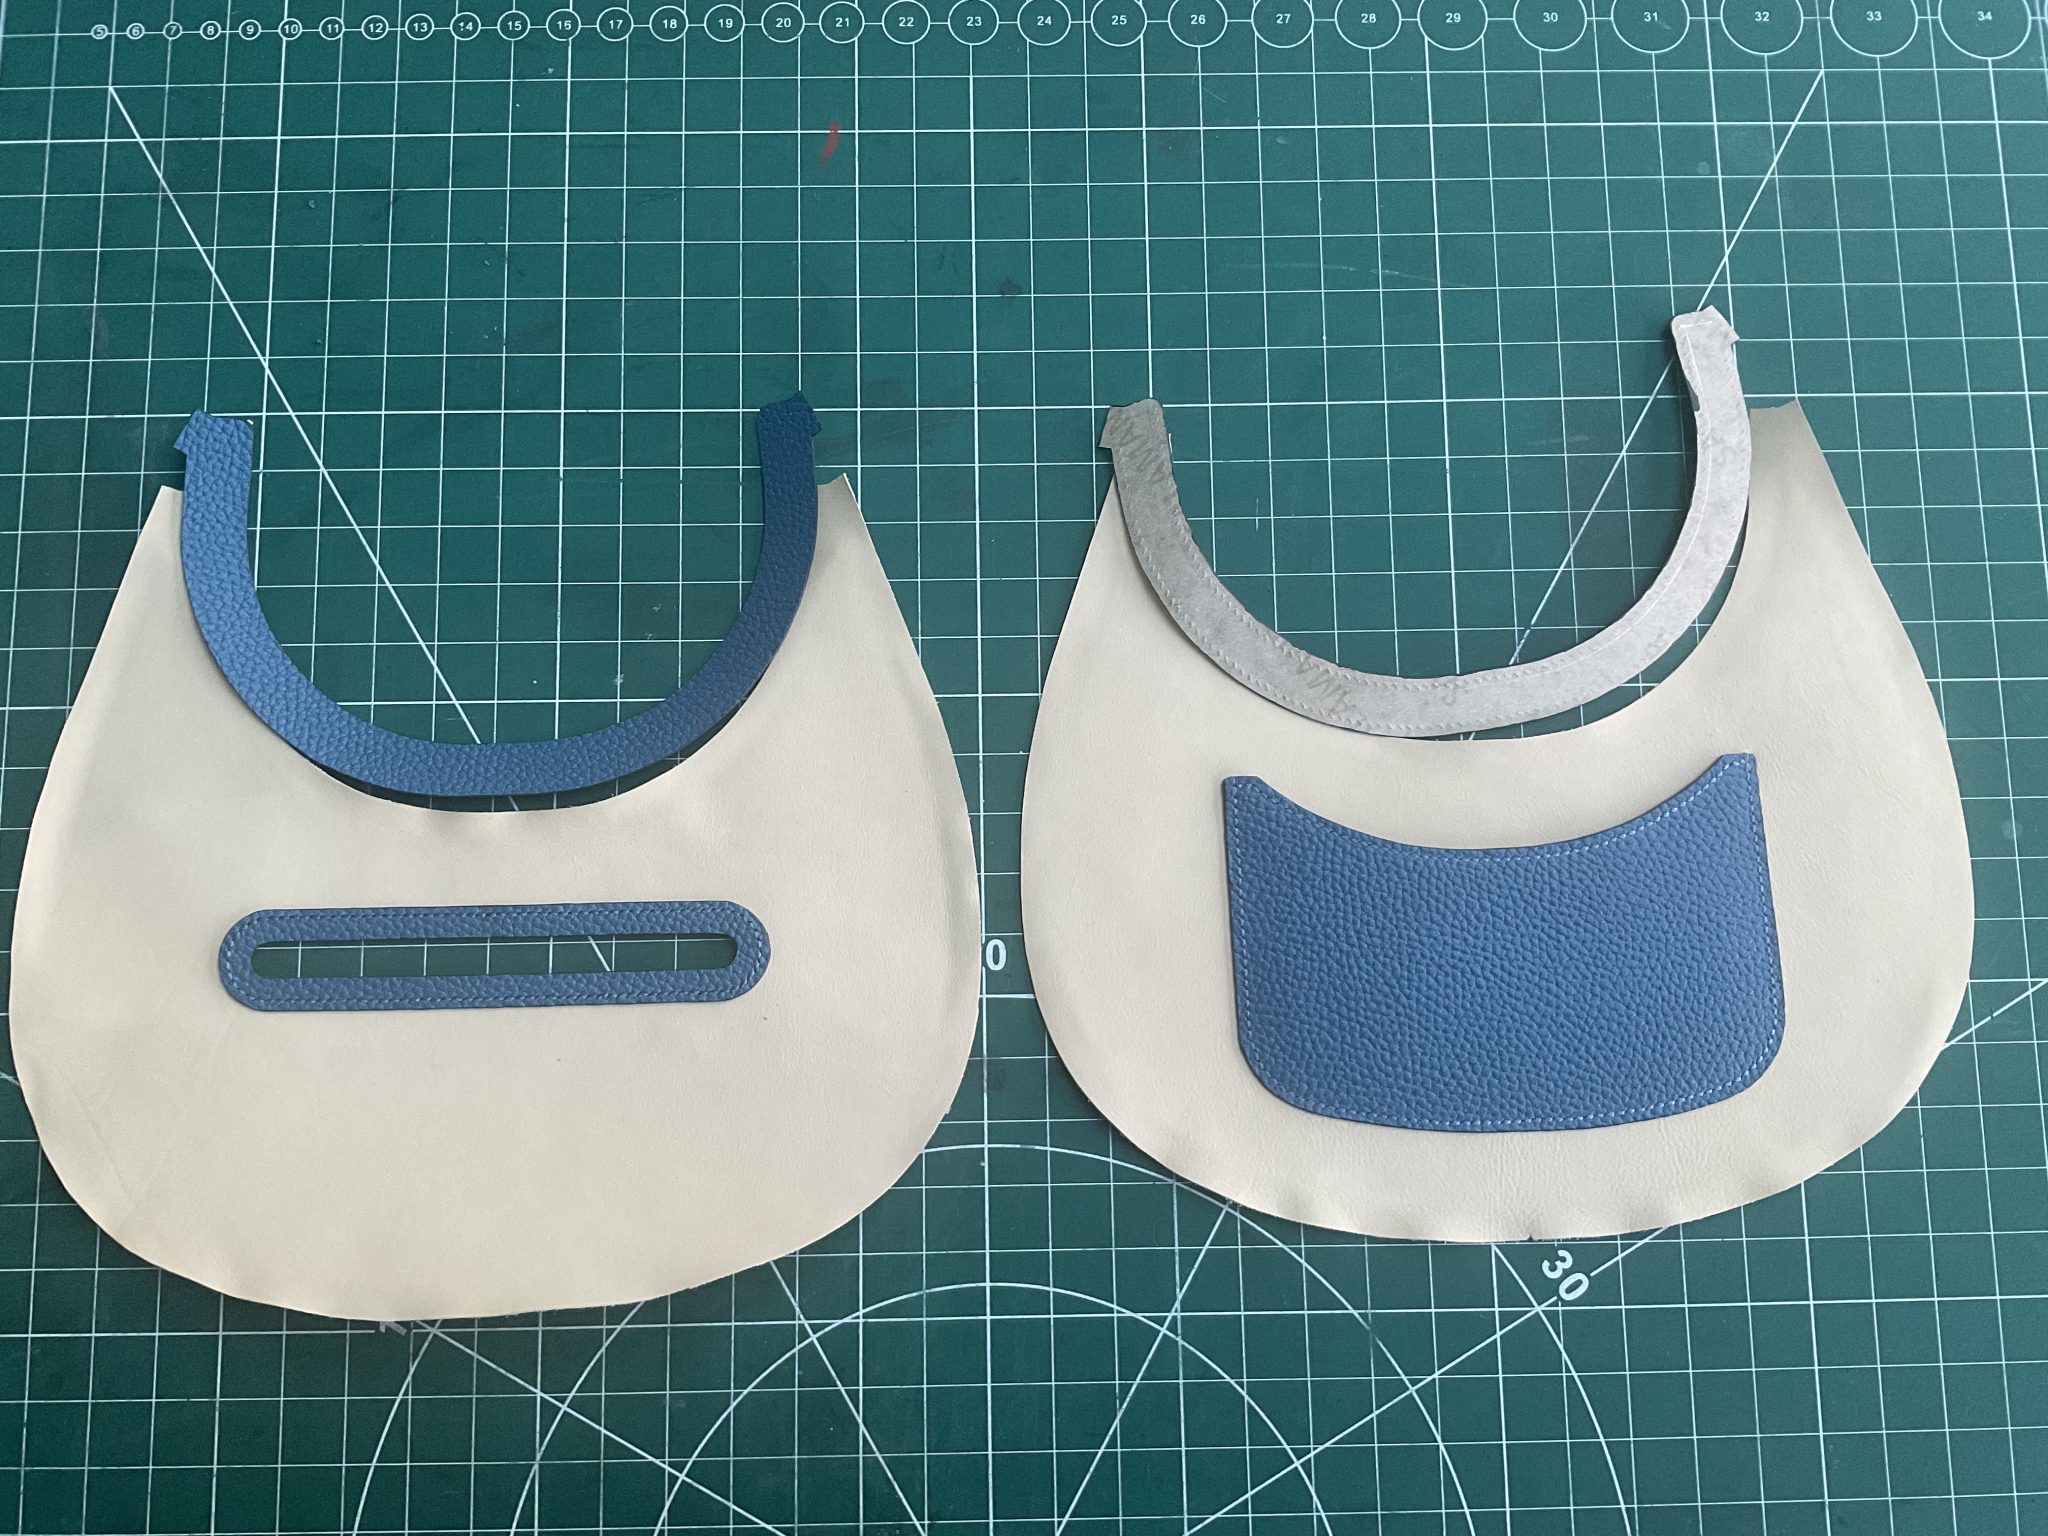
The interior of the bag has a zipped pocket (above) and open pocket.
Again the edges were skived down once the lining had been backed, to reduce bulk at the seams.
The open pocket is full thickness of leather (1.5mm) and lined. The outer 10mm of lining was skived to avoid too much bulk. The opening is strengthening with a strip of skived leather down to 0.6mm.
Bonding the pocket lining.
The rear strengthening strip is glued proud of the top.

The excess can then be trimmed flush before edge painting.
The two lining pieces have a leather strengthening strip along the top edge, which will also be stitched through to secure the closing zip.
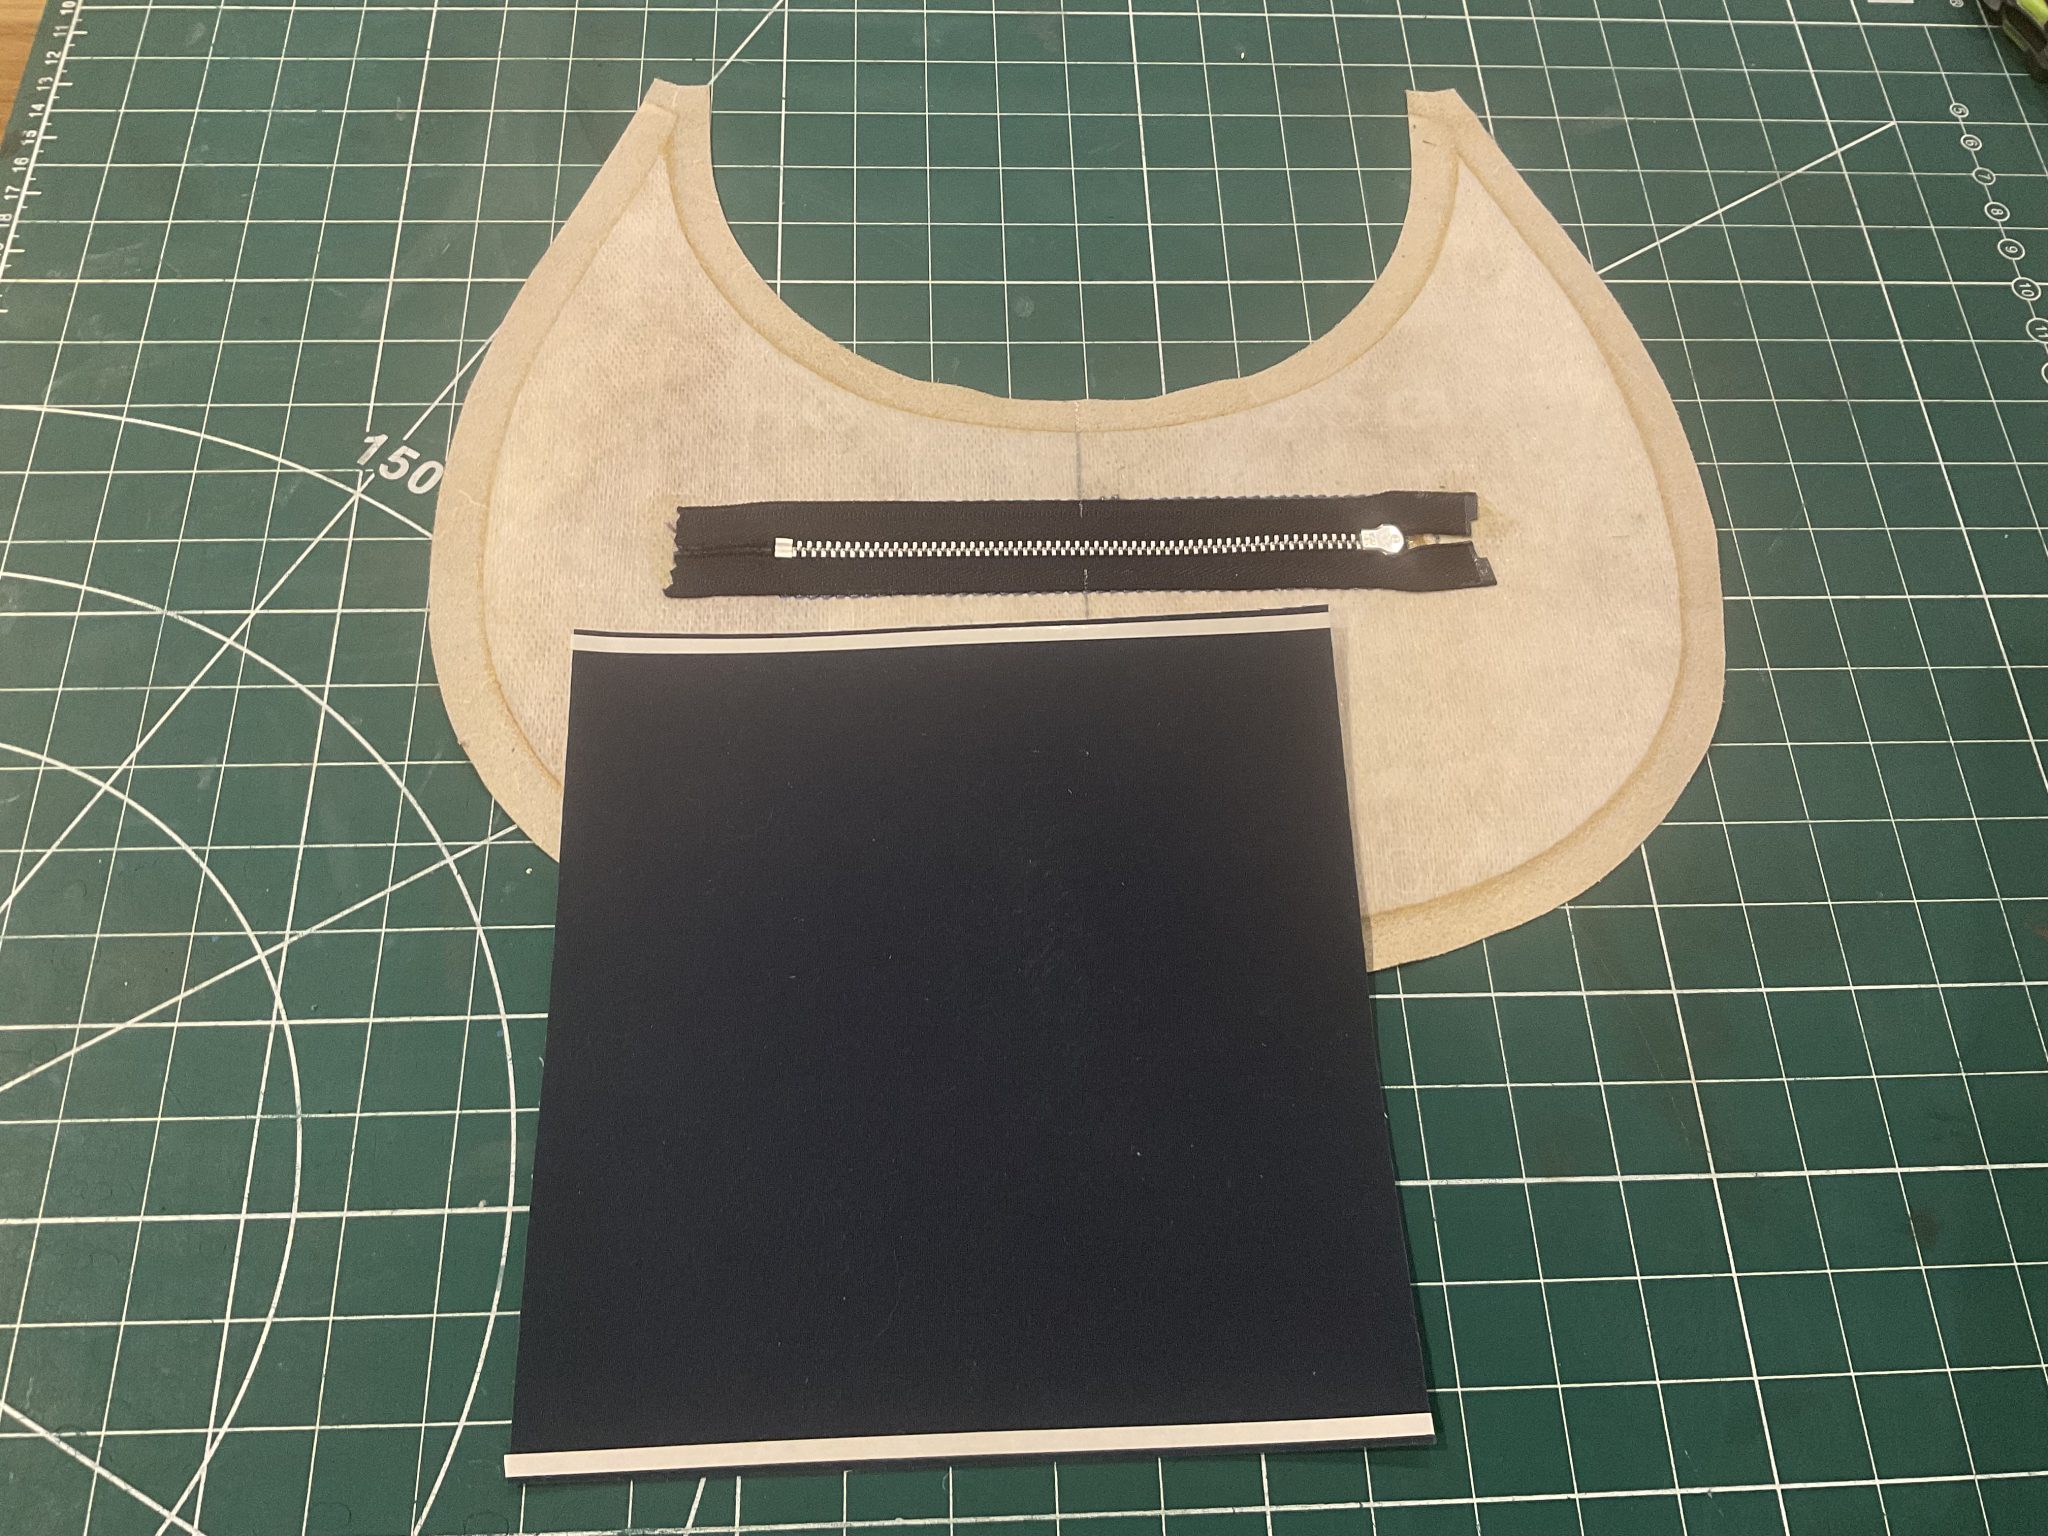
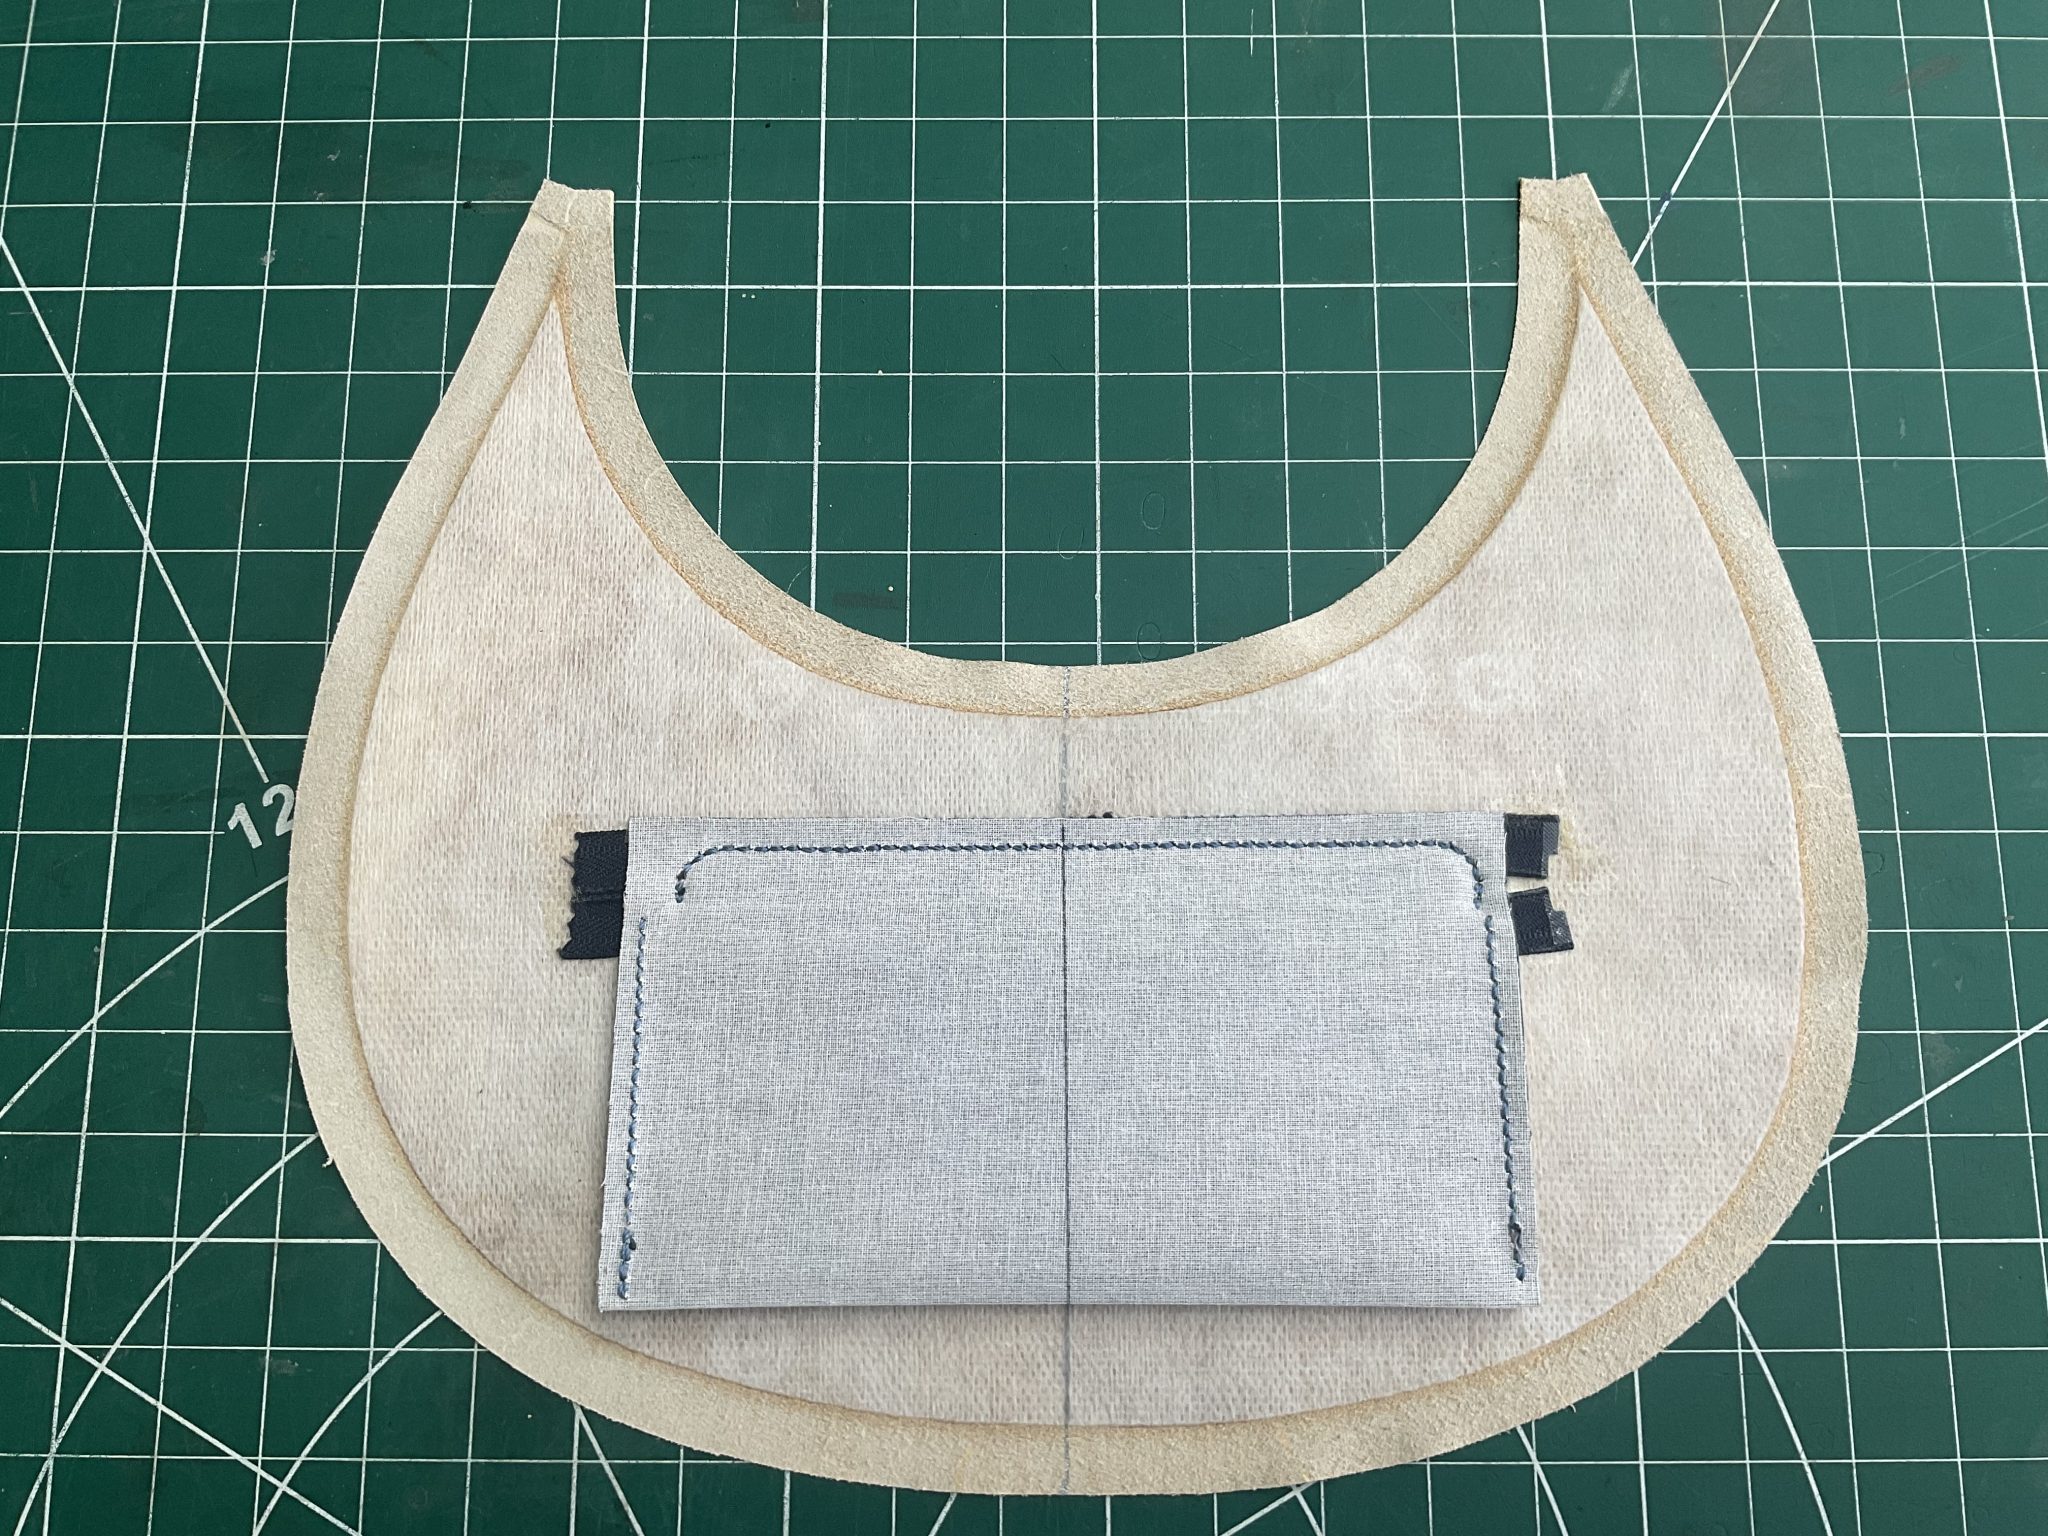
A #3 YKK zip was bonded to the lining panel using contact adhesive. The pocket is made from a canvas material – double sided tape will secure it to the zipper tape before stitching.
First the pocket lining is stuck to the bottom edge of the zipper tap and then stitched..
It was necessary to use the stitching irons to make the stitching holes through the interfaced backed canvas in order to stitch the bottom edge.
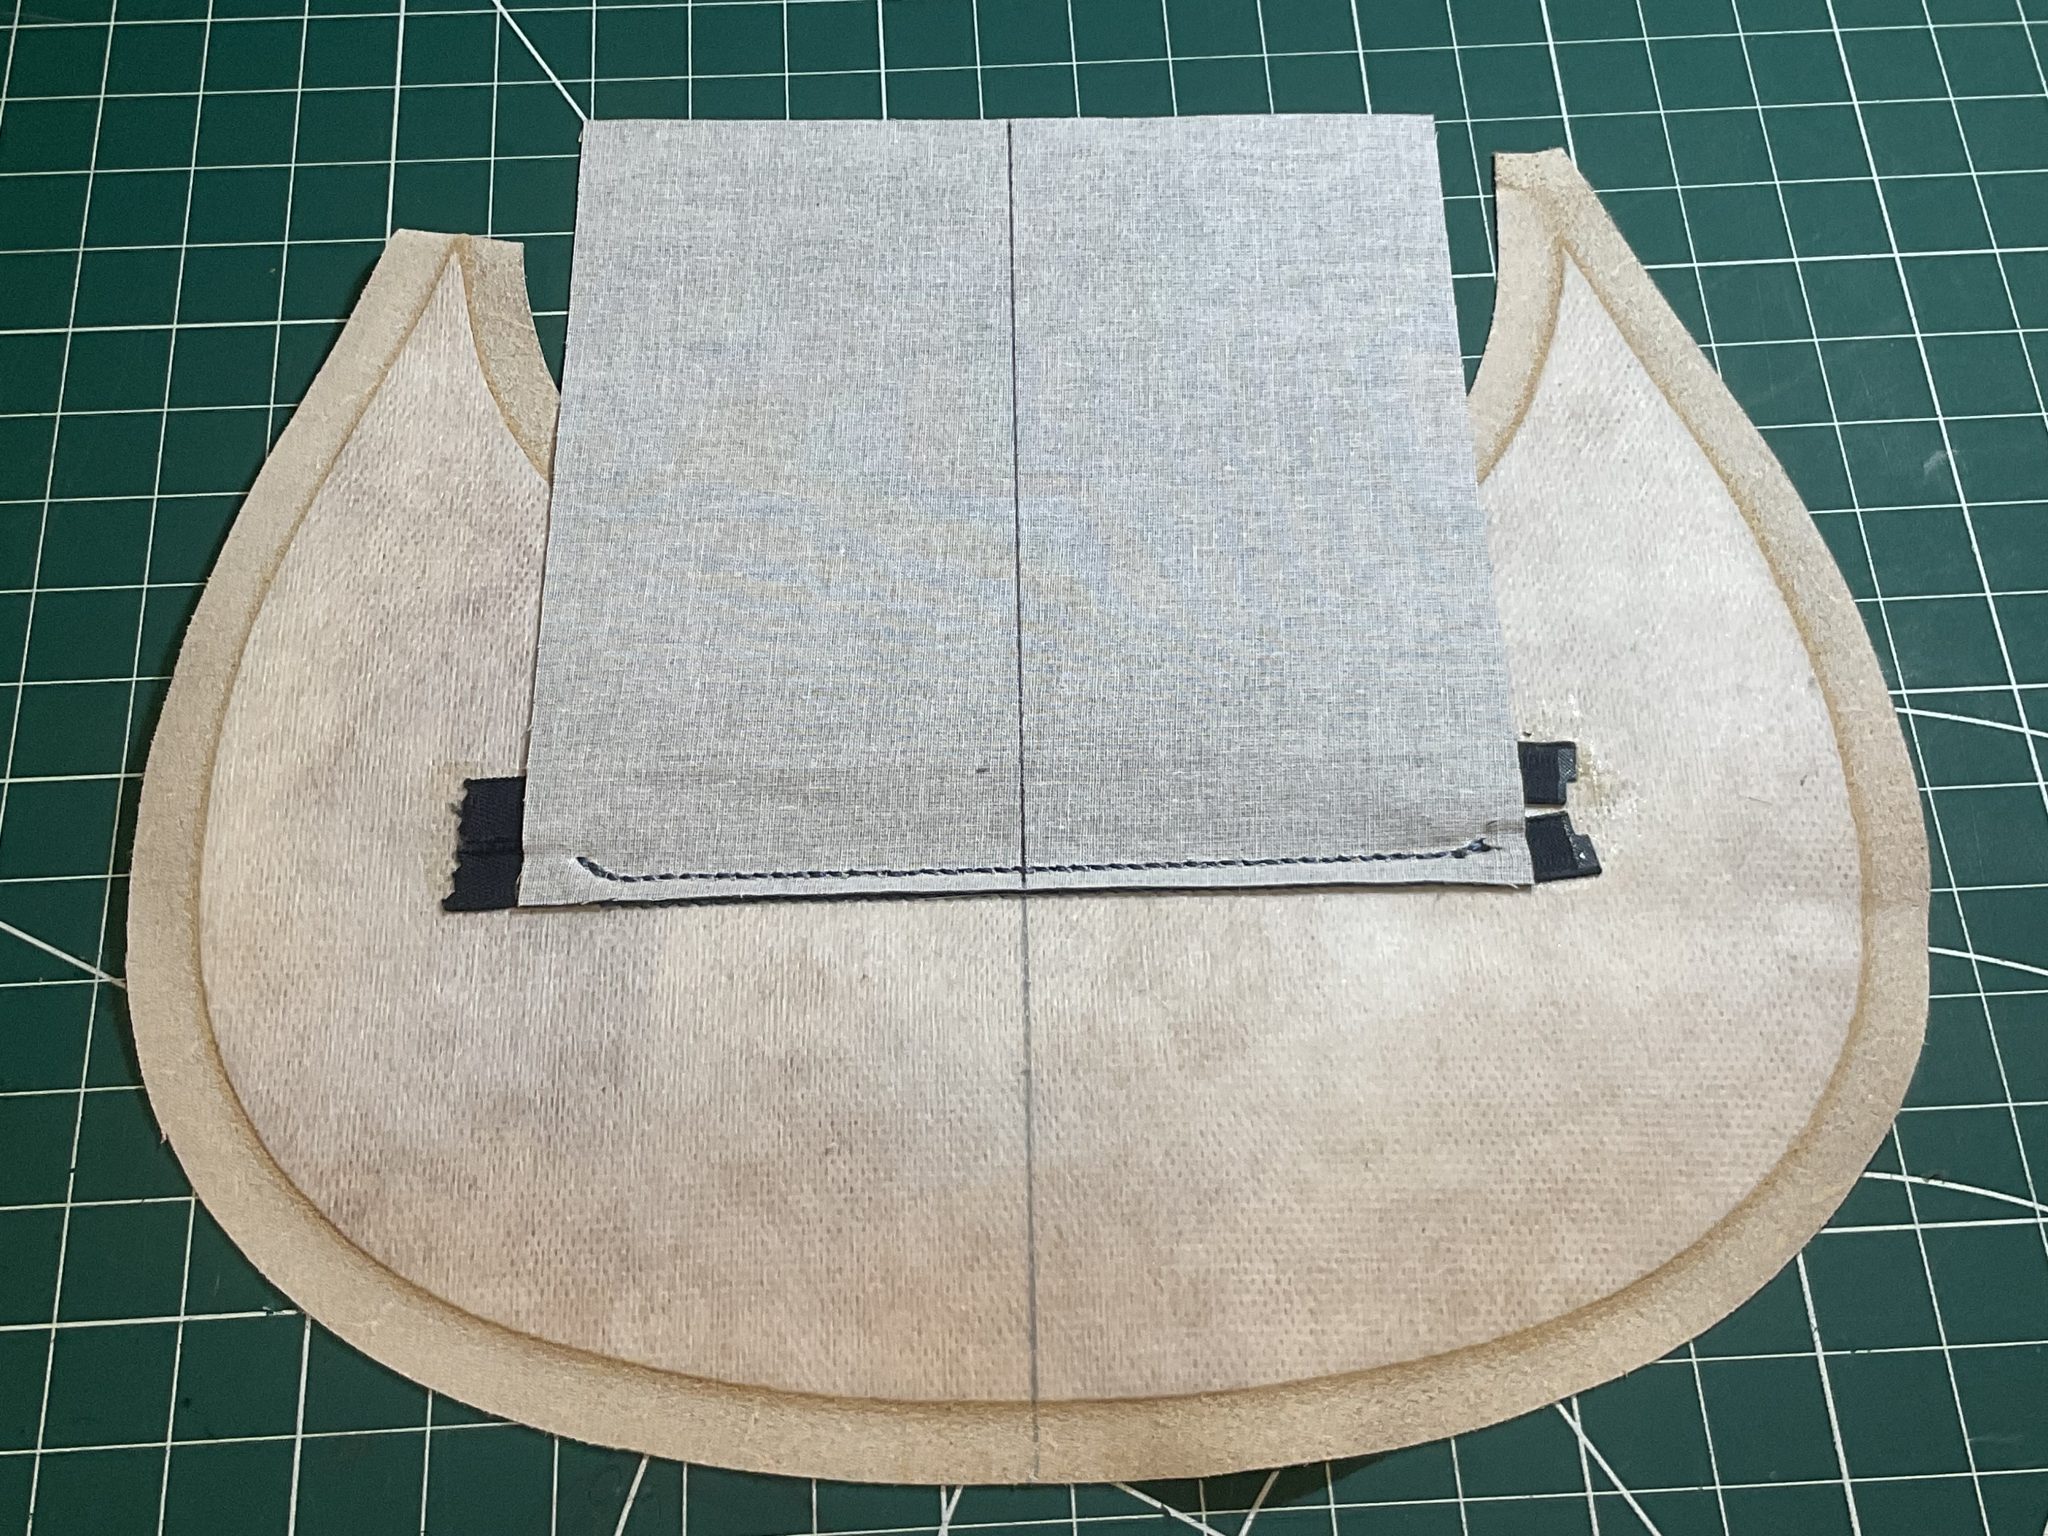
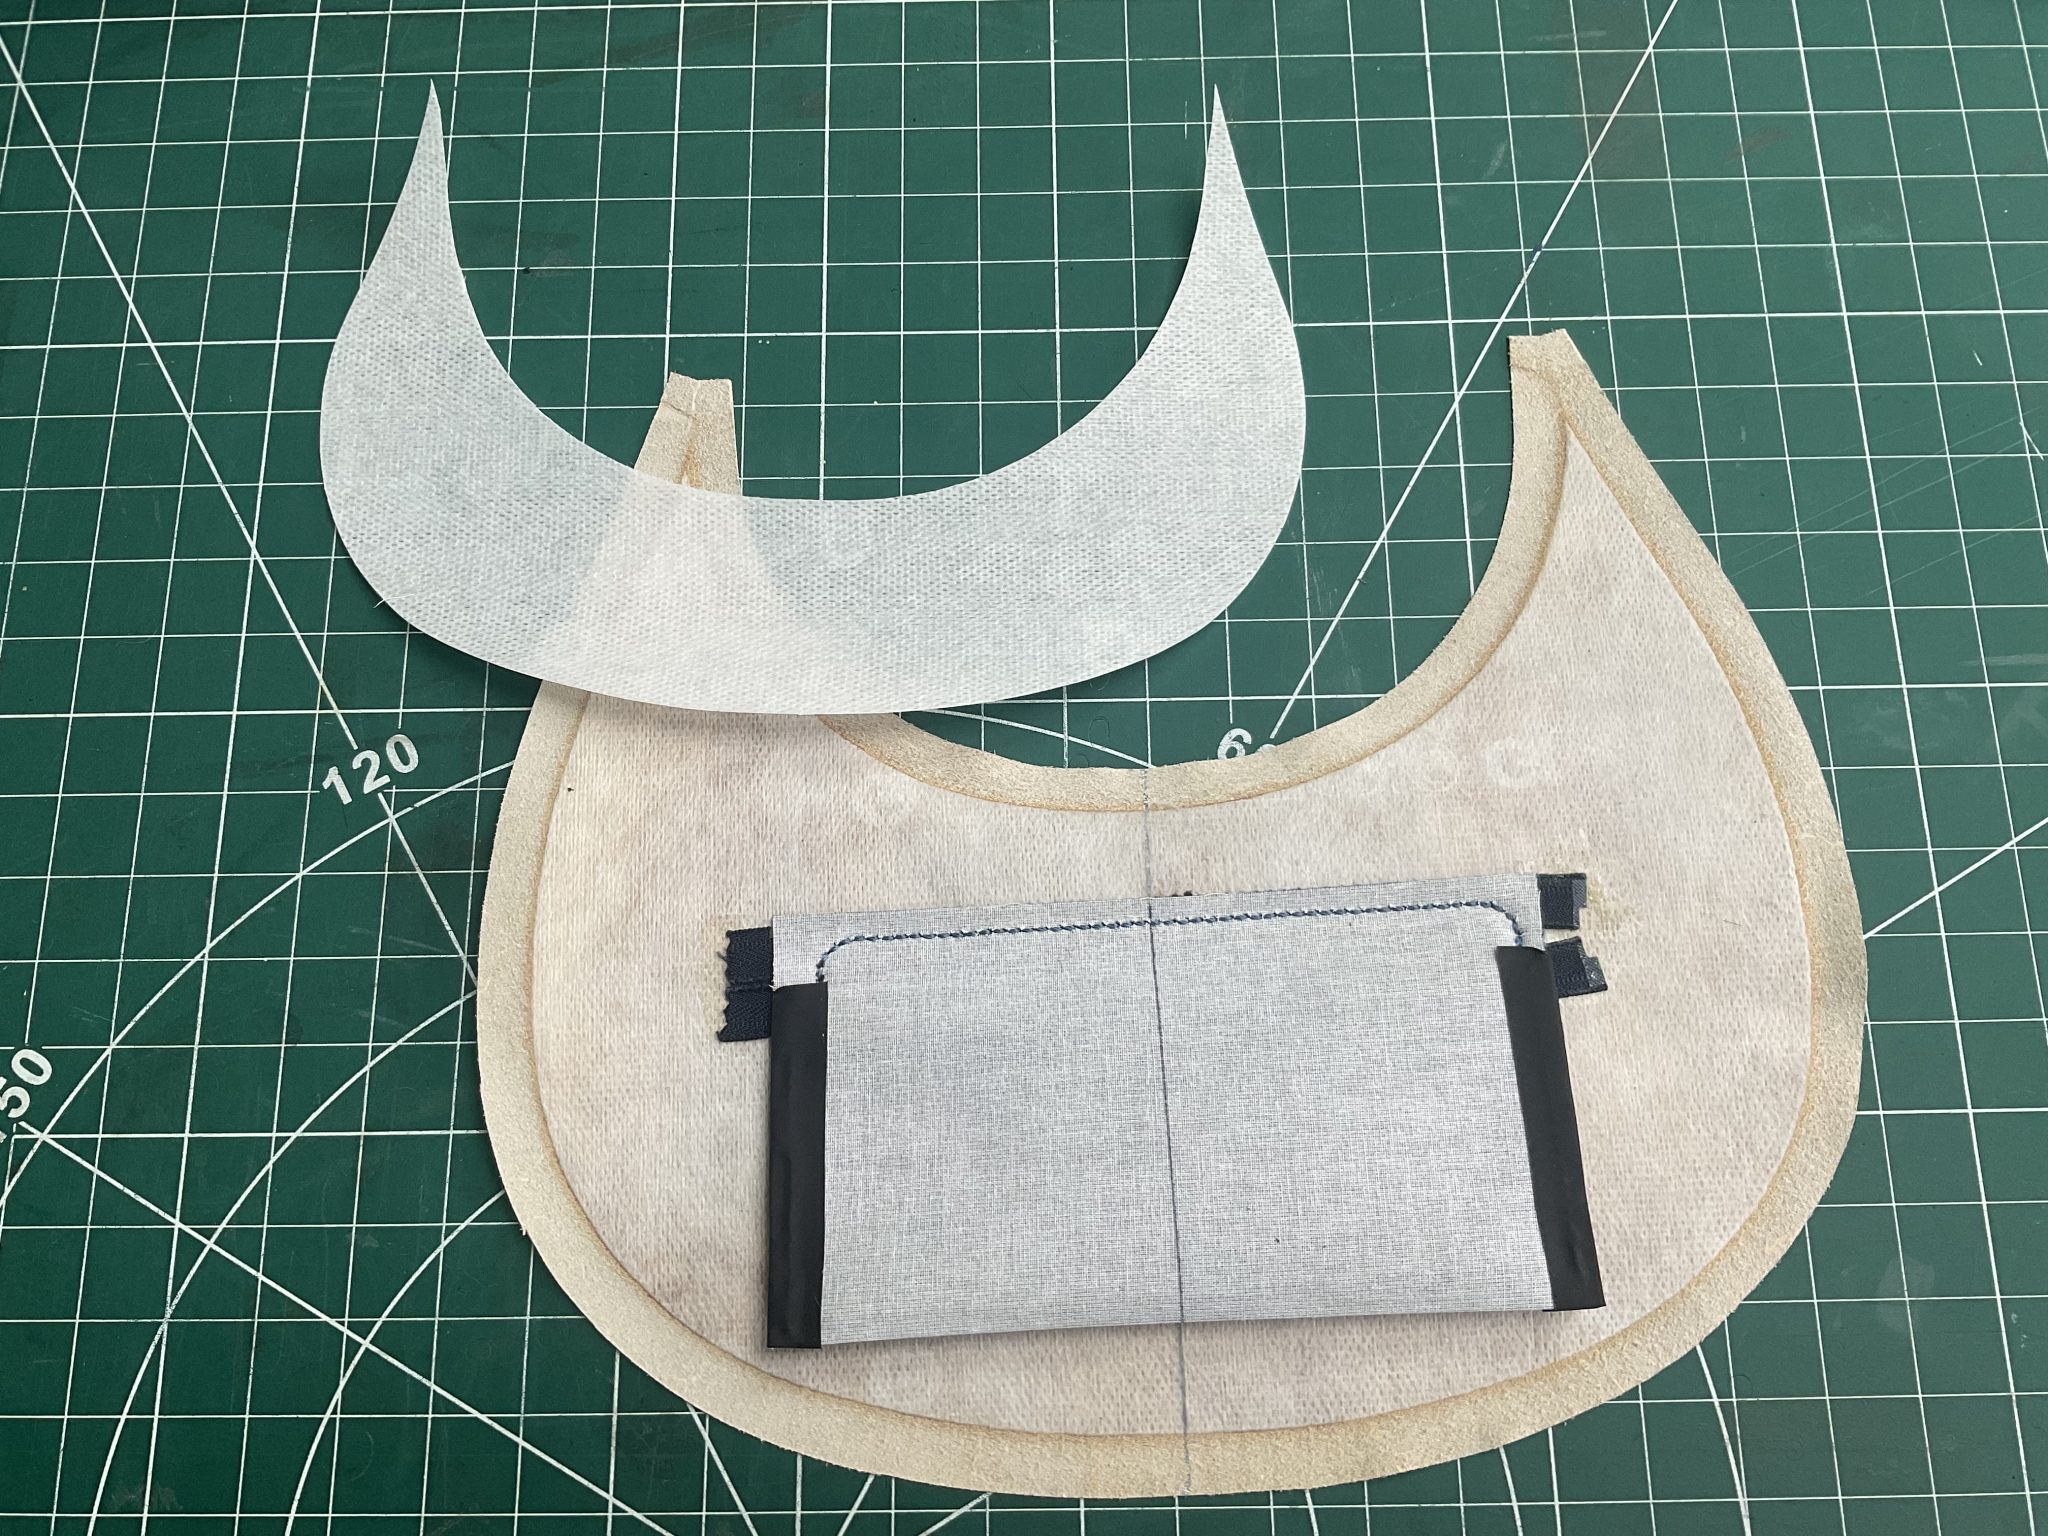
Once the bottom edge is secured, the pocket material is folded down along the stitch line, then folded upwards to make the pocket.
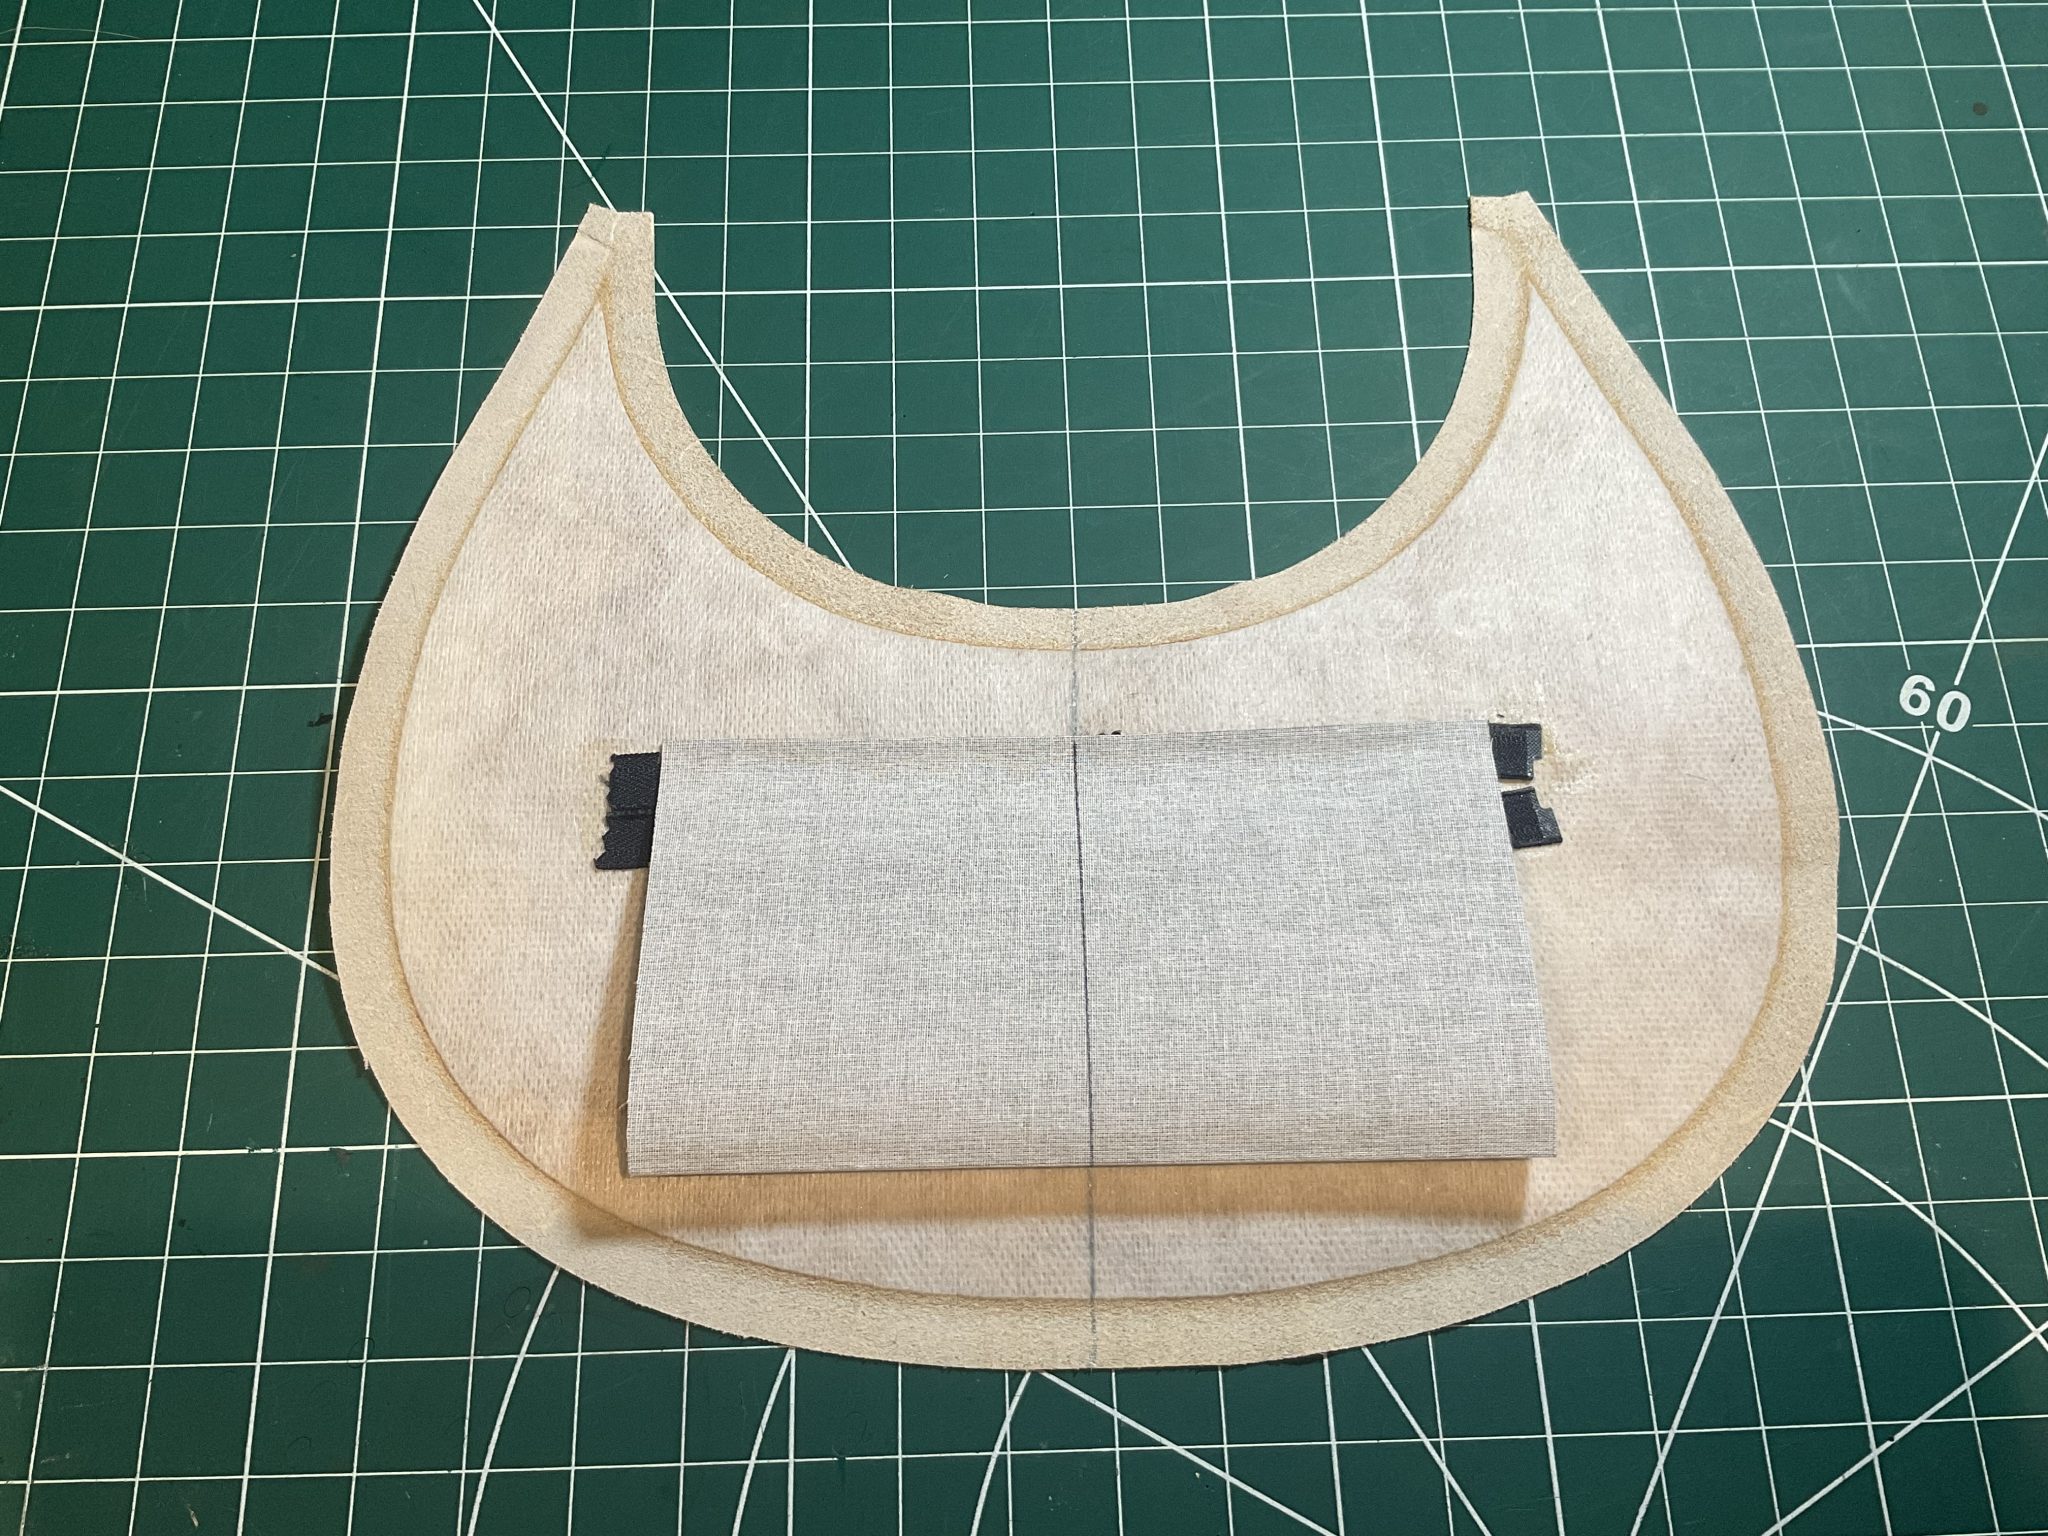
The top edge is then stuck down with double sided tape to the top of the zipper tape and then stitched..
The top edge and pocket sides stitched to complete the zipped pocket.
A strengthening piece was added to the top edge – the jury is out whether this is needed or will end up making it too bulky. I also decided to use fabric cement and apply tape to the pocket sides to make sure nothing straitened fraying.
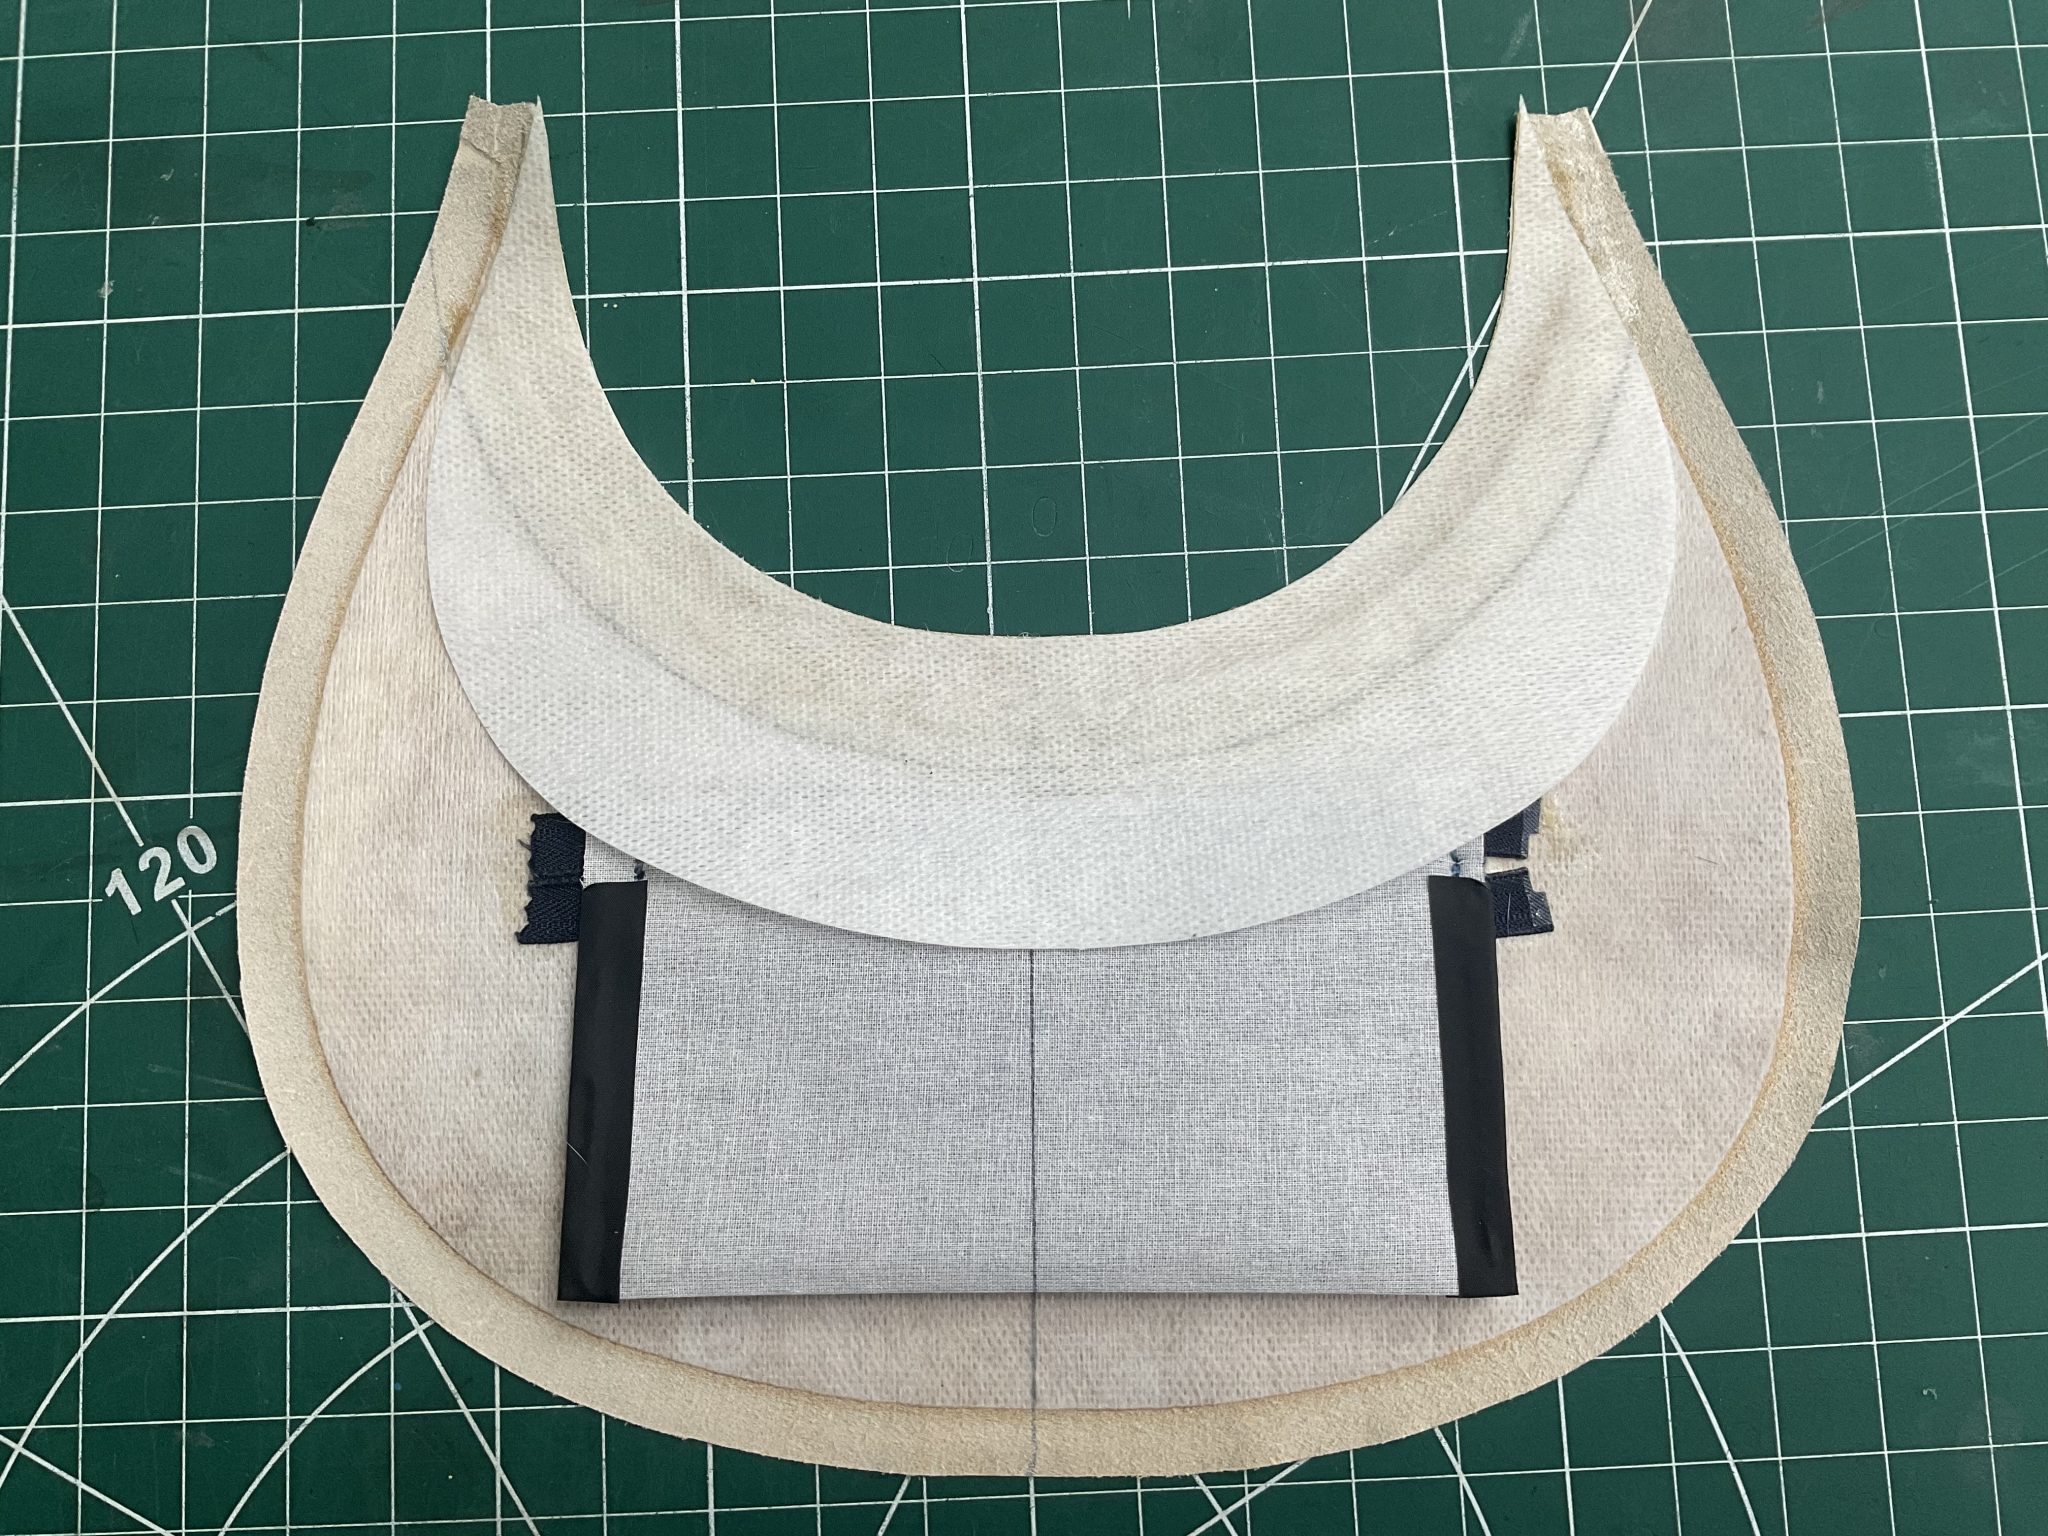
The strengthen piece was just bonded for the top 20mm or so. I do have considerable concern that all the various layers of leather, foam, strengthening and interface will make the panels too rigid to turn the bag the right way out once built. It is made inside out so I won’t discover if it’s an issue until everything is completed!
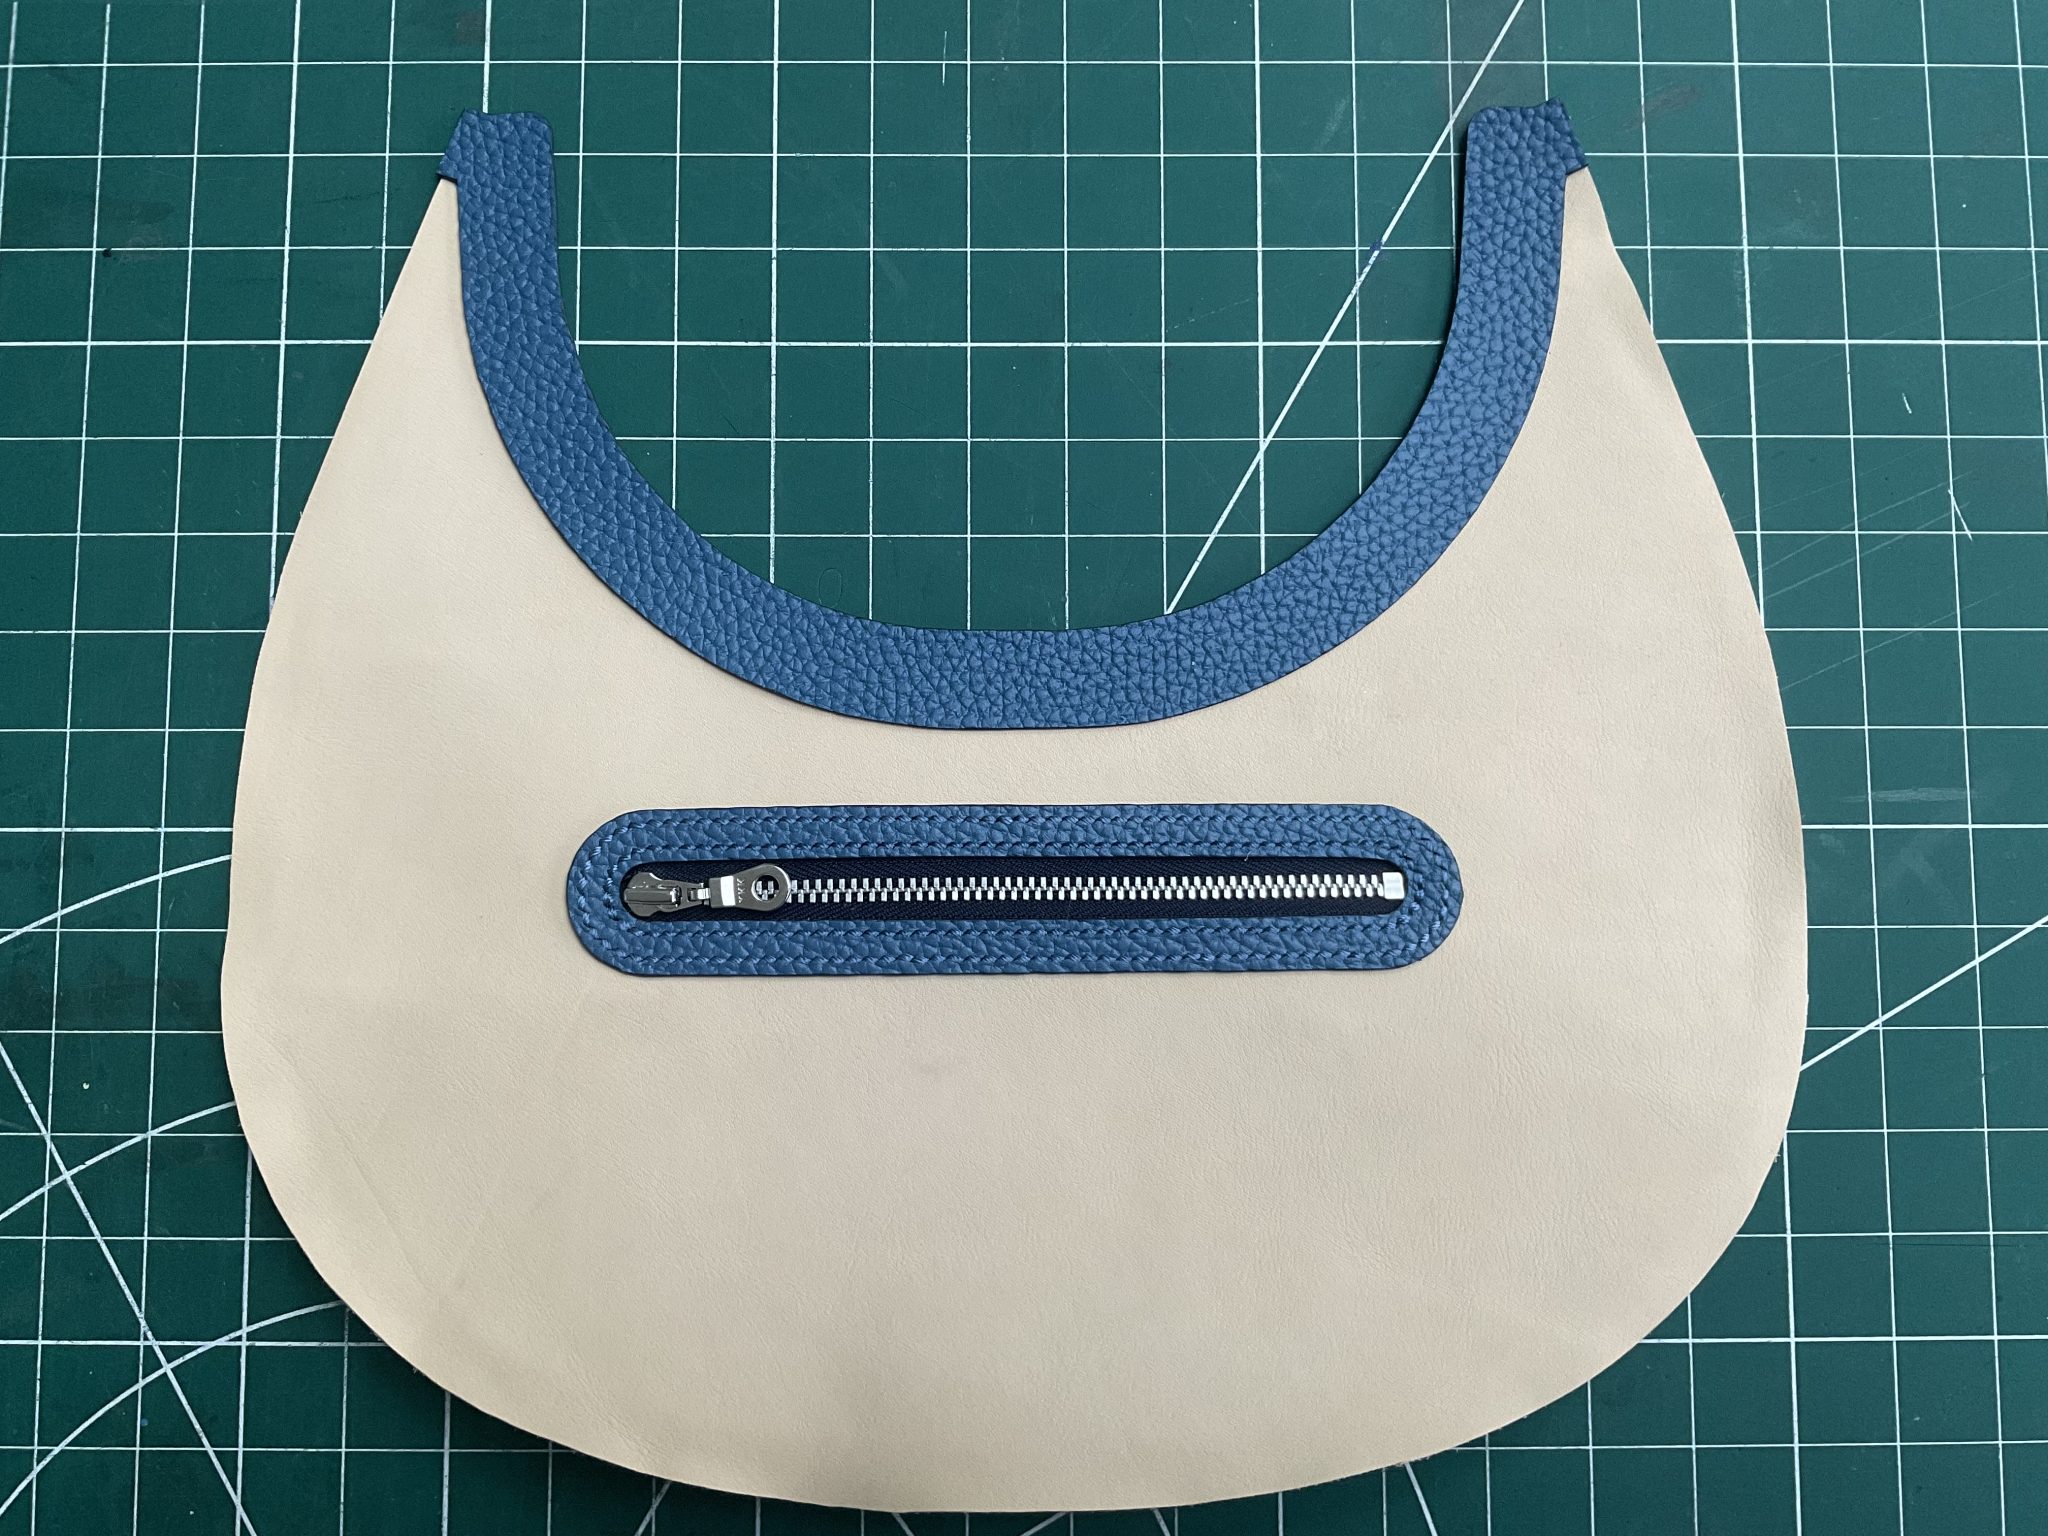
To complete the inner piece the outer finishing strip was bonded and stitched to the top edge. The stitching for the closing zipper will use this strip.
The same approach was used for the edges of the gusset pieces. The jointing seam skived back approx 17mm.
A temporary strip of double sided tape helps keep the two gusset pieces together while stitching. It shouldn’t be bonded as the seams will be folded back.
The seams folded back from the joining stitching and bonded.

The folded seams are then stitched.
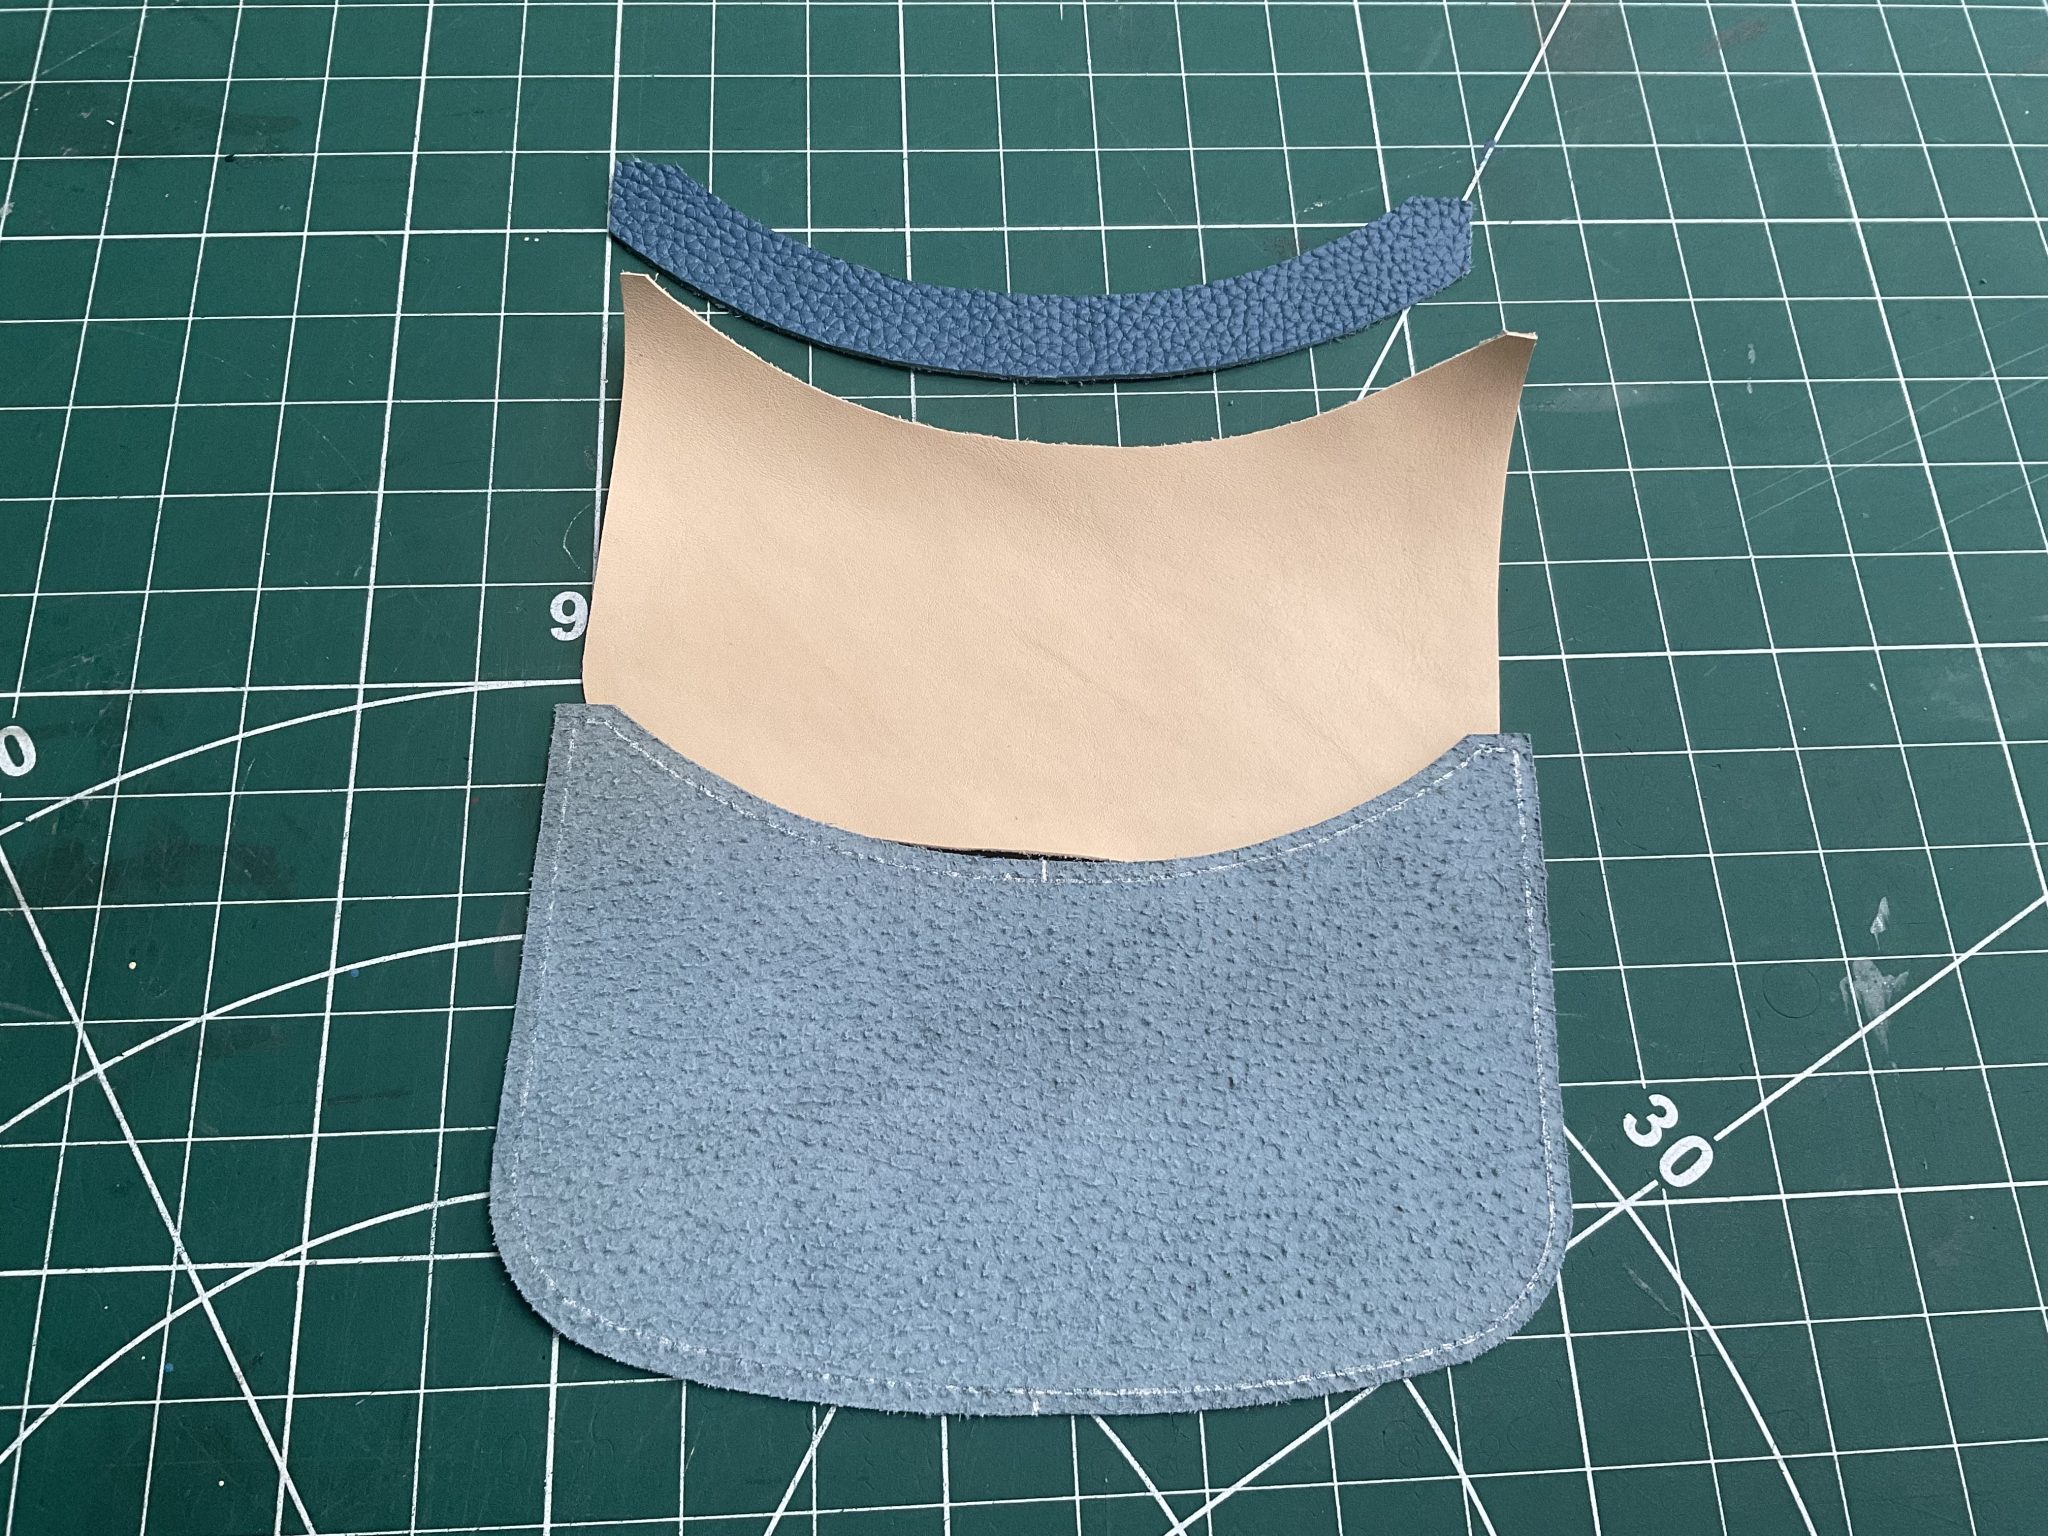
Again, foam was applied the the back of the full length of the gusset and the outer 9mm of foam removed. Care is needed to just cut the foam and not damage the leather..
Next, a piece of 0.6mm bonded leather is bonded to the foam to make the gusset stiffer.
Finally the lining is bonded to complete the gusset piece. I had debated over what type of fabric material to use for the lining. I had used cotton twill for the two-tone Tote but had to use interfacing to avoid fraying. While pondering what to do, I came across a roll of very soft Nappa leather I’d used to line of a pair of shoes I’d made. Decision made … although I have a slight concern that it’s quite thick at a nominal 1mm. The edges were skived to remove bulk at the seams just in case.
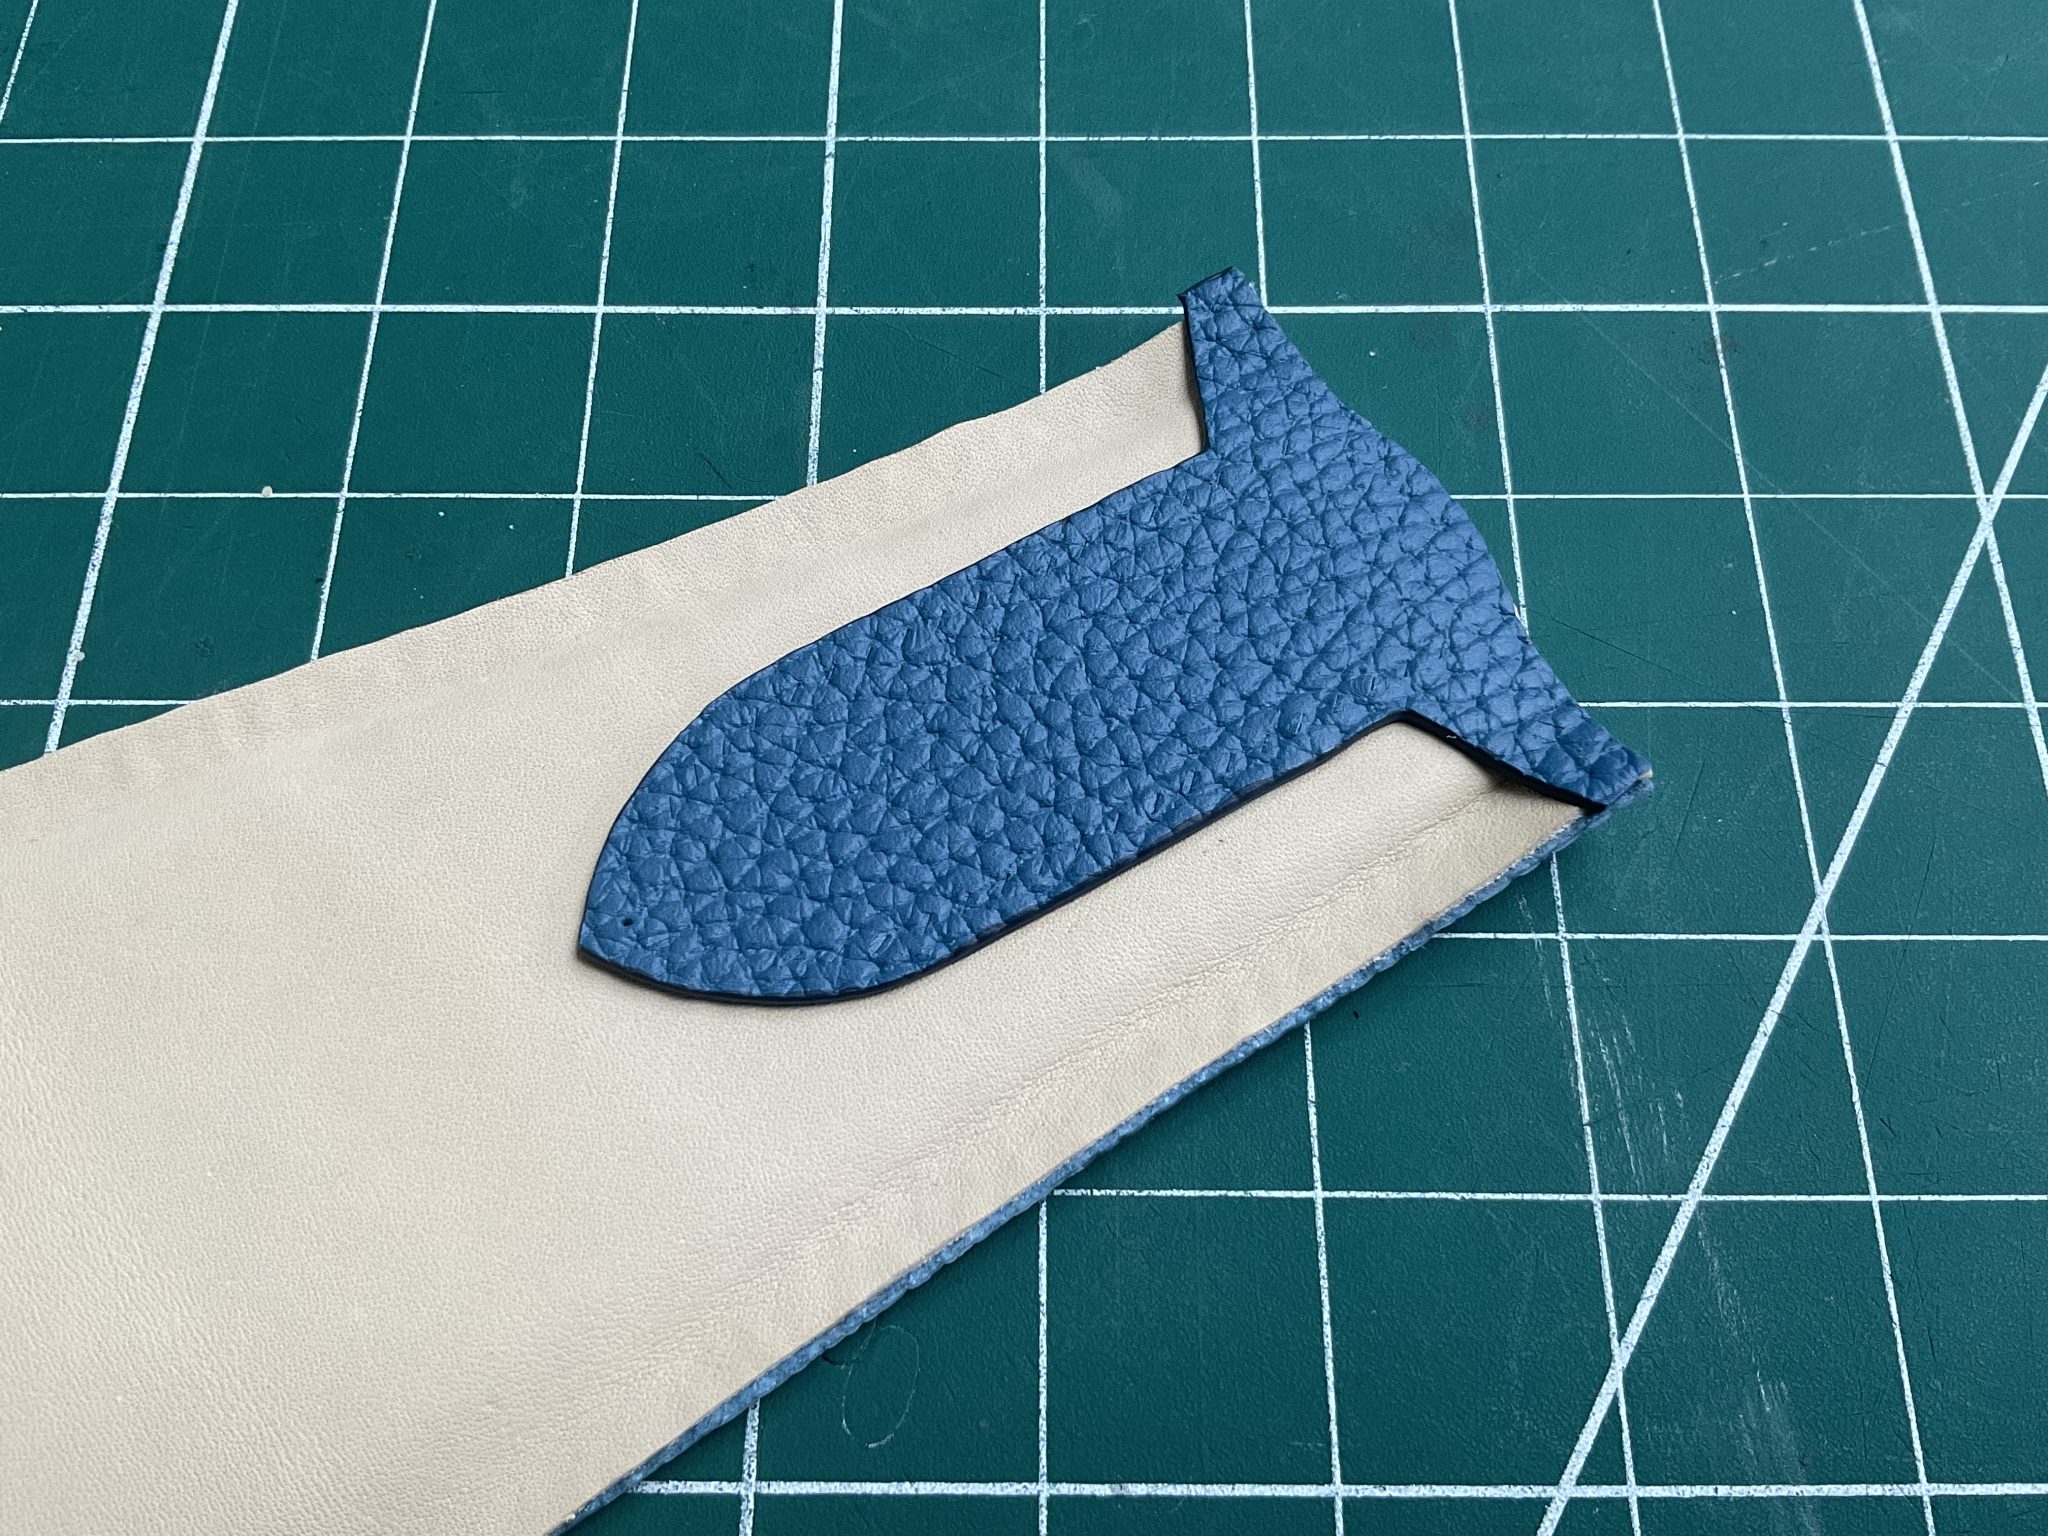
The ends of the gusset have a leather end pieces matching the buckle/strap ends – both for aesthetics and to avoid sinking threads when sufficient thread tension is applied. The stitching holes are pre-punched in the outer gusset and the end pieces so it is essential to use needle to align the holes when bonding them together.
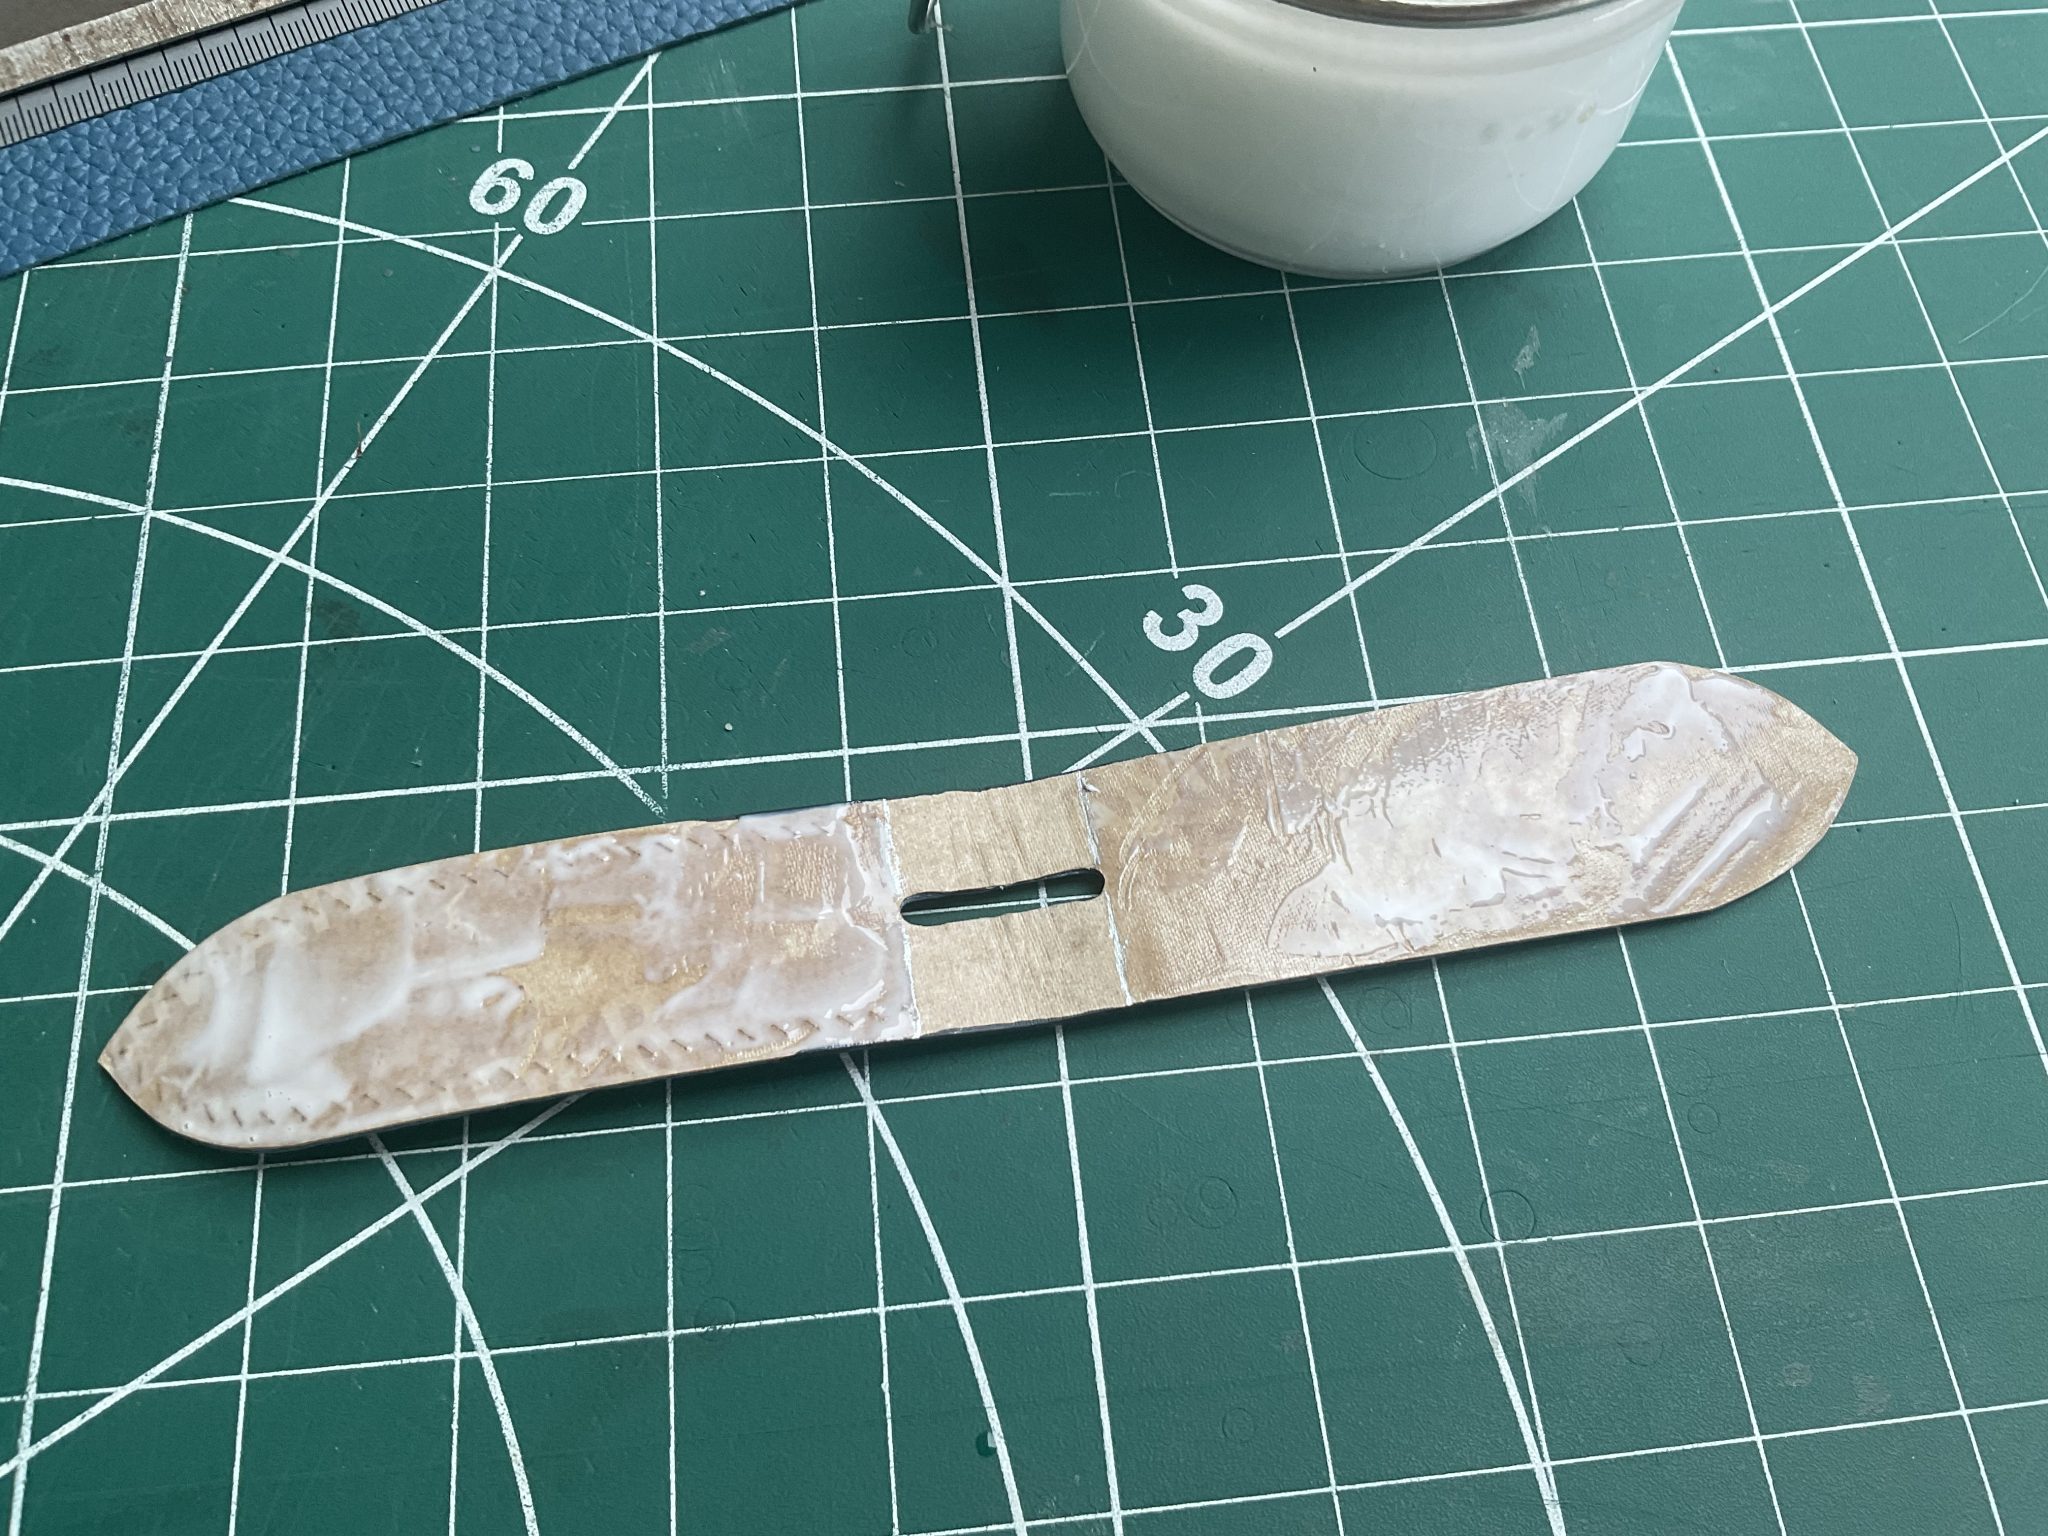
The buckle attachment was made from a piece of leather thinned to approx. 1mm and then backed with 0.6mm of bonded leather. A central piece of 1mm Texon card (not shown) was added to give an embossed look.

The embossing effect be adding the 1mm Texon card. I think the embossing is a little too ‘subtle’ due to the thickness of the piece. I suspect it will be more obvious once the stitch pulls the top &nbottom pieces together.
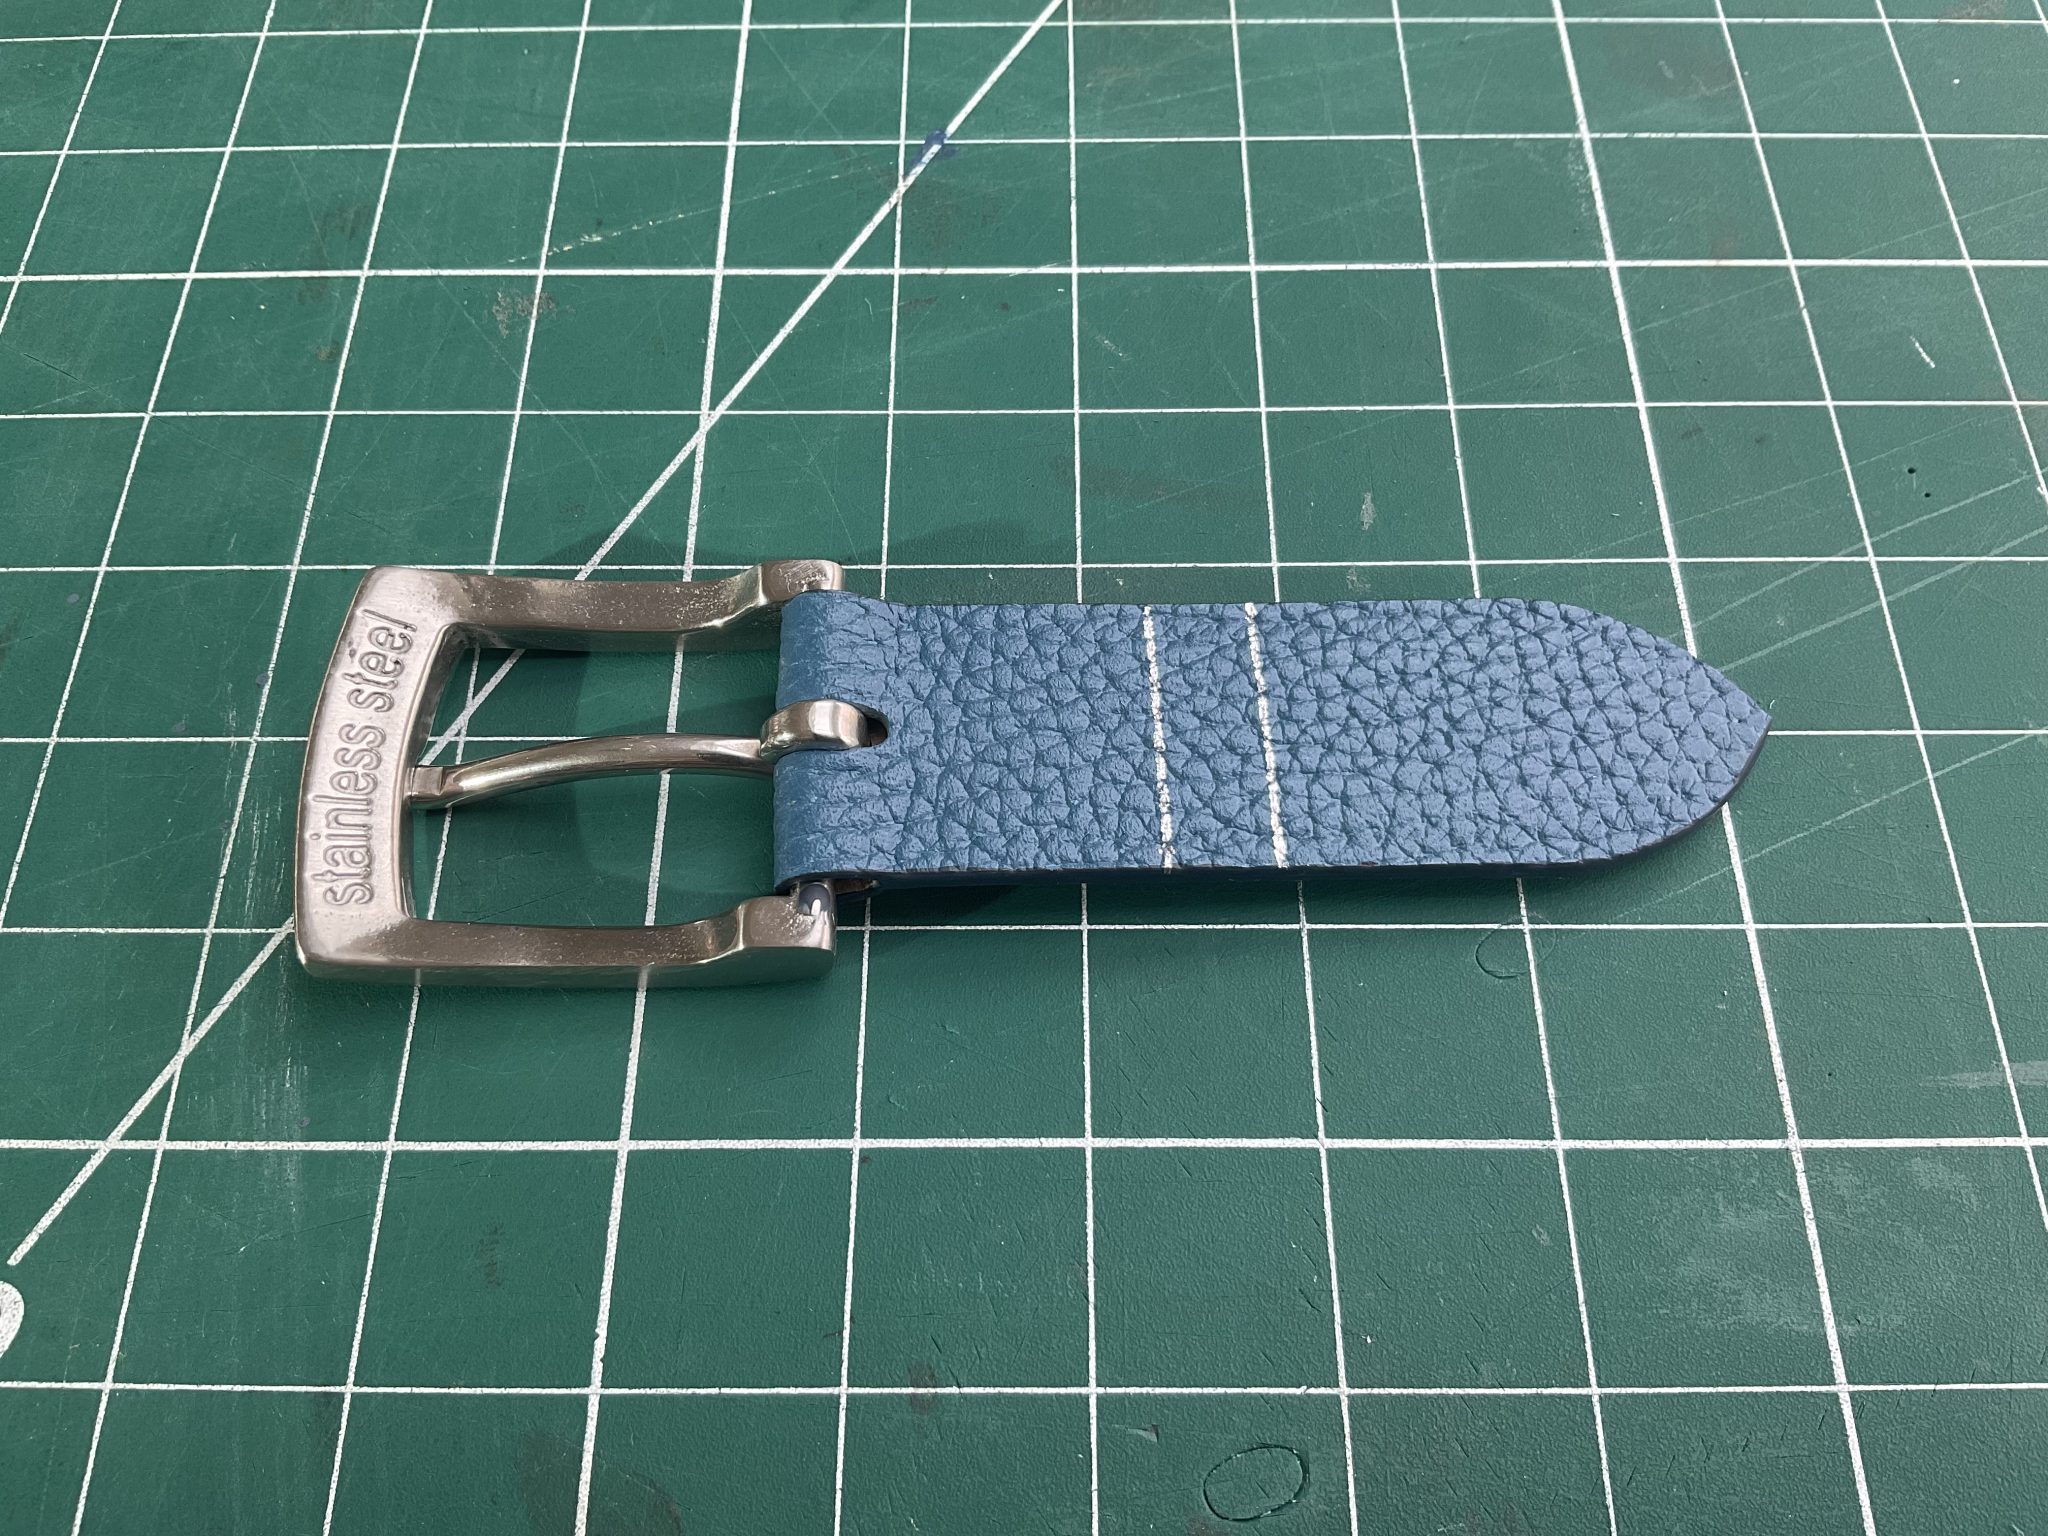
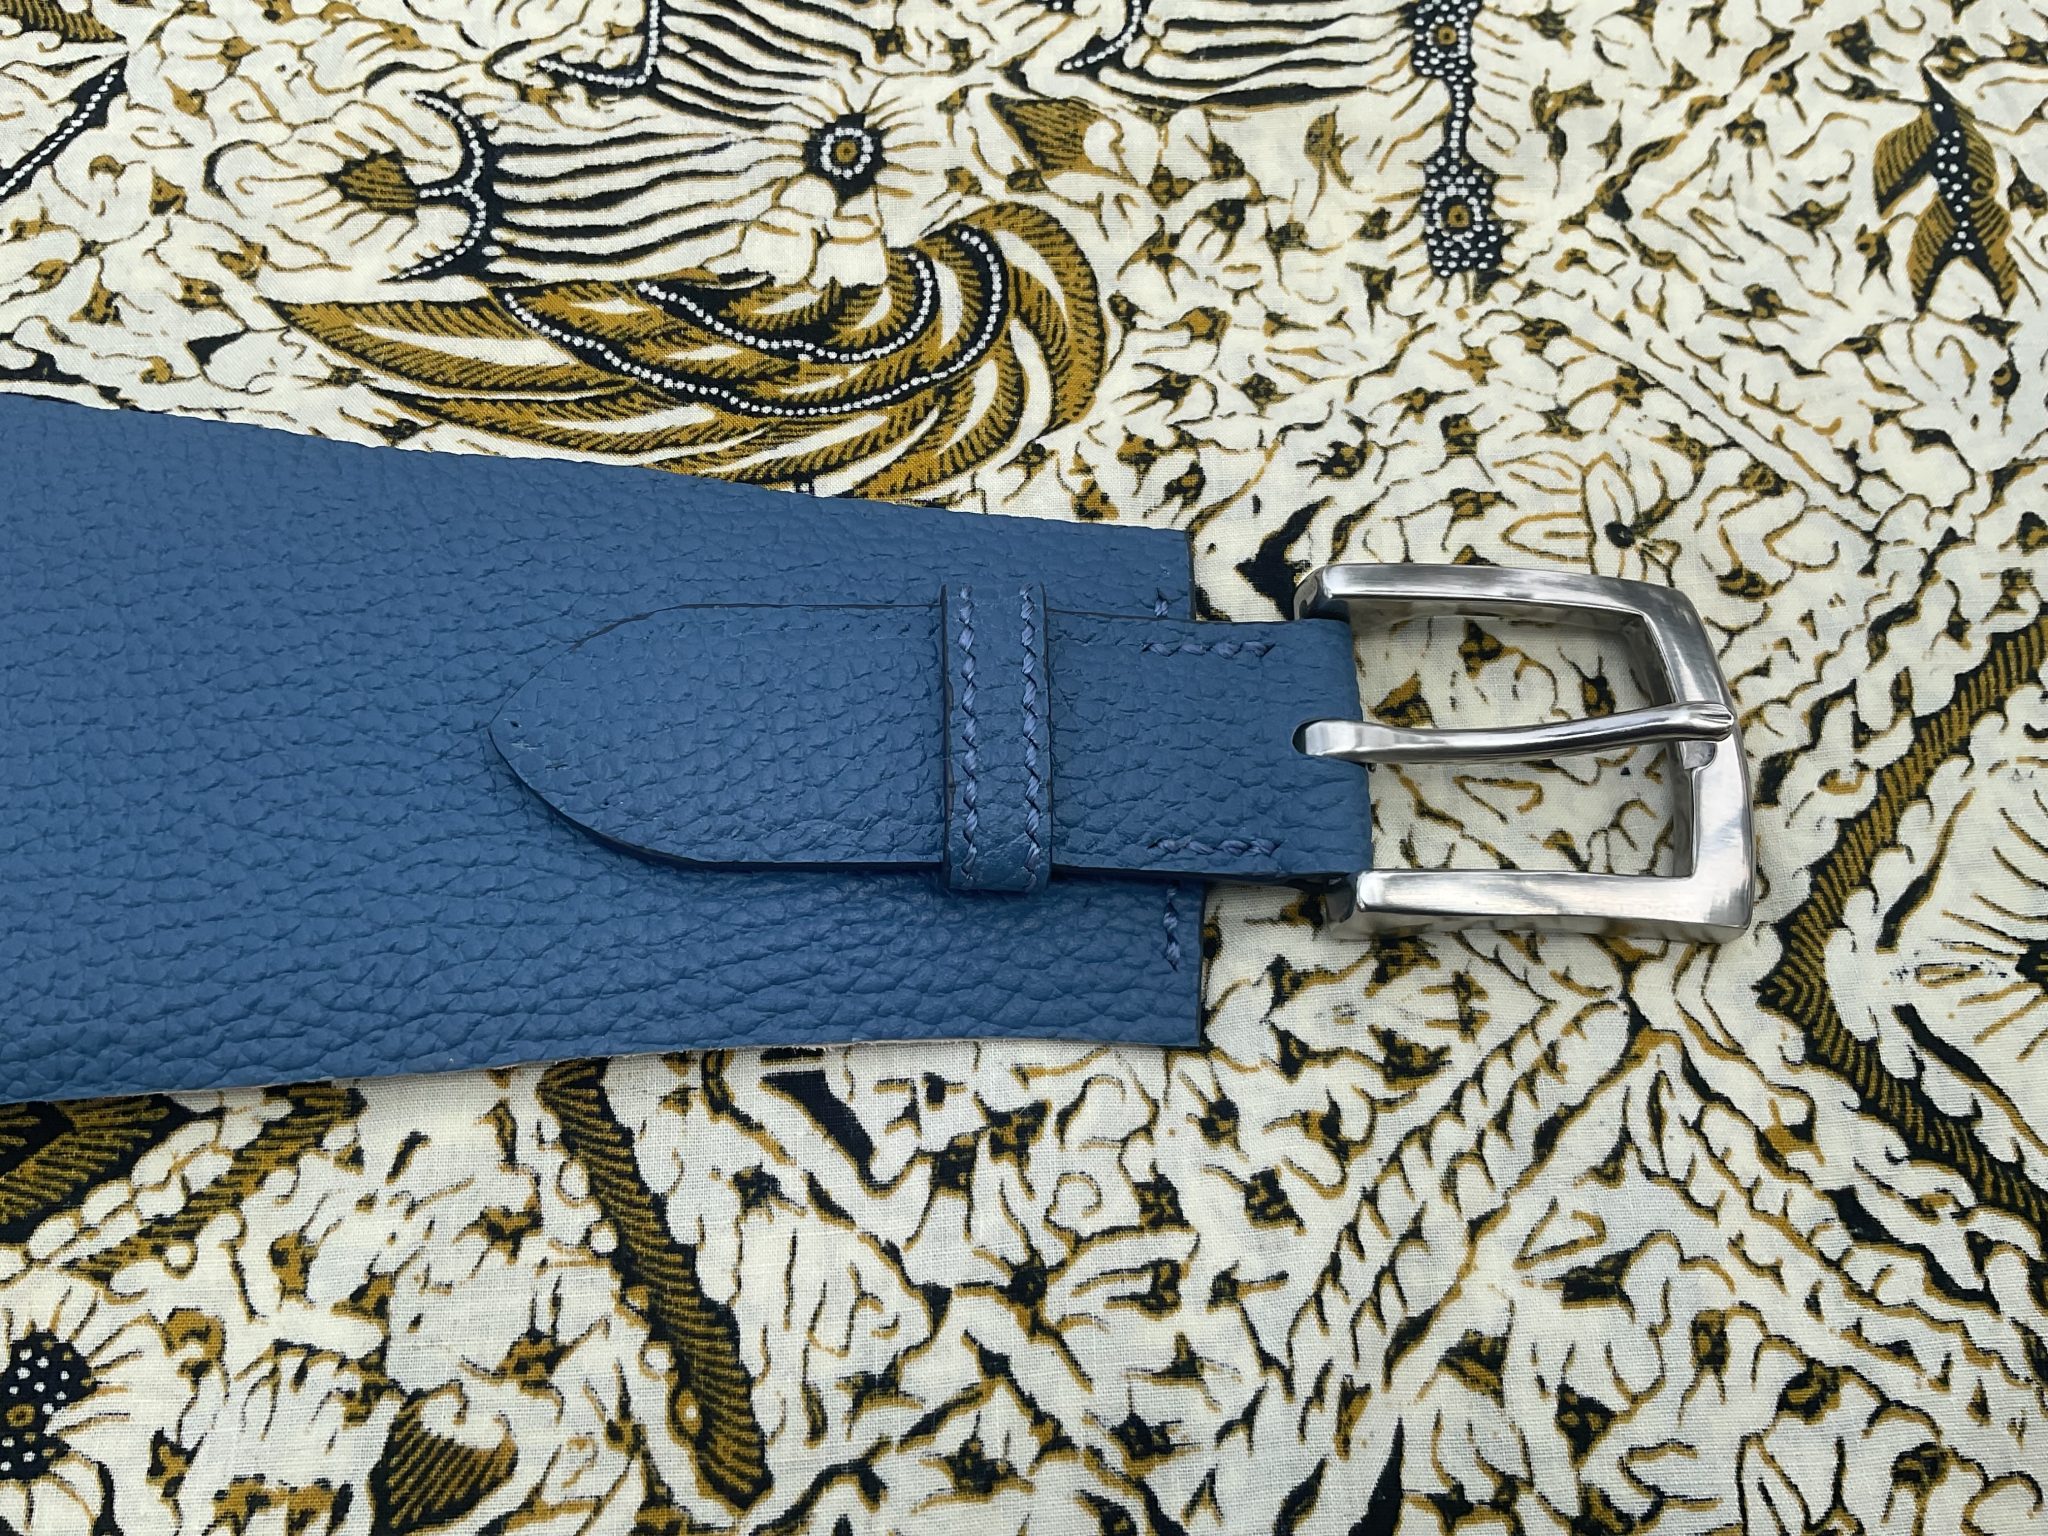
Marking the position of the strap keeper, which will be stitched in situ.
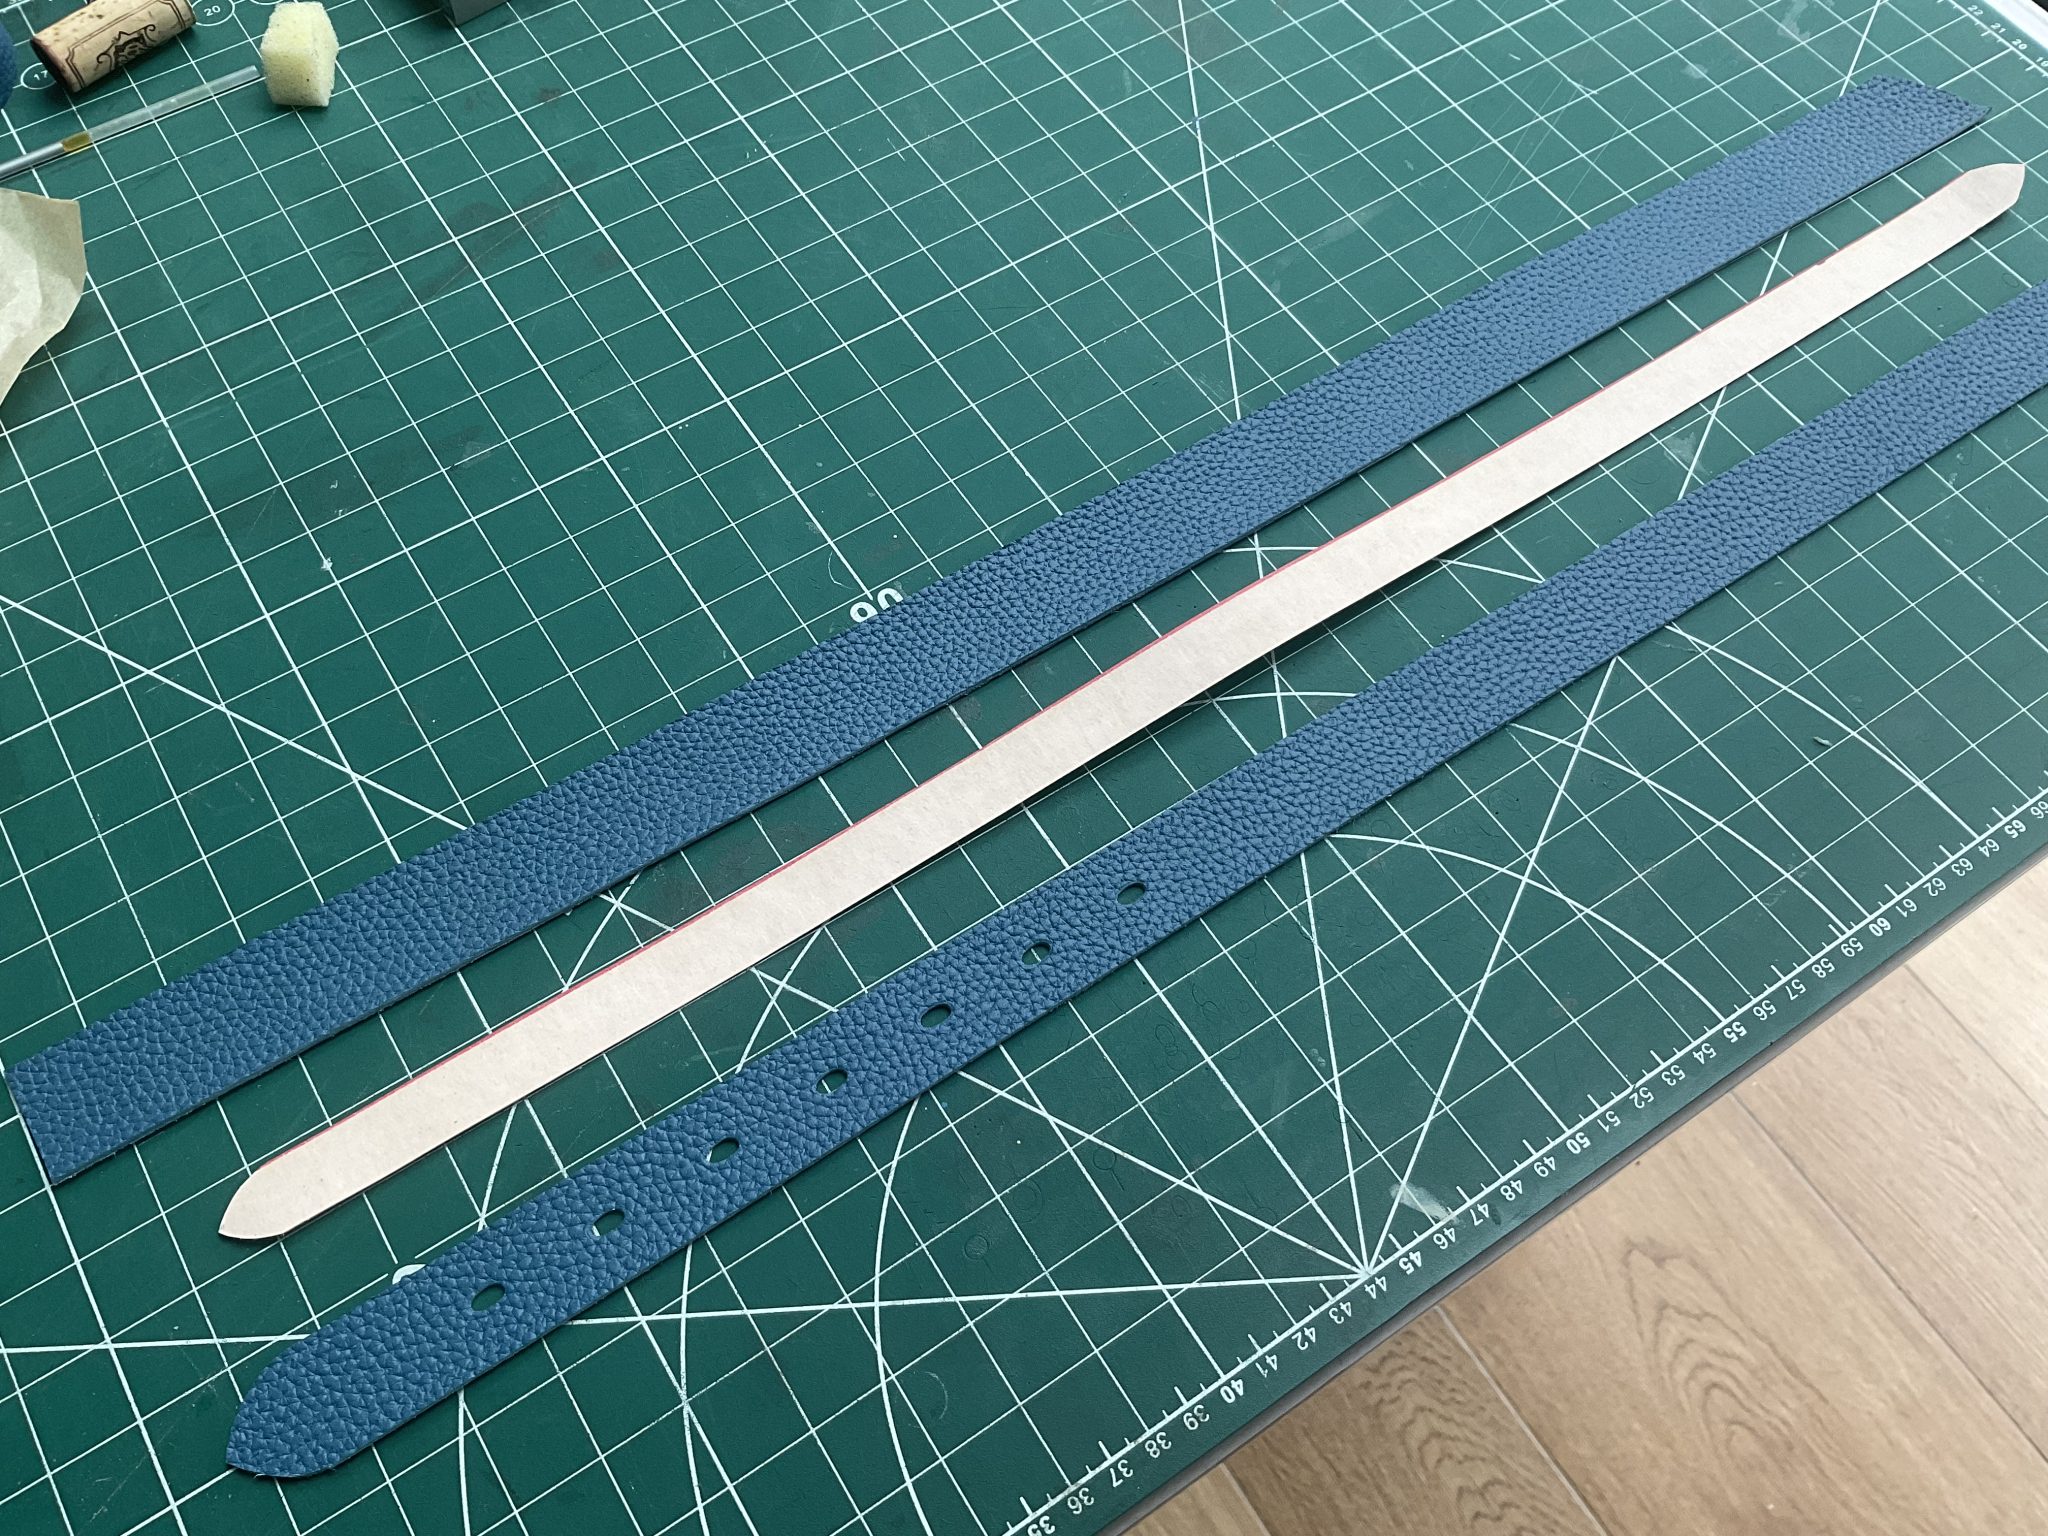
The other half of the strap needs to be completed before the buckle and keeper piece can be finished. You need to make sure the keeper has sufficient clearance for the shoulder strap, which is made up of a length of full thickness of leather, a 1mm thick Texon card to repeat the embossing look and finished with a thinned piece of leather down to 0.8mm. Unlike the buckle piece, the strap’s top piece of leather can be skived down so the embossing will be much more pronounced..
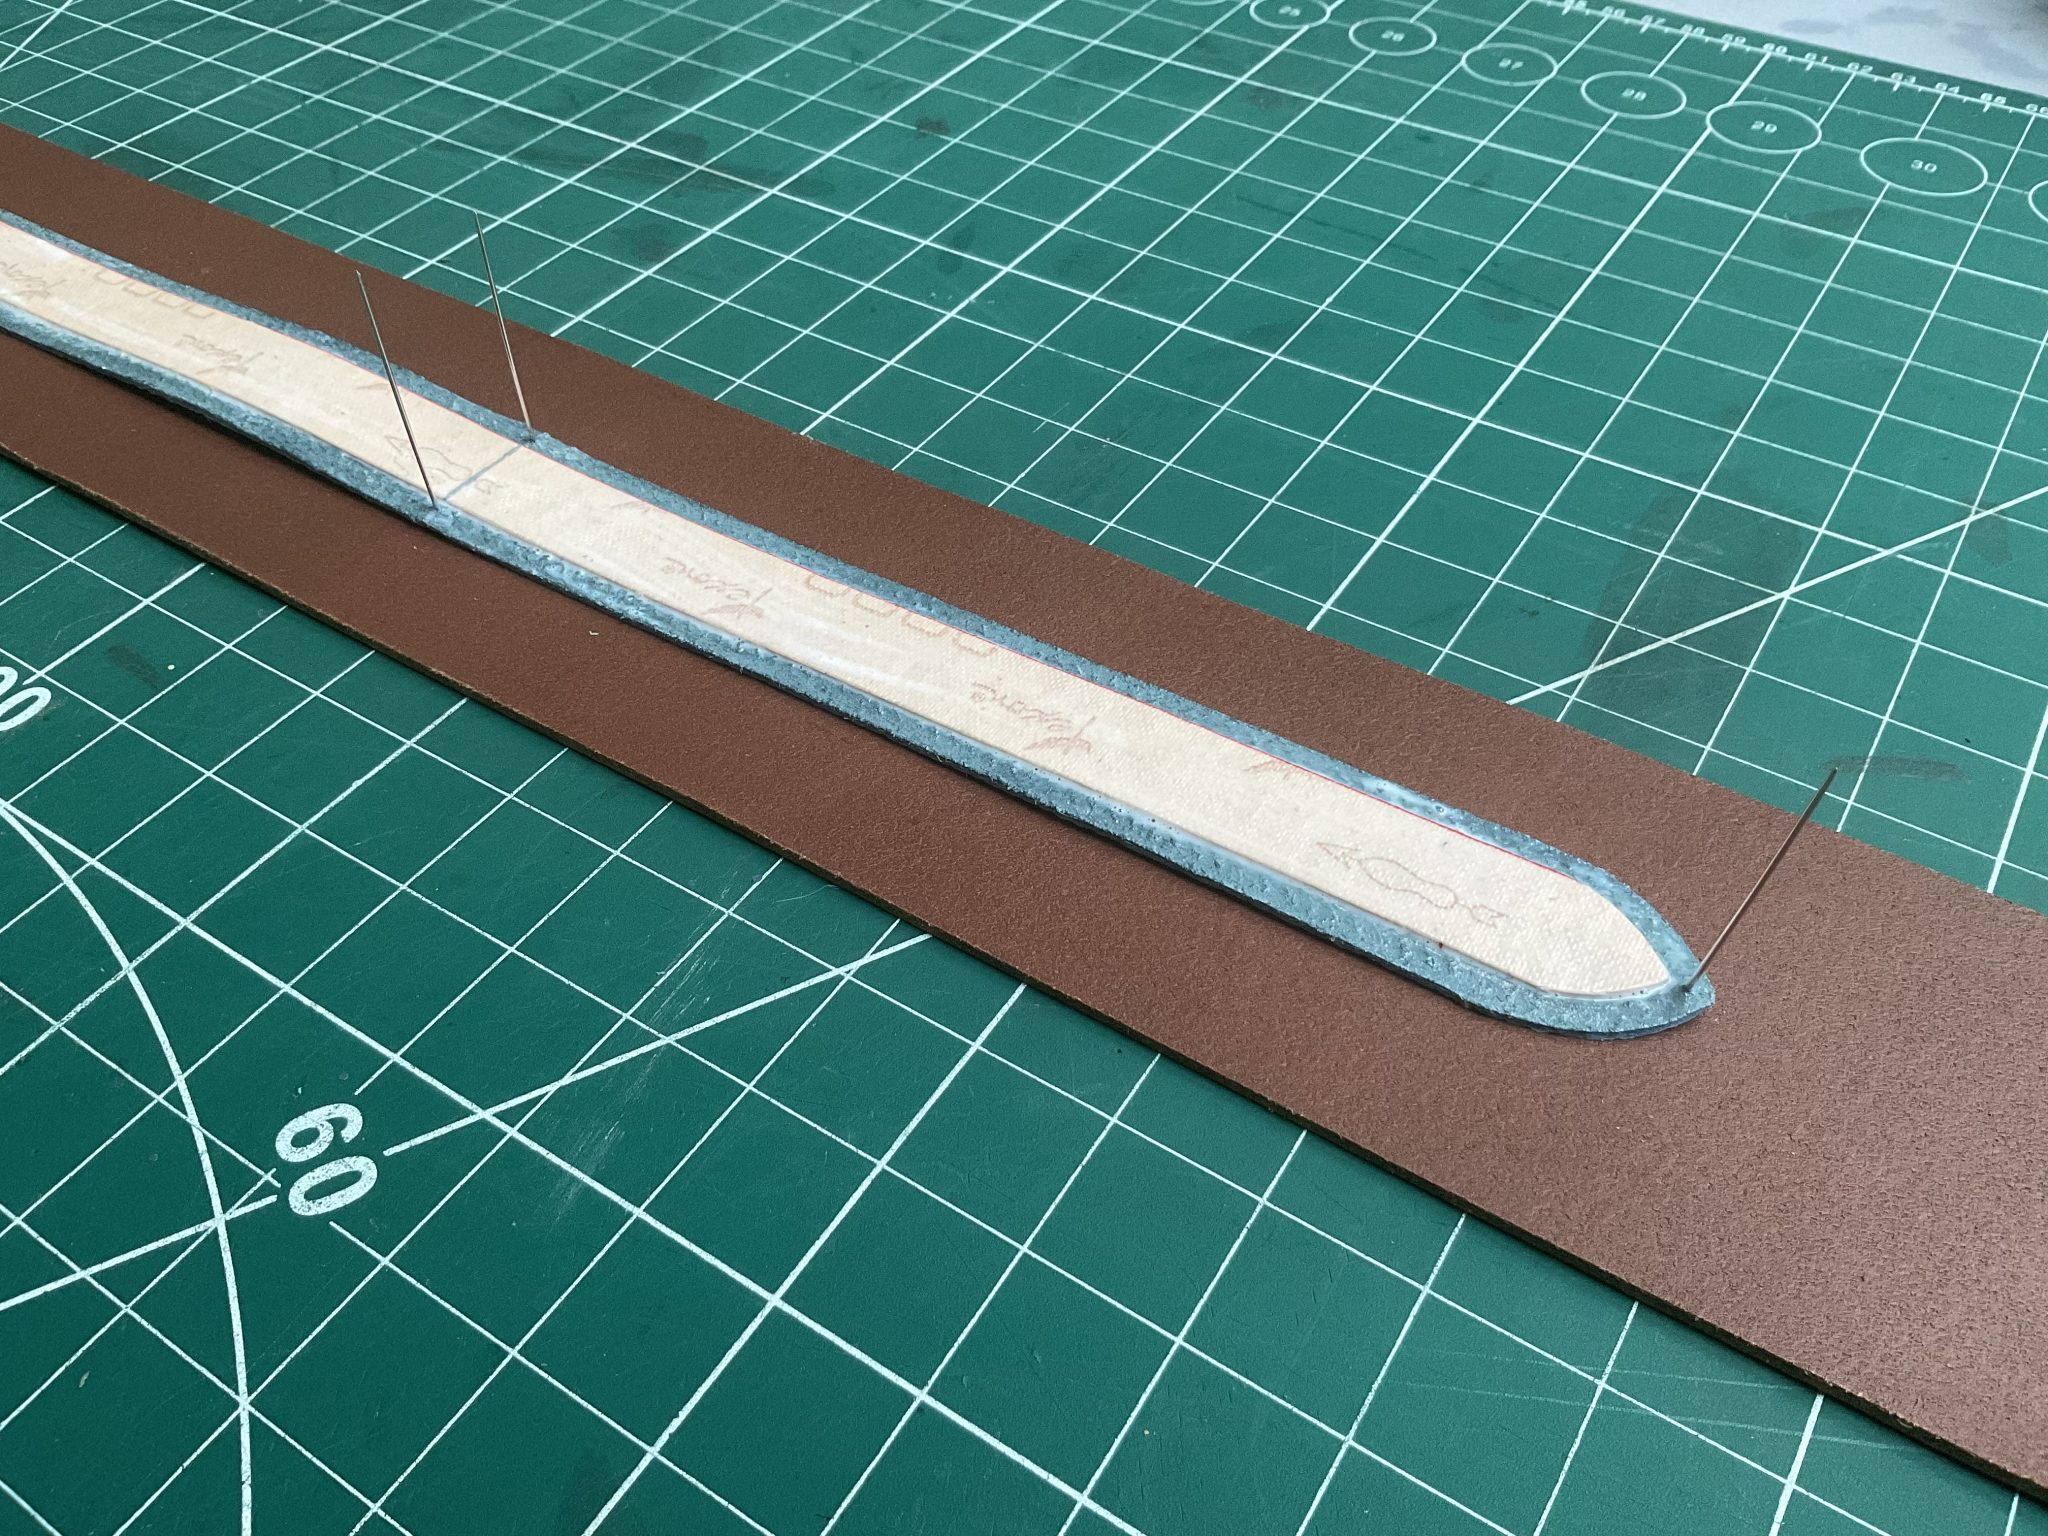
Needles were pushed through the bottom piece periodically along it length. The aim is to ensure the pre-punched stitch holes in the top and bottom pieces align once bonded.
Marking the position of the pre-punched stitching holes helps define the limit for the application of the contact adhesive. This is to ensure the adhesive doesn’t end up bonding the holes closed.
The need to keep the stitching holes clear of glue and perfectly aligns is because the stitching needs to go through 9 layers. Any misalignment or carelessly applied adhesive will stop the needles passing through.
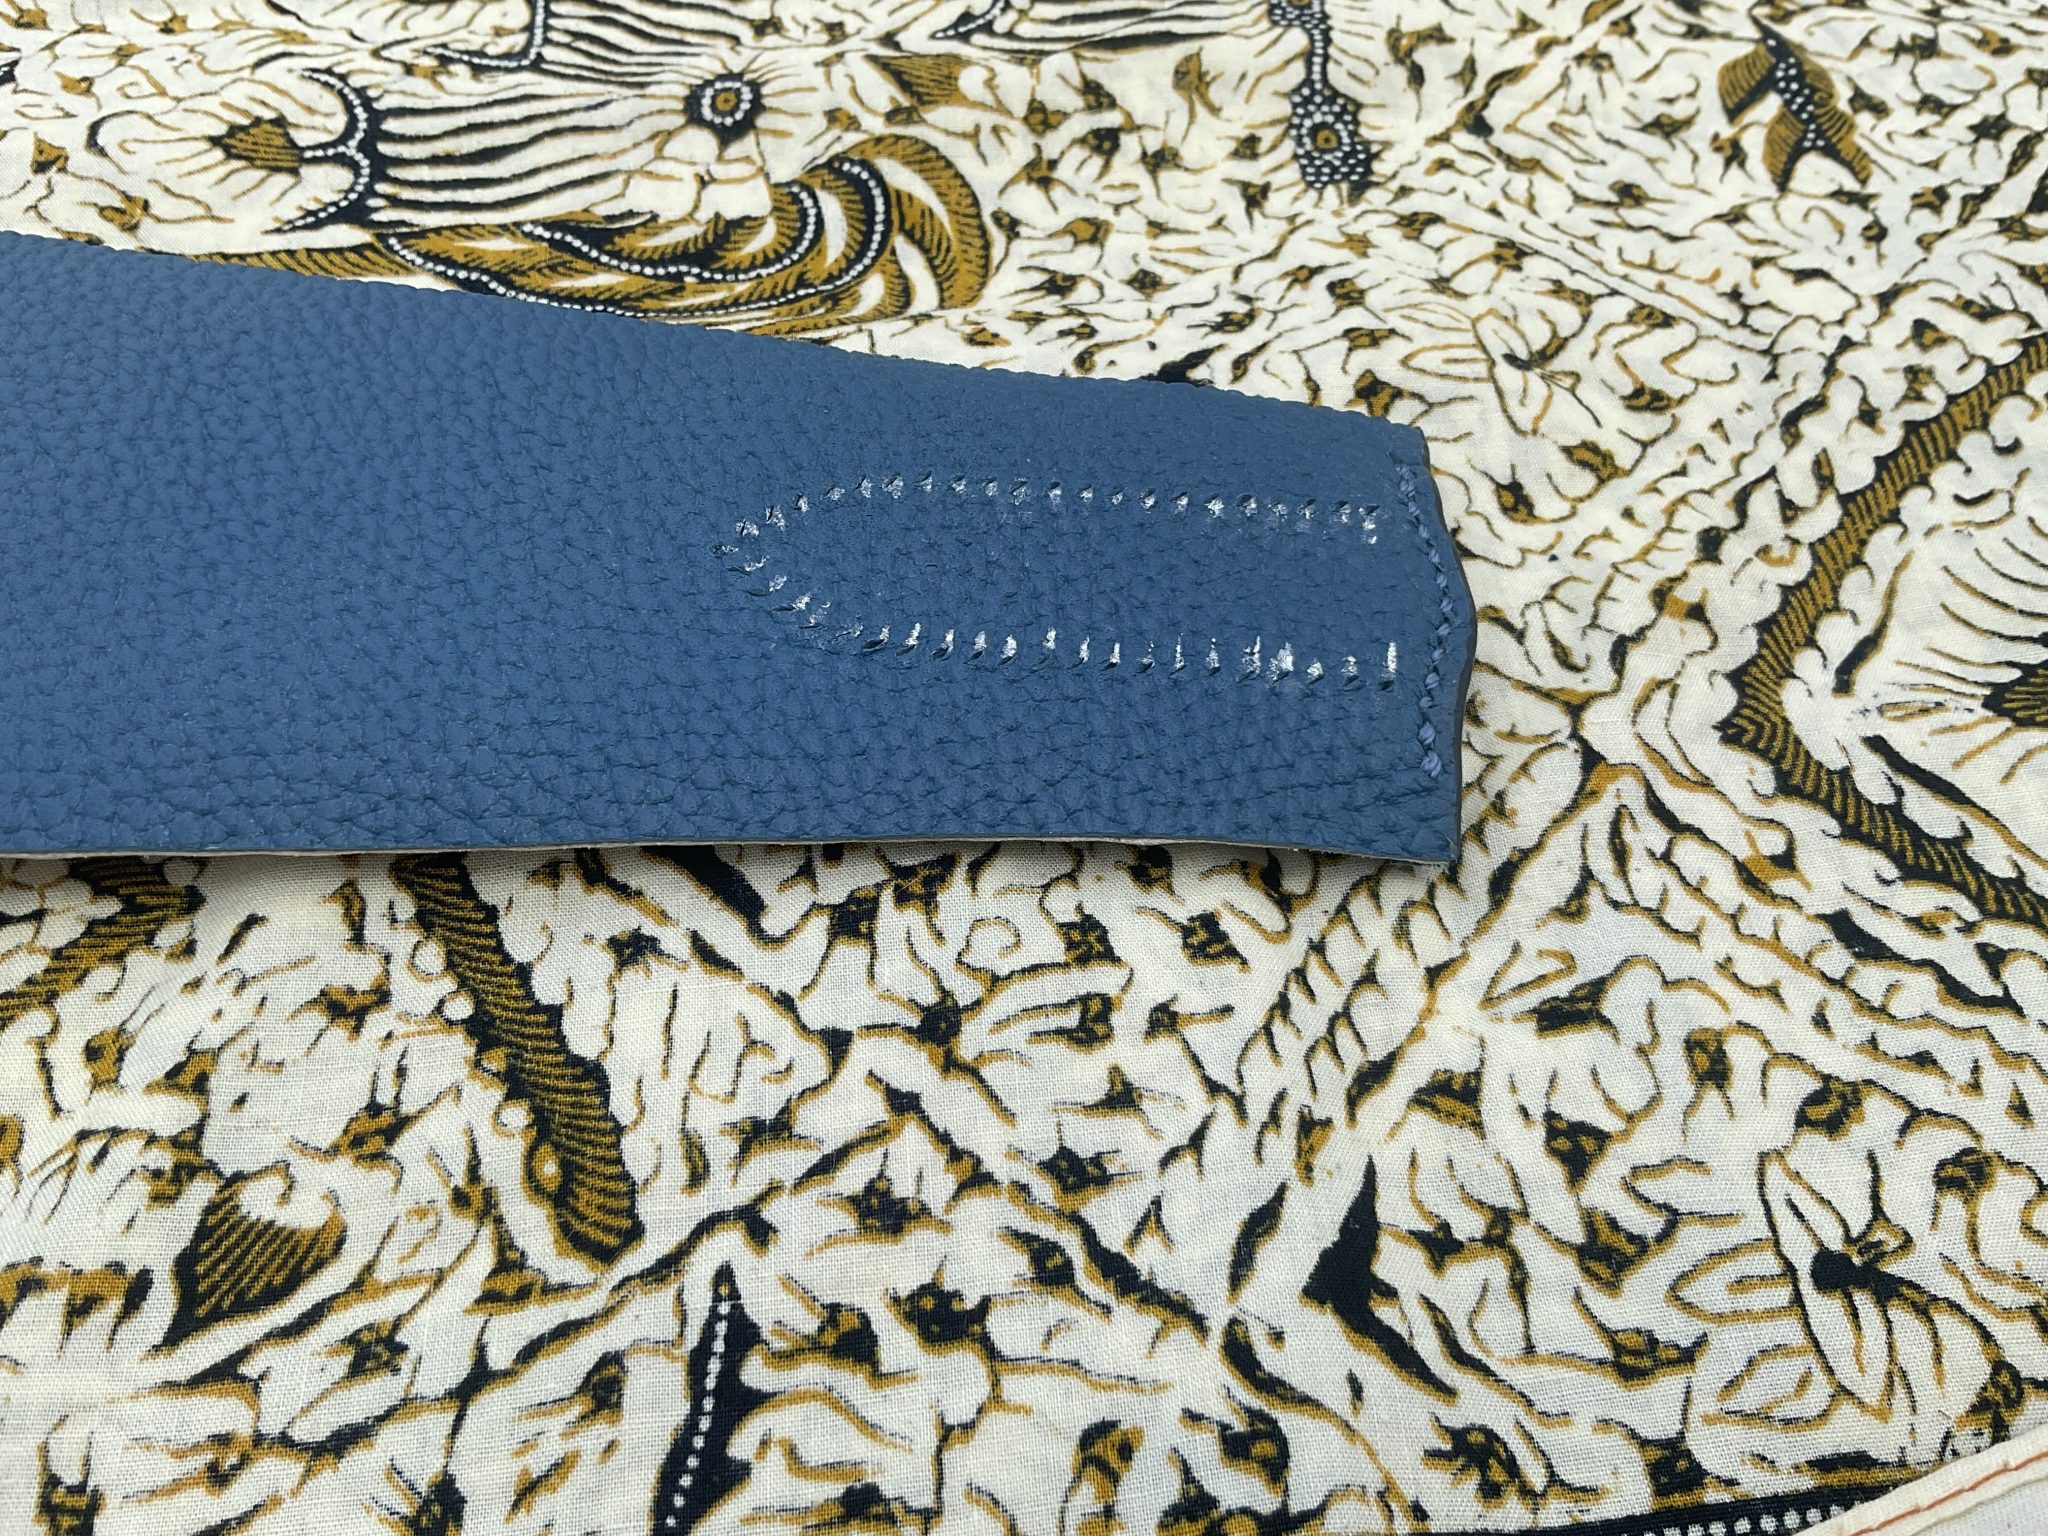
The buckle piece bonded in place and all the holes checked that they ere clear. I don’t used chrome tanned hides and one thing that became apparent is even though the stitching holes are pre-punched, they close up so it is very difficult to re-find the holes. The above photo was taken after re-opening the holes but there are still not that visible..
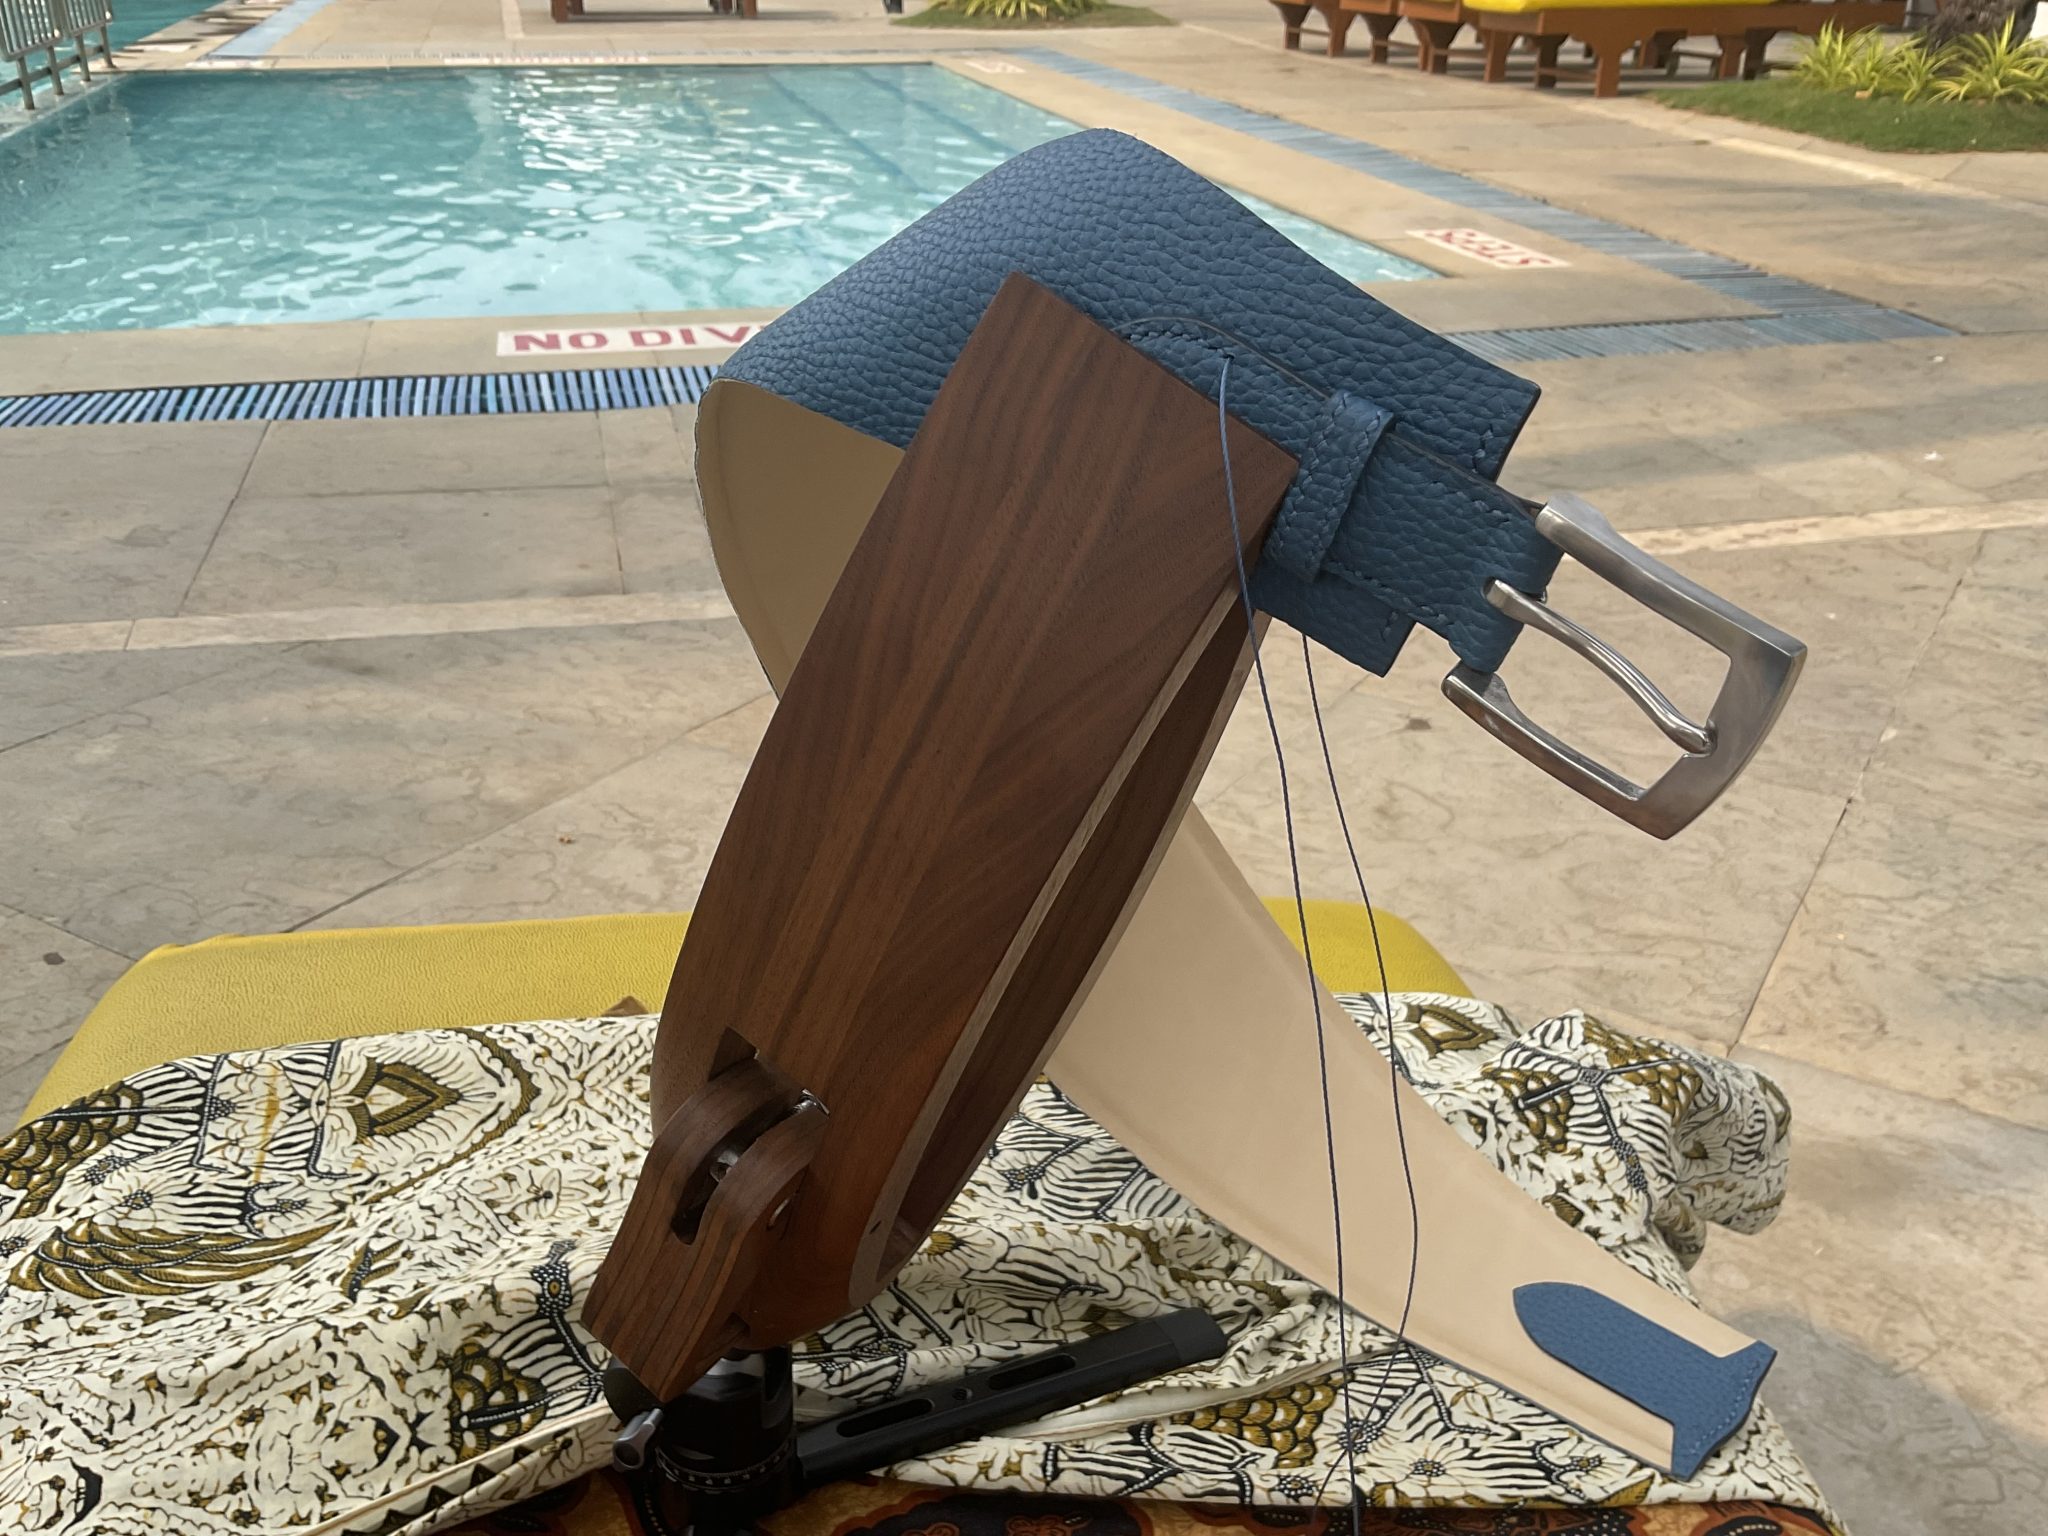
The actual stitching was relatively easy due to the ensuring the holes were aligned although it still required pliers to pull the needles through. The three stitches through the keeper were especially tricky as there was another 4 laters of material to get through – so 13 in total!

The same approach was followed to attach the shoulder strap.
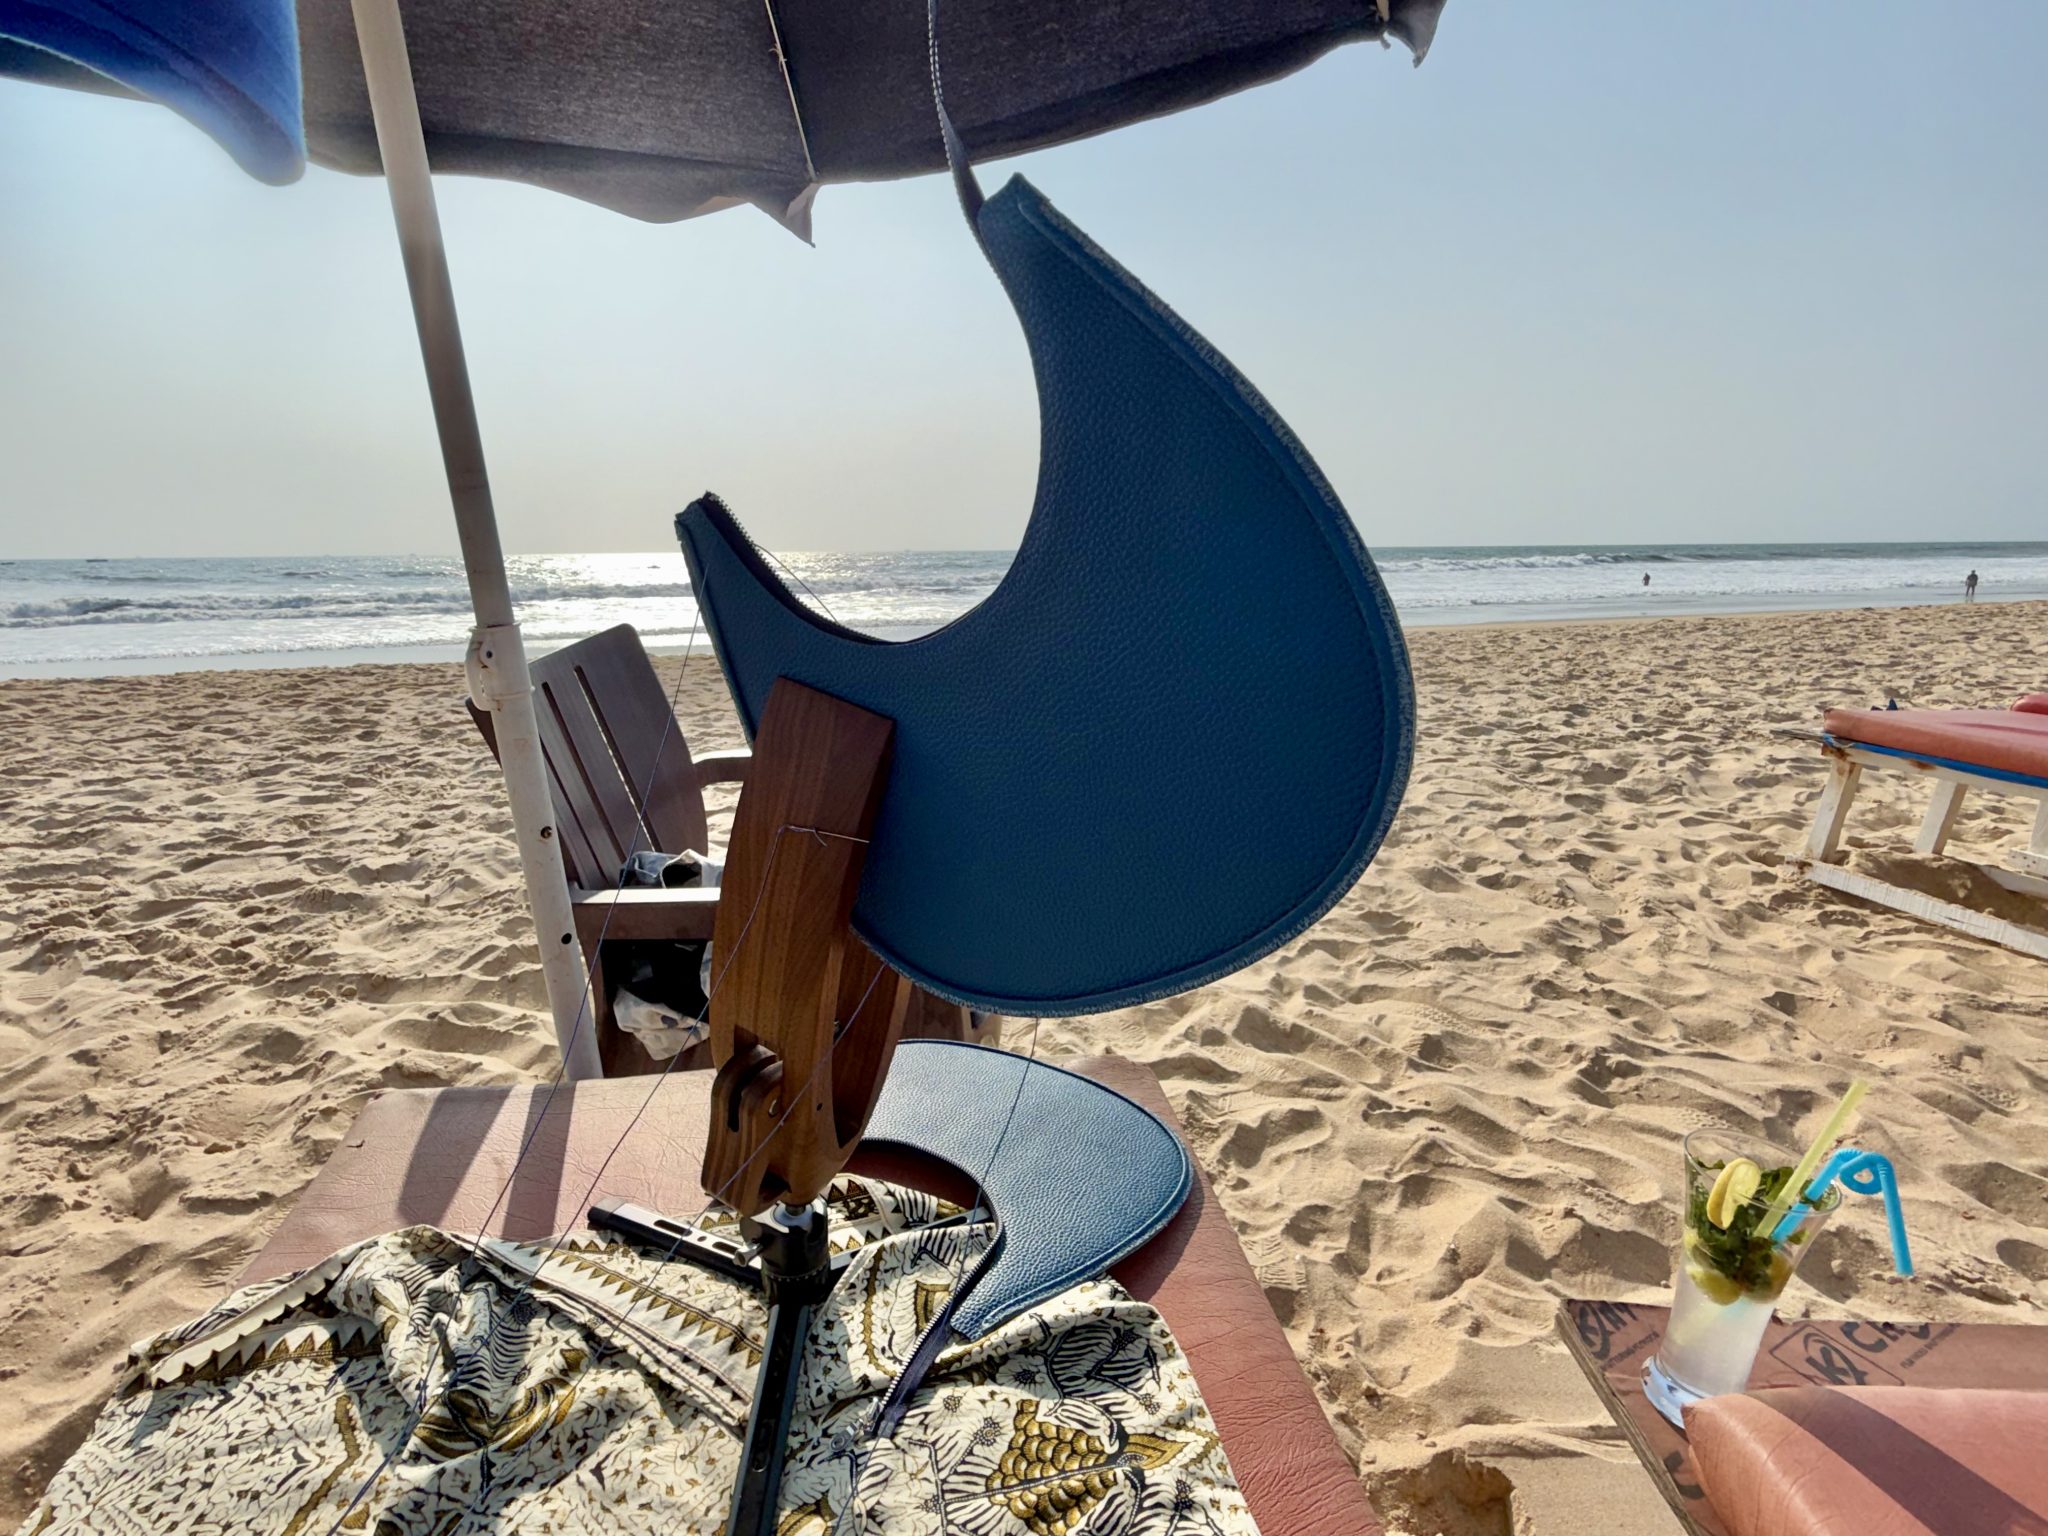
Stitching the front panel and lining along the zip seam – this was particularly difficult to make sure the needles passed through the pre-punched holes on both sides as well as passing though the zip’s tape. Again pliers were essential to be able to pull the needles through. The cocktail was optional although I do think it helped!
The stitching of the front/back panels and gusset seams is quite a convoluted process. First the stitch holes need to be punched through the front & rear panels close to the beading’s outside edge.
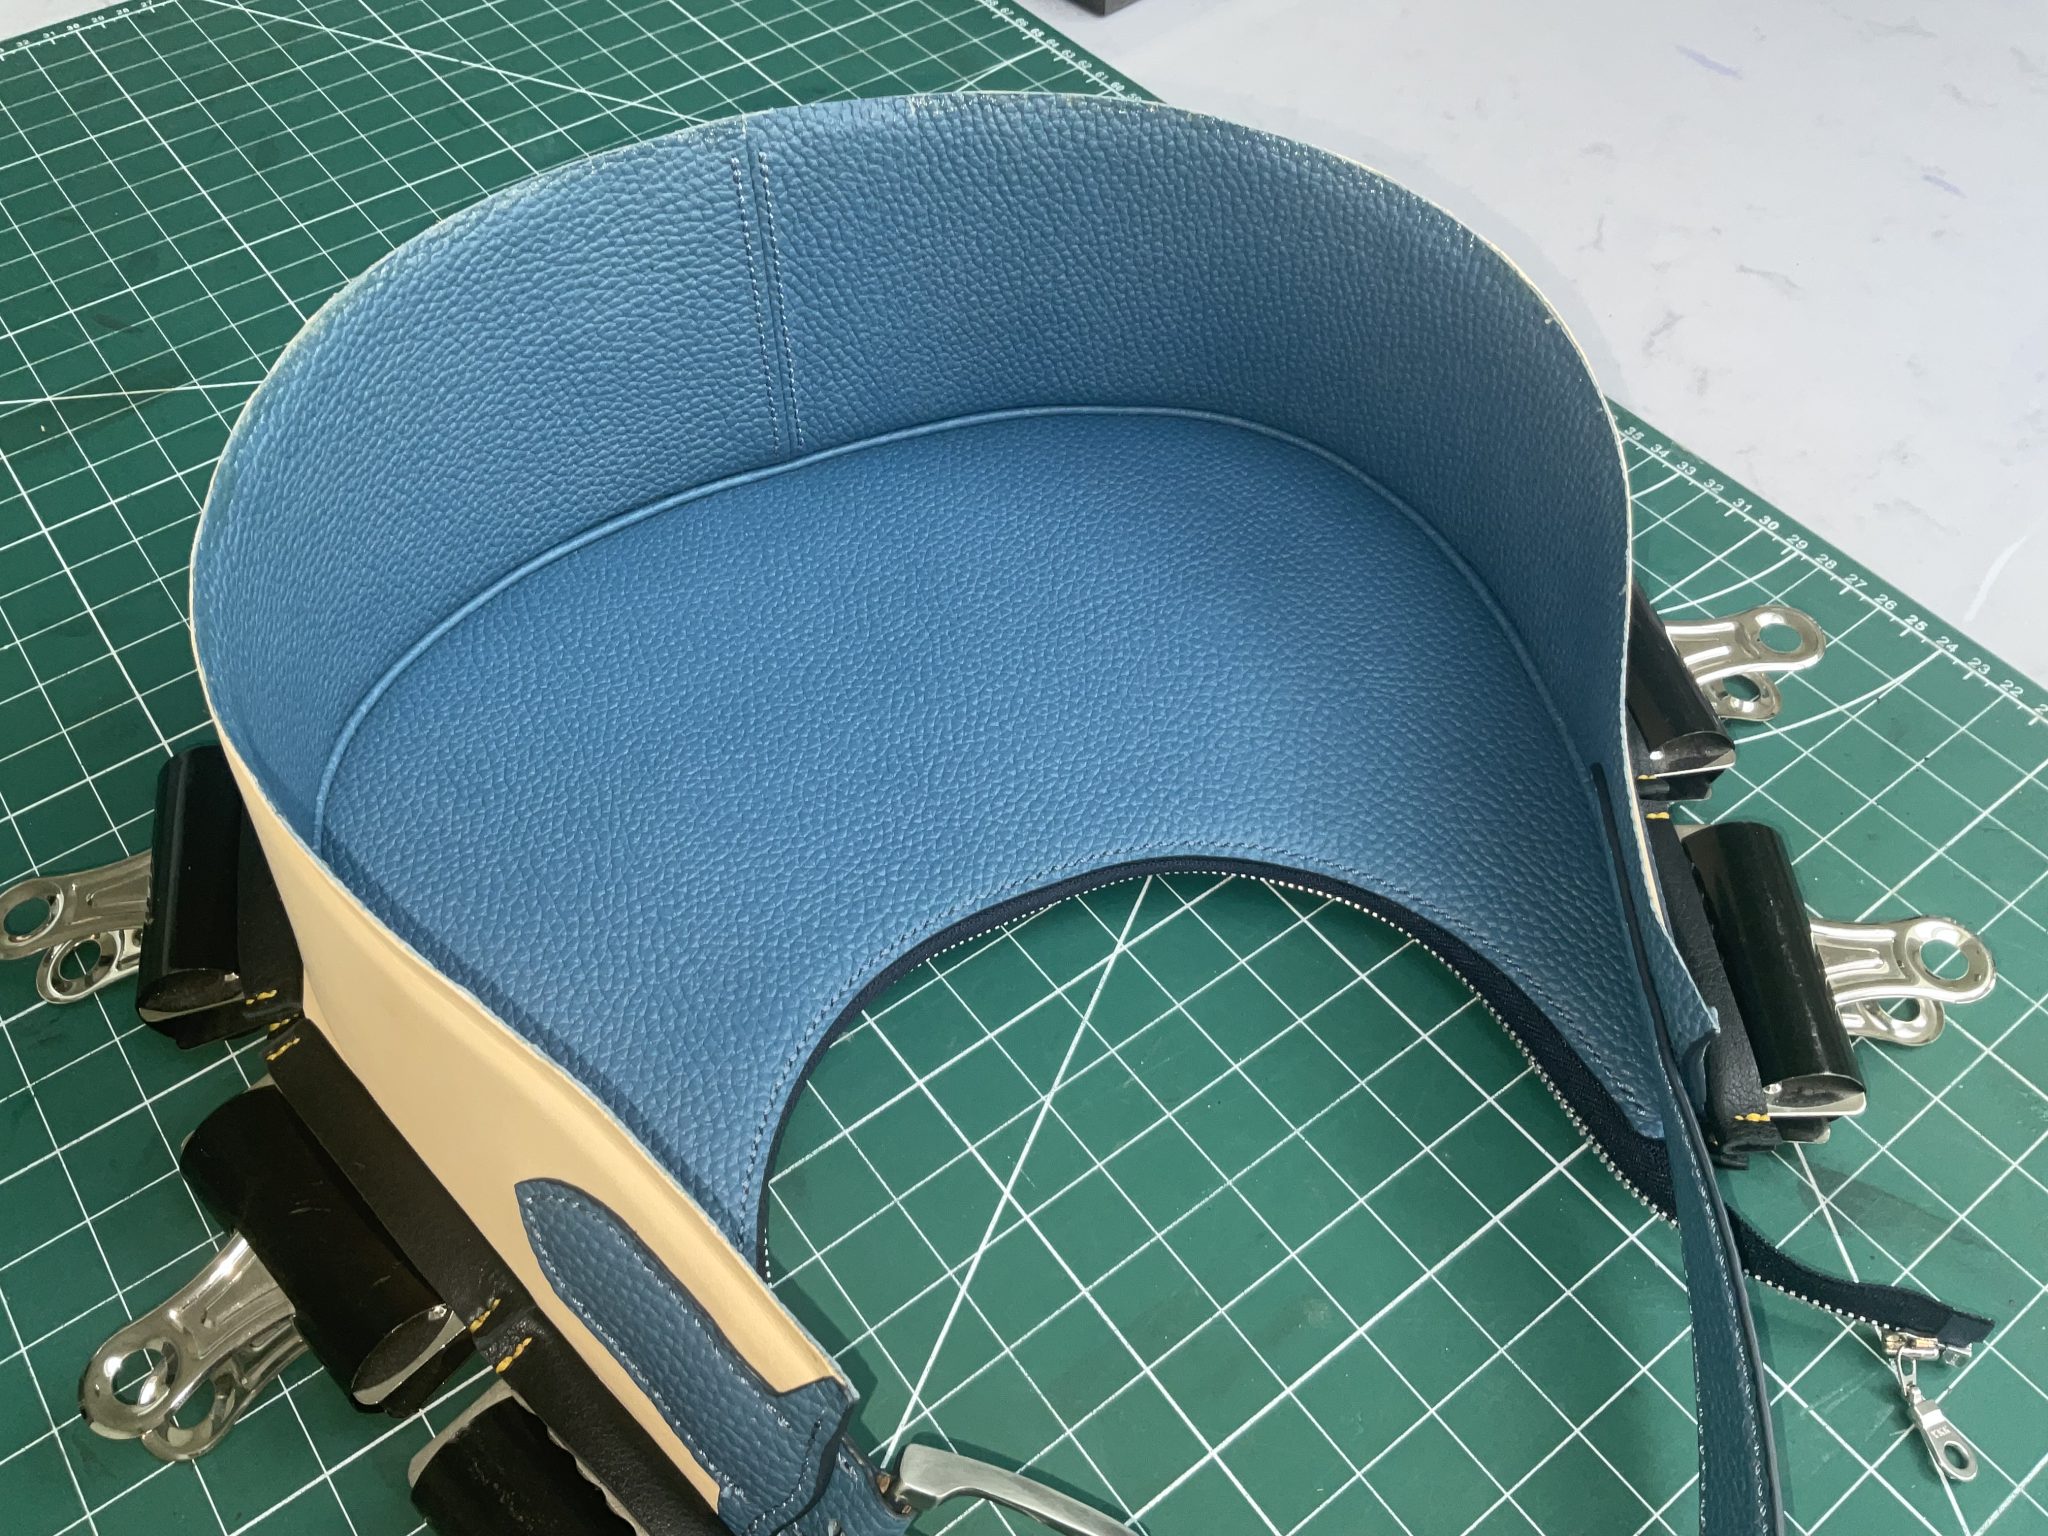
The front and back panels are then bonded to the gusset. Contact adhesive applied to the outer few millimetres of each. I had aimed to complete the bag on holiday however the temperature in Goa at the time stopped the water based contact adhesive from gaining a full strength bond. Therefore, reluctantly, I decided it would be best to wait until back in the UK and use a stronger solvent based glue (which can’t be carried on aeroplanes).

The panel and gusset are the aligned along the outer edge and pressed together. Clips were then used to hold them together overnight, allowing the bond to fully strengthen.
At this stage the stitch holes have only been punched through the front & rear panels. Now the gusset has been added, the holes will need to be extended through the gusset.
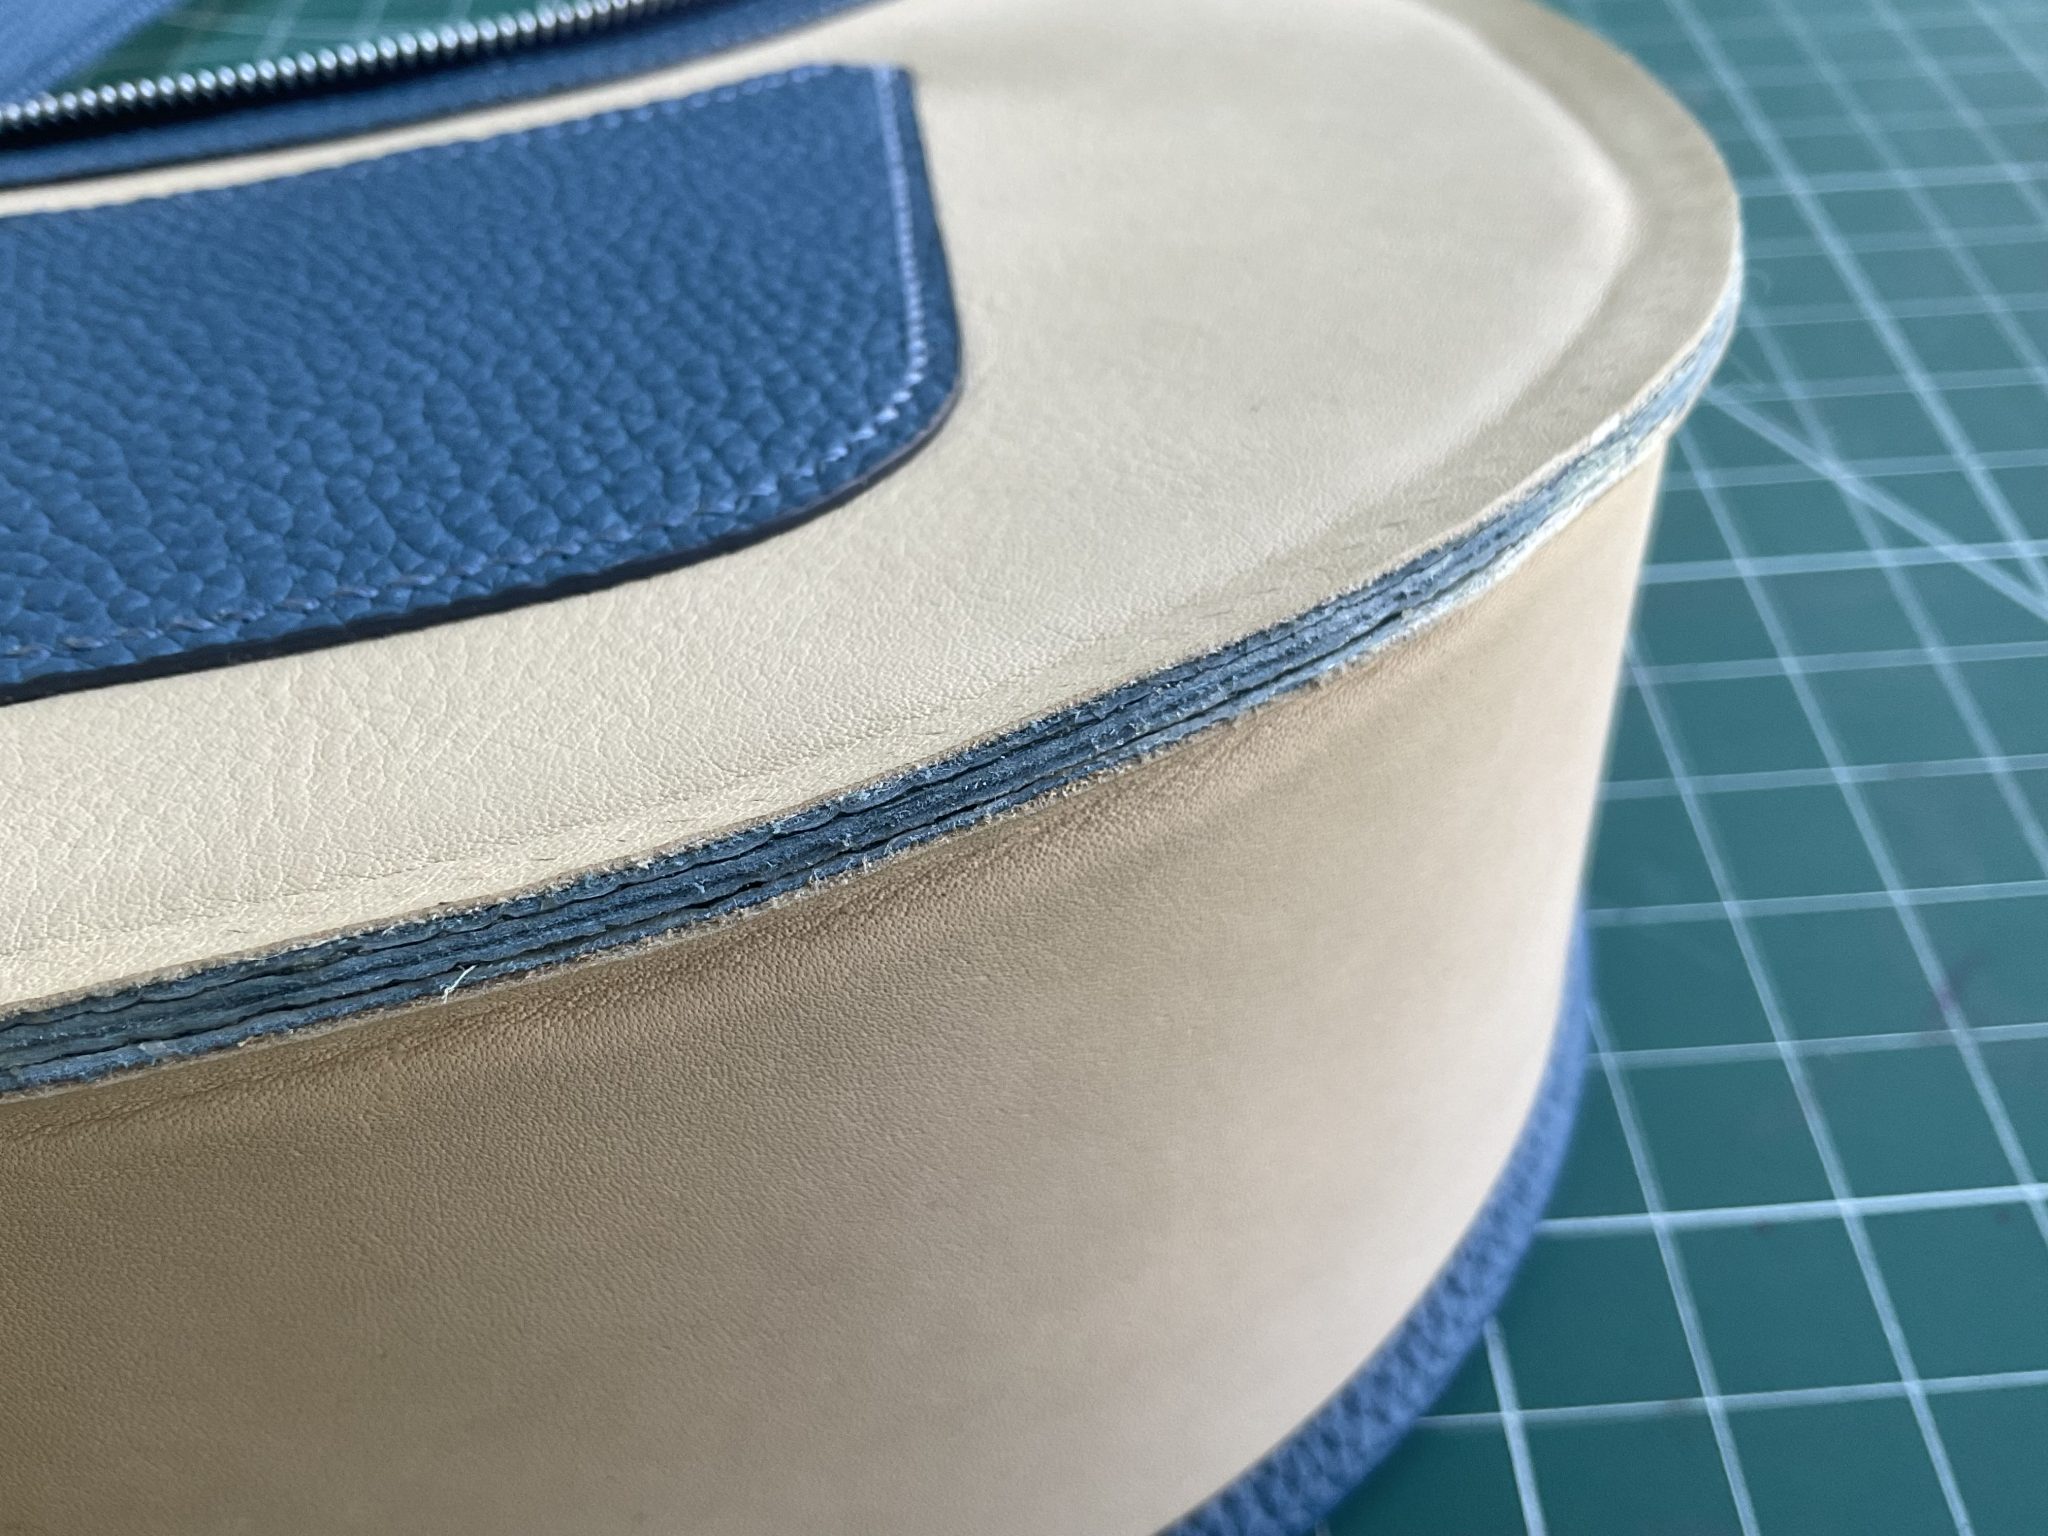
The issue is that the cut edge looks unsightly so a finishing strip is needed to wrap around the seam.
The anticipate stitch line was marked on the gusset edge and this will be used as the limit for applying adhesive. This will ensure the finishing strip will fully cover the adhesive.
Bonding the first side of the finishing strip.
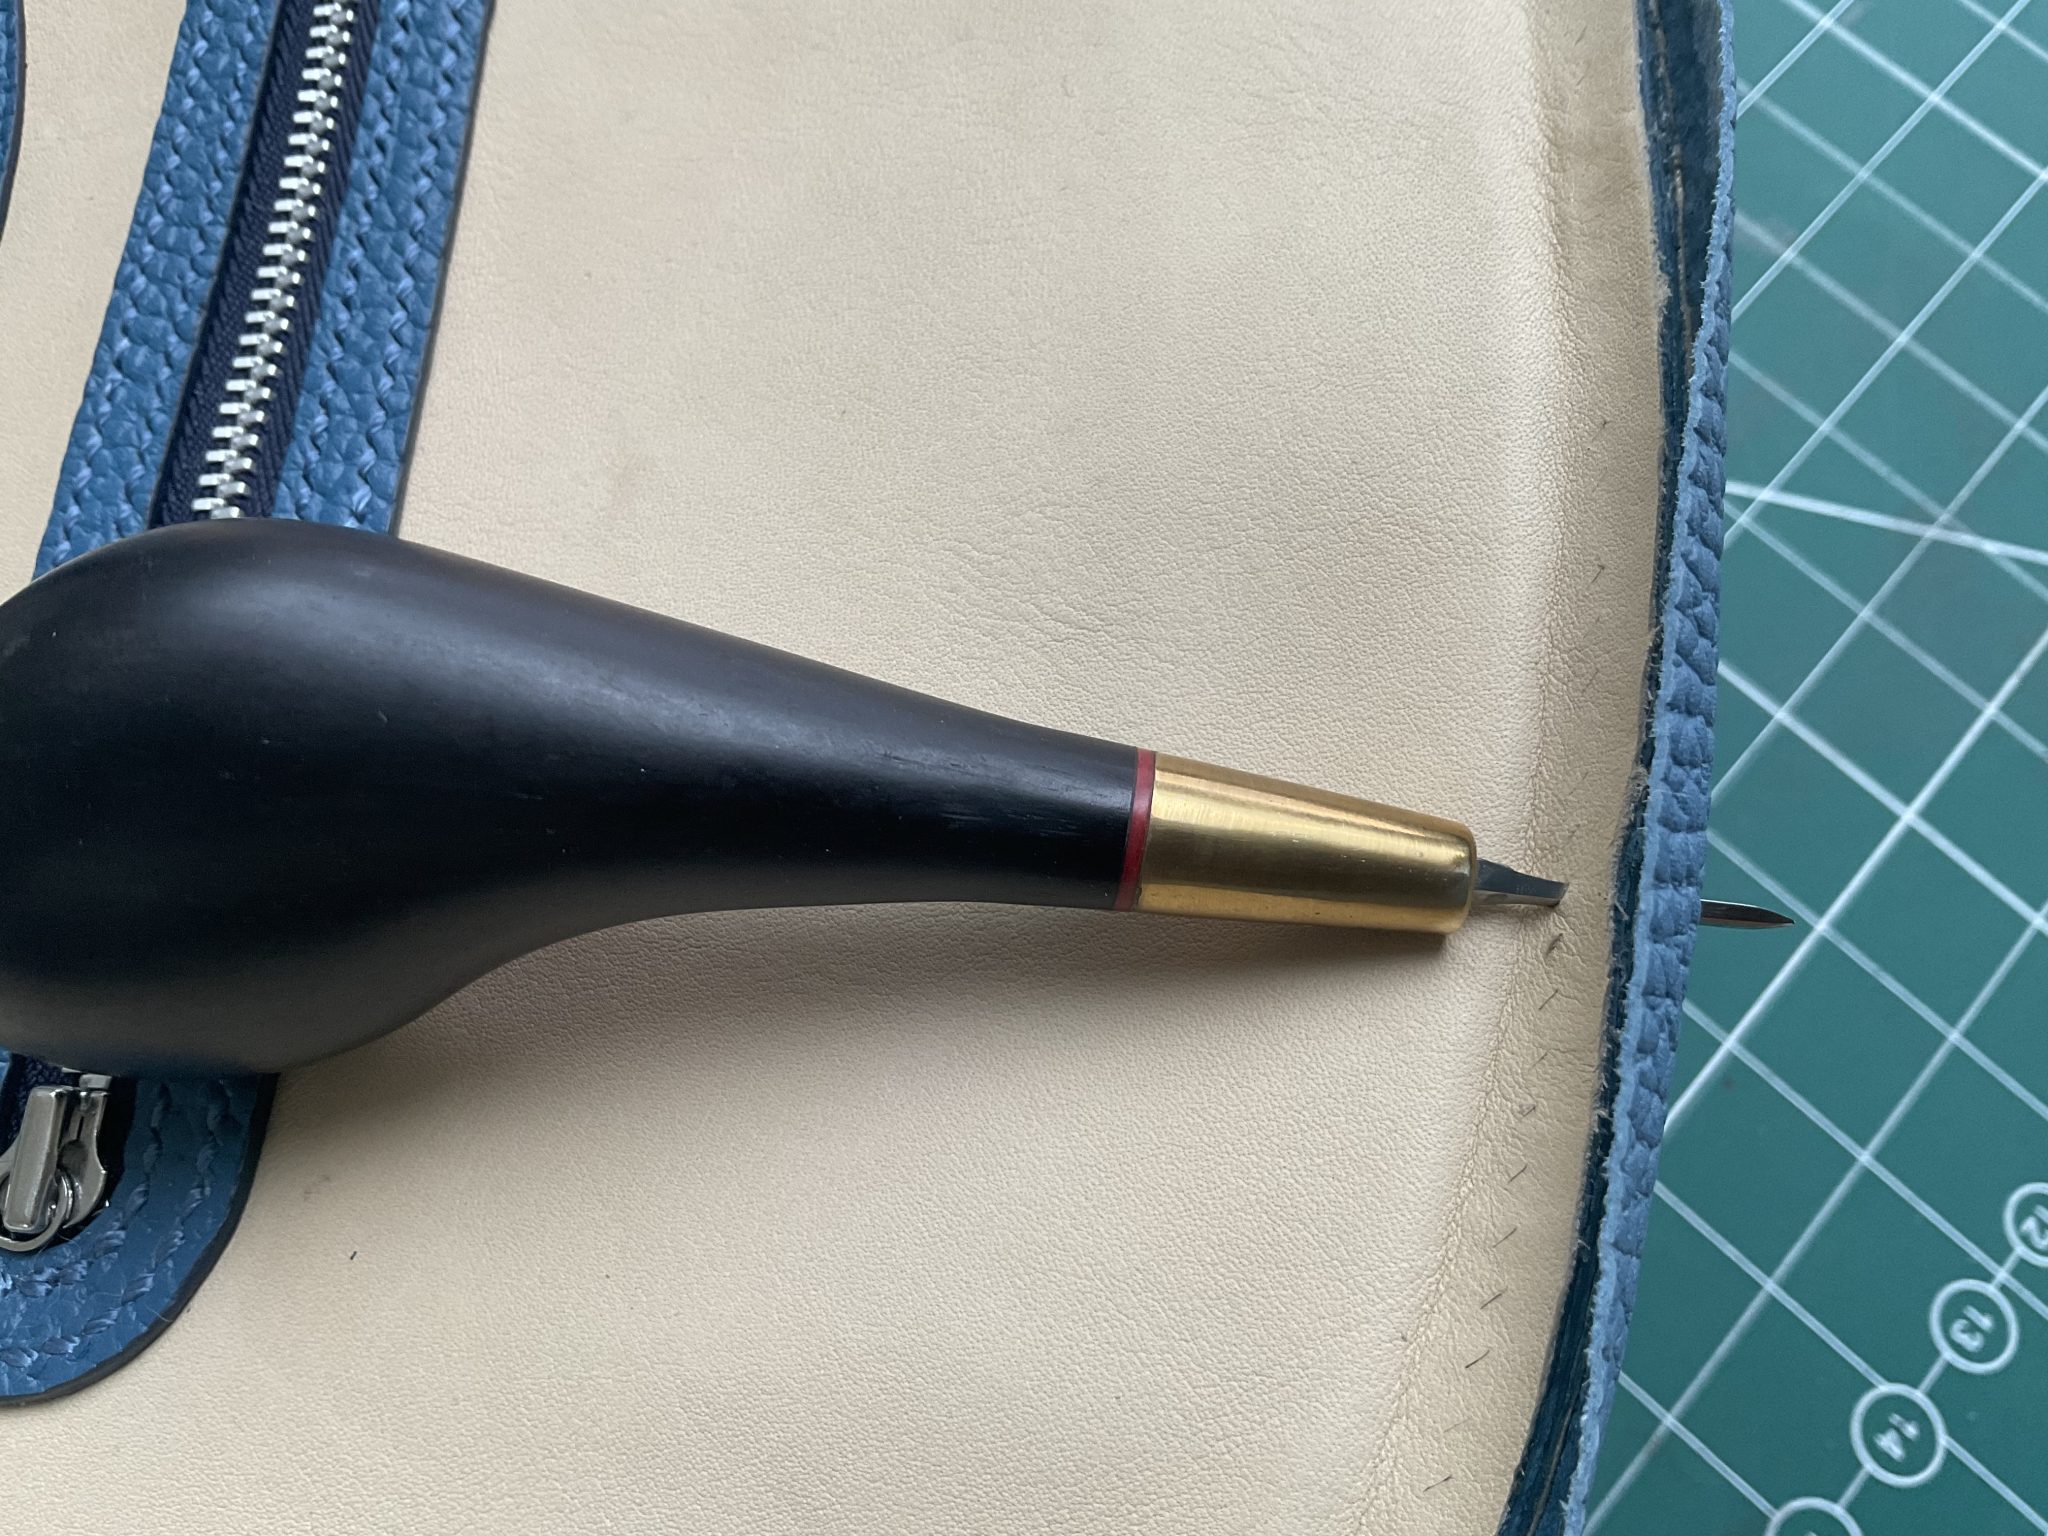
This leaves the pre-punched stitch holes still visible on the non-bonded side. So an awl can be passed through them to make the holes extend all the way through the bonded layers. The final step will be to bond the other half of the finishing strip and again pass the awl or stitching iron back through this final layer.
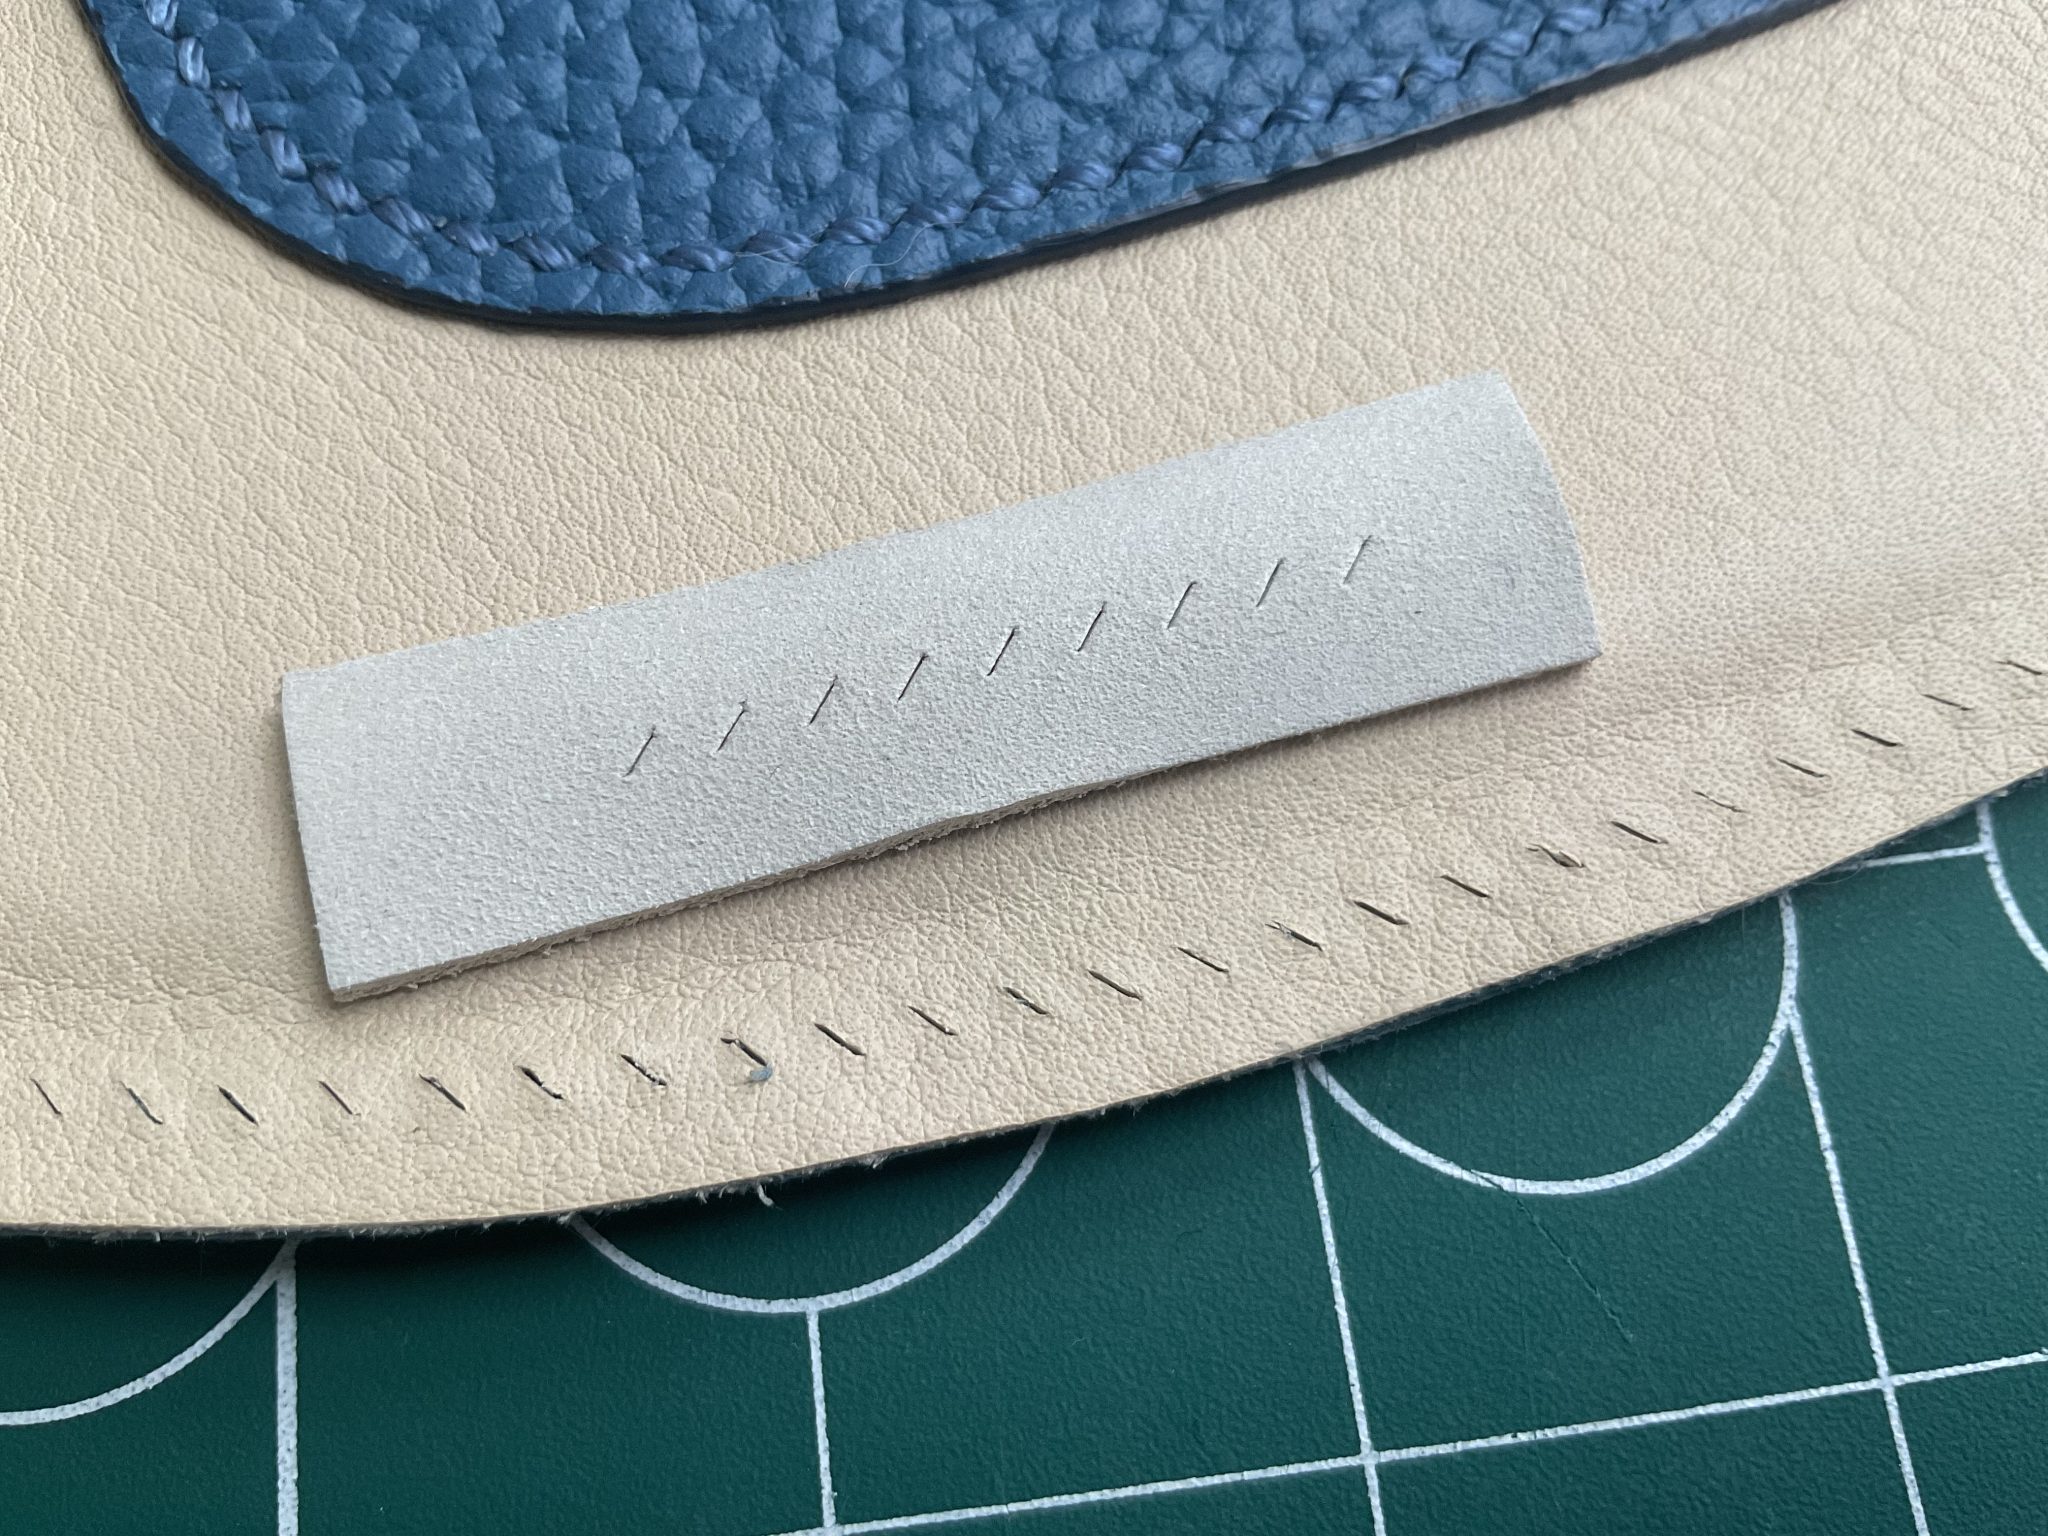
An awl rather than stitching irons are needed due to the orientation of stitch holes at the rear, where the angle of the hole is the opposite at round. The sample piece above shows the angle of the stitching iron holes, rising from left to right. The rear slants downwards.
The outcome is that each hole has to be remade individually. A time consuming task as care needs to be taken to ensure the awl comes out the other side in a neat line.