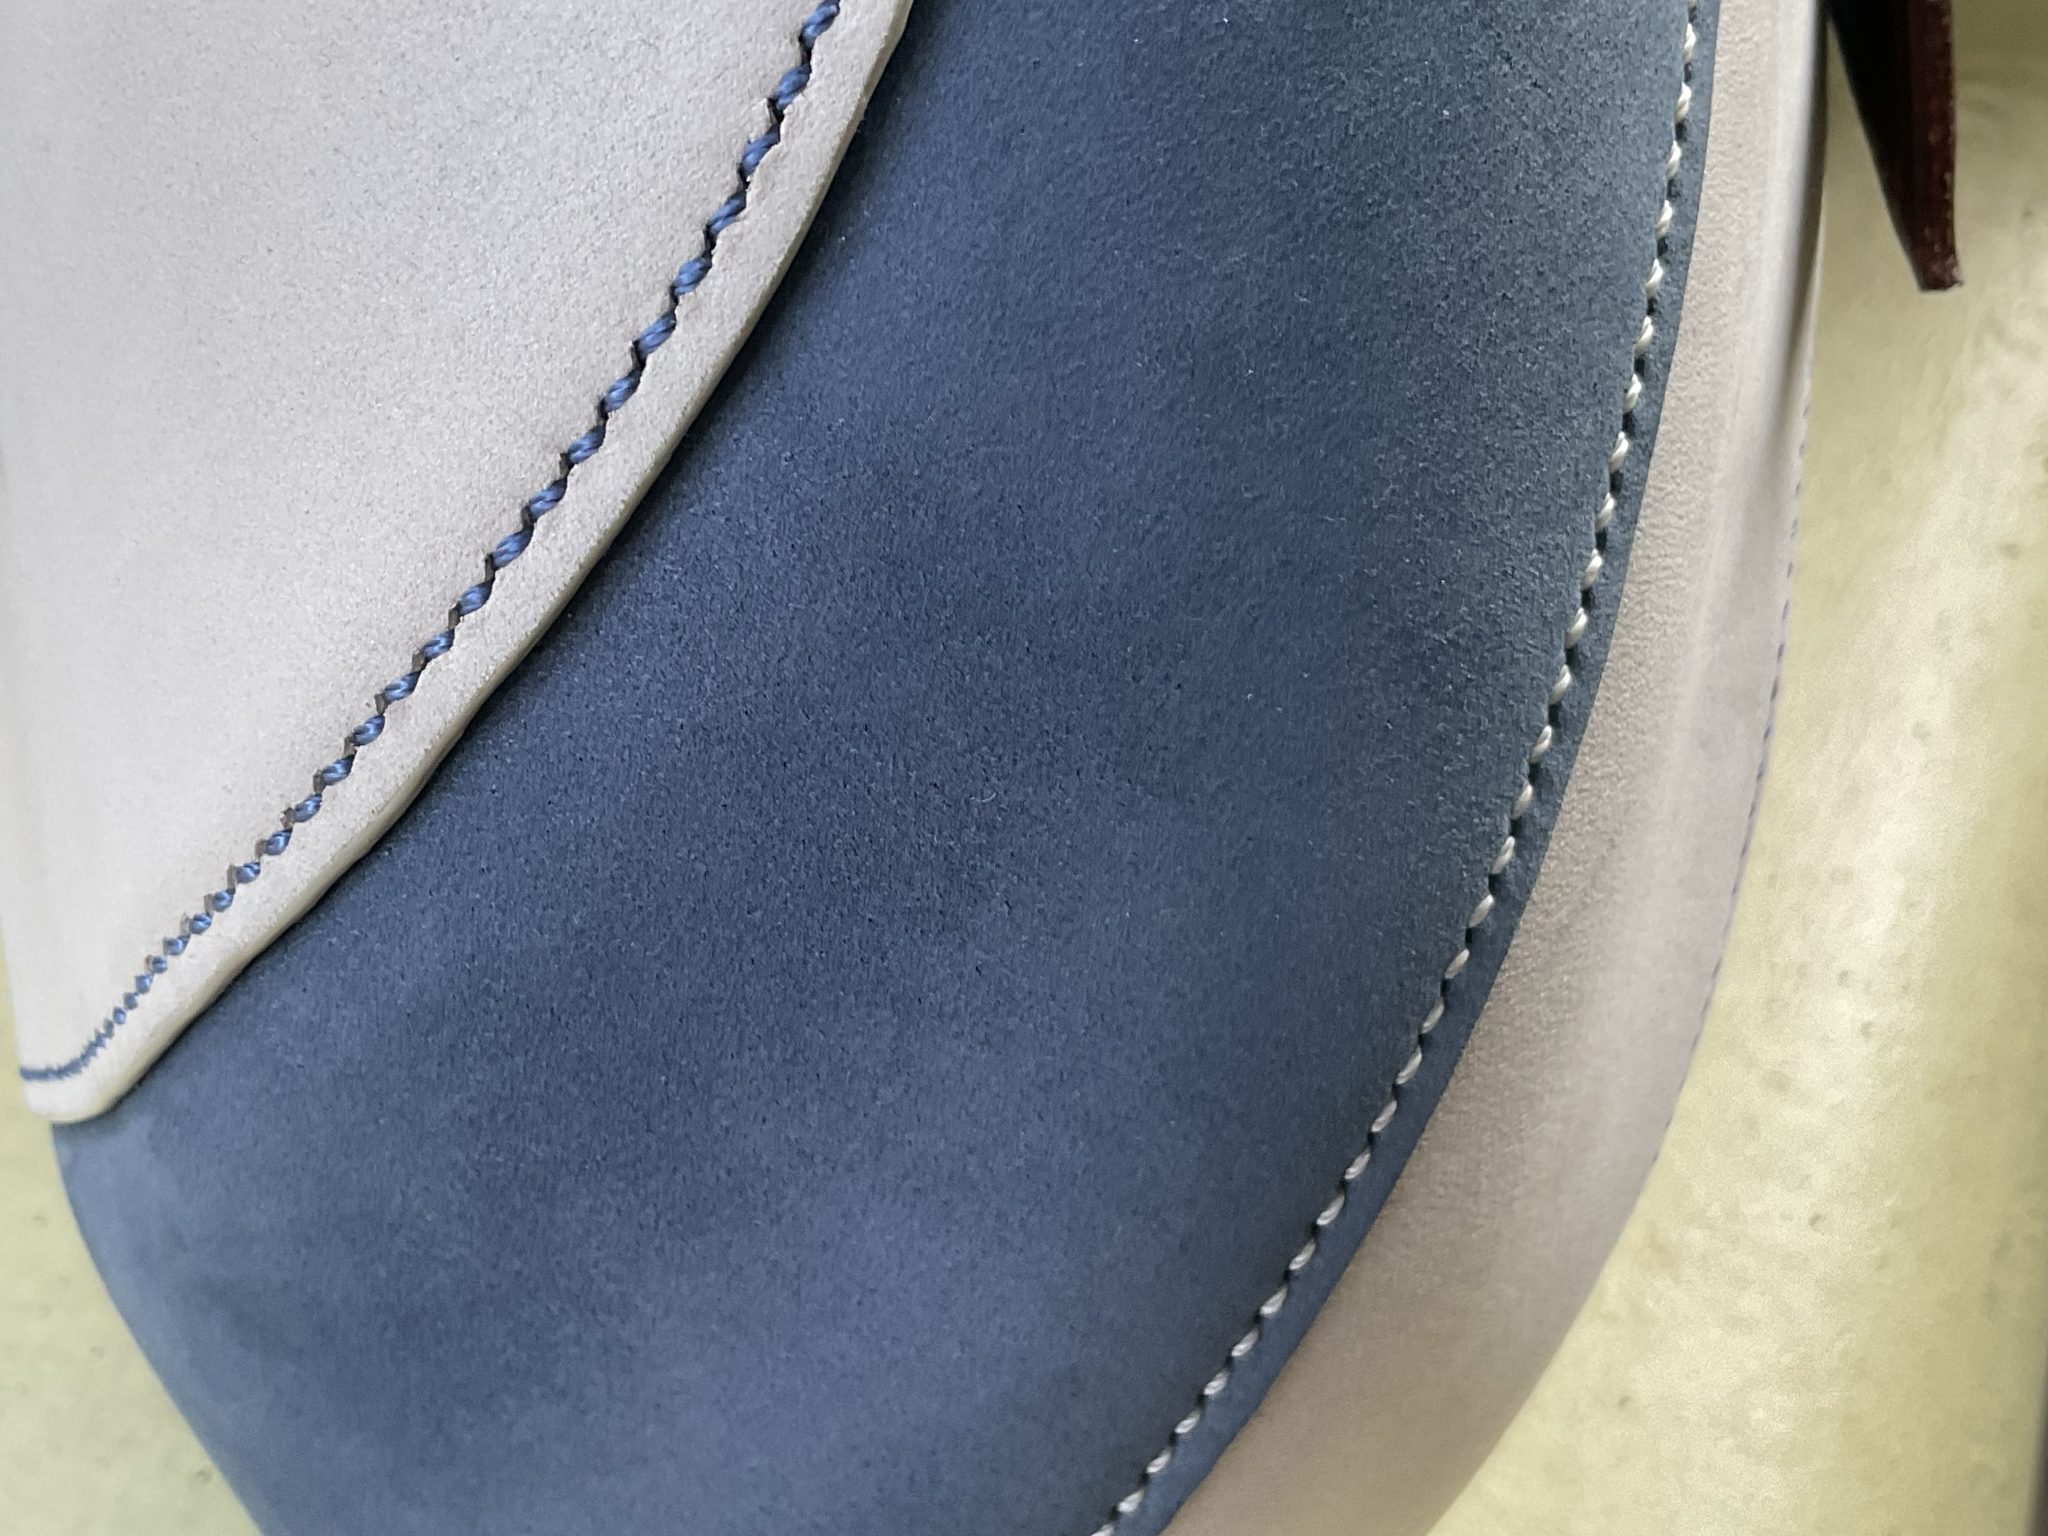
With an imminent trip to warmer climes looming, I needed to sort out something to take with me. I had intended to tweak the two-tone Tote bag so decided to make a ‘kit’ to take with me. The idea being I would do all the cutting and prep work here and therefore avoid needing to take an entire set of leather tools with me. AA Crack do a good selection of Nubuck hides so opted for a blue annd cream combination for the sides although the remainder would be in a dark brown. The issue with the Nubuck is it has a fairly soft handle and so the bag would have a tendency to be quite floppy. To overcome this I thought bonding a fabric lining would stiffen up the Nubuck sufficiently. However the cotton twill fabric has two issues – fraying and being quite porous, so not ideal for the water based contact adhesive. So the approach will be to back the lining with a fusible interface and then bond that to the Nubuck.
The stitch holes were made in each piece when the original two-tone bag was made. However his caused problems as, even though the stitch line lengths should be the same, the reality is that there would often be additional holes in one of the mating pieces. This then requires stitches to be dropped and these can often be obvious in the completed article. So this time the stitch line will be punched but only on the outer piece. The two pieces will then be bonded and then the holes re-punched through both pieces to avoid the issue.
Leather: Sides in Nubuck French Navy and Vanilla 1.4/1.6mm, Base, Handle and pocket in Badalassi Carlo Minerva Box – Tabacco and Castagno – 1.7/1.9mm
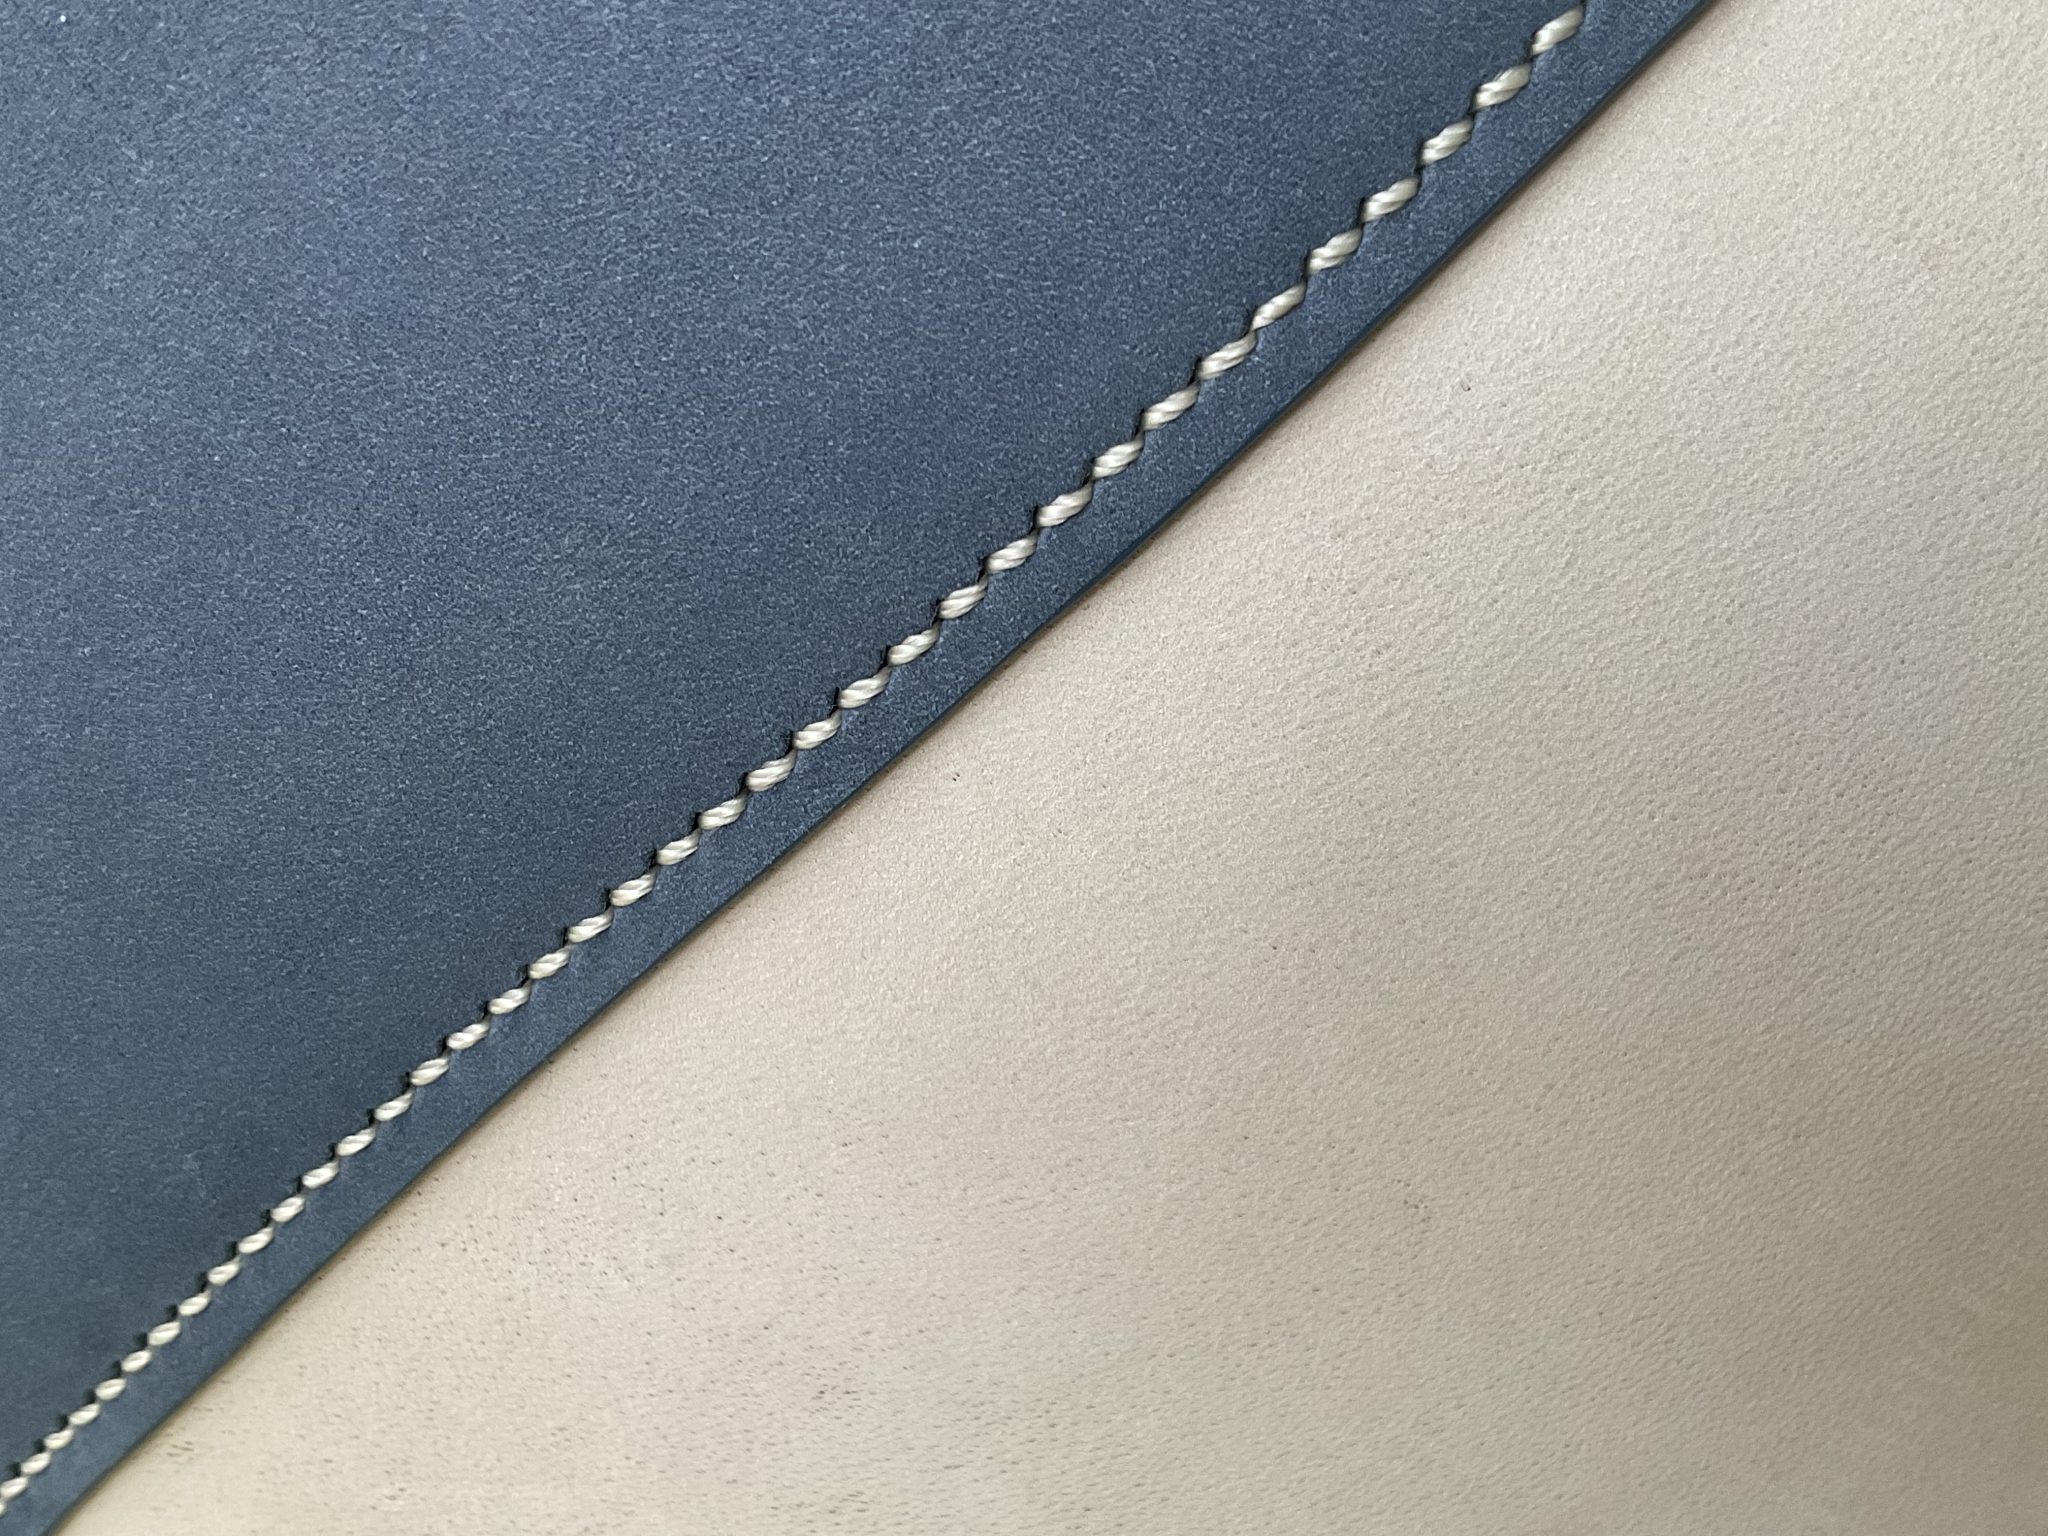
Threads: #1 Vinymo, Colours 102 (Cream), 179 (Blue) and 126 (Brown) with stitch length of 3.5mm
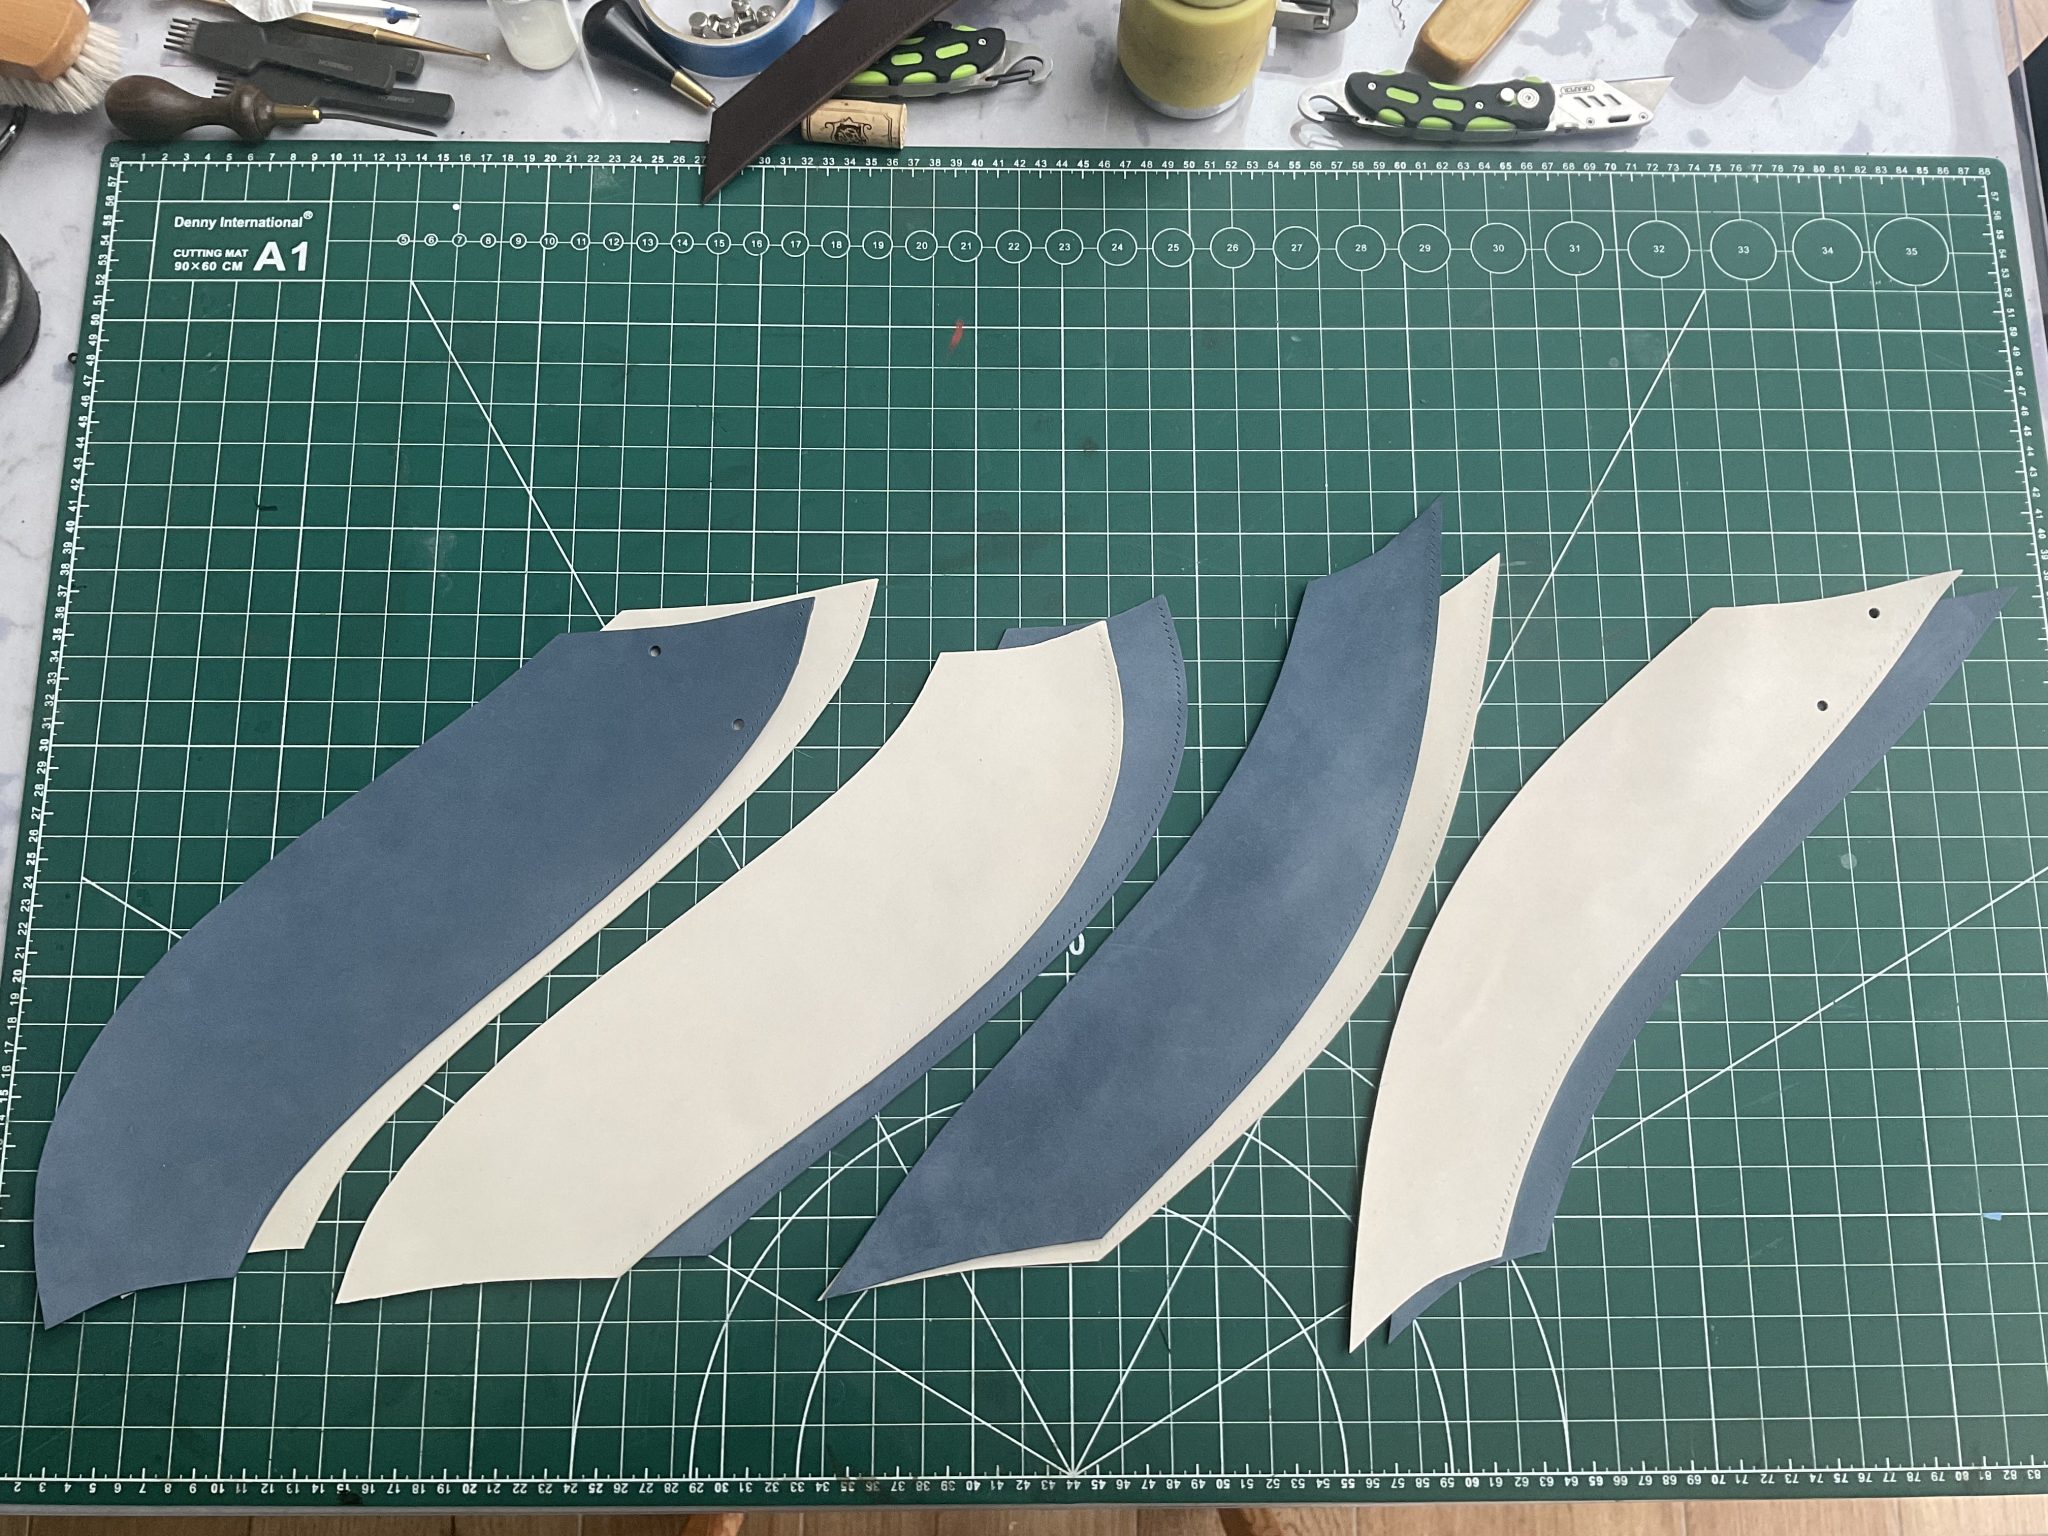
The eight side pieces were cut and the stitch holes punched in the right-hand edge, with each piece having one in both colours ….
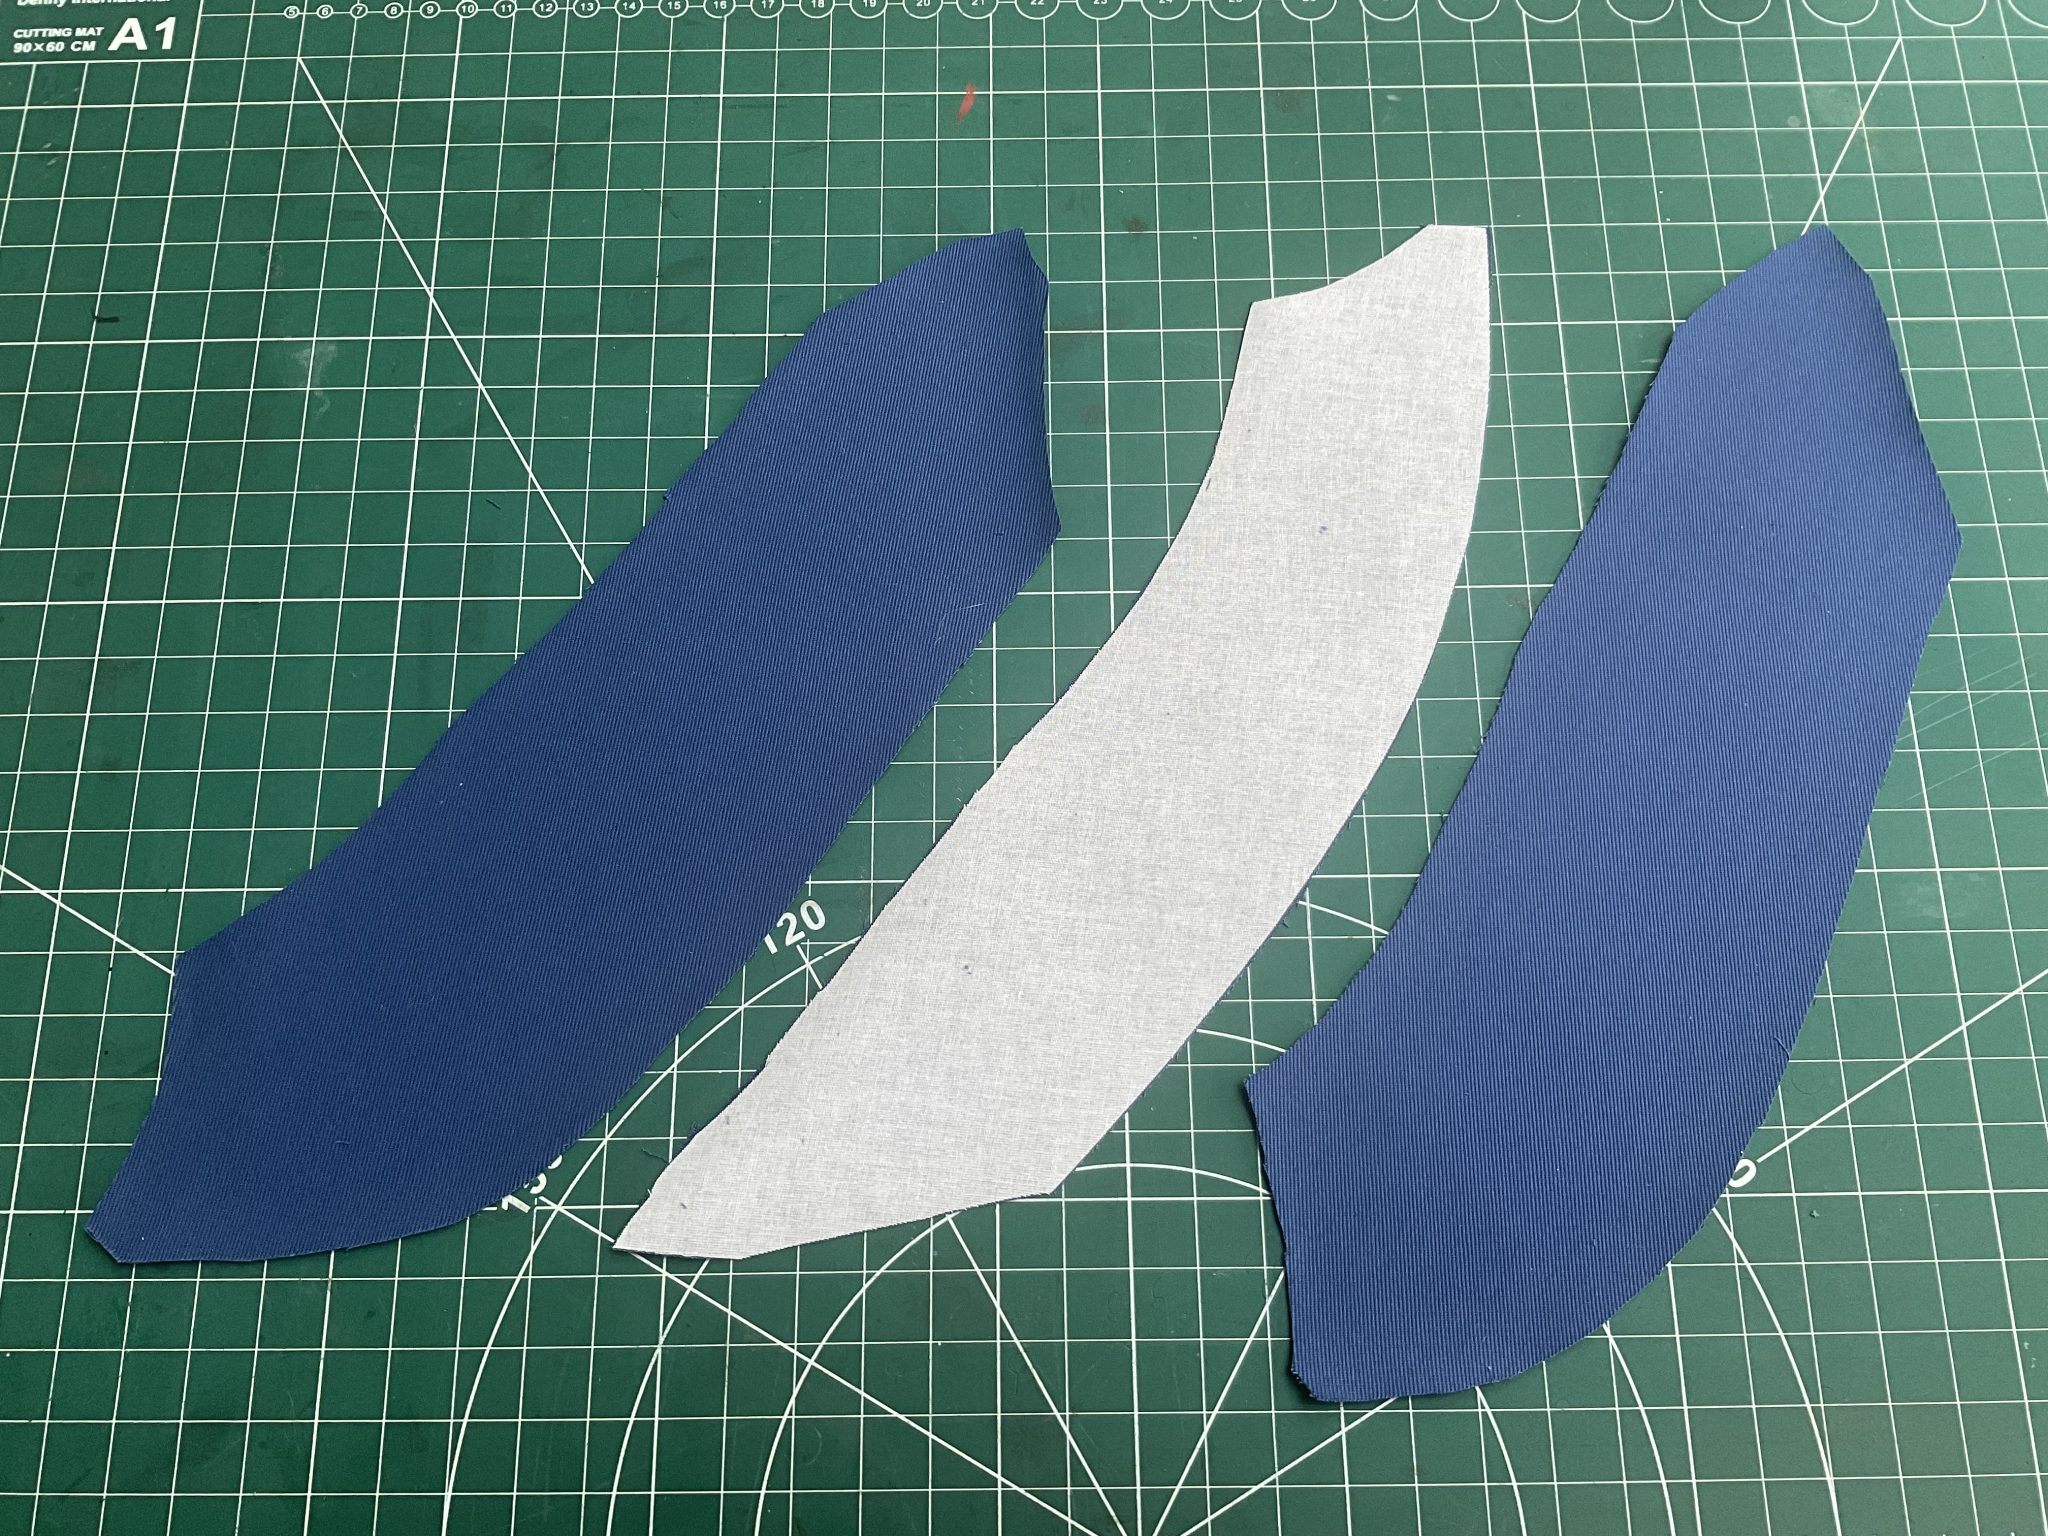
The white fusible interface was ironed onto the lining pieces.
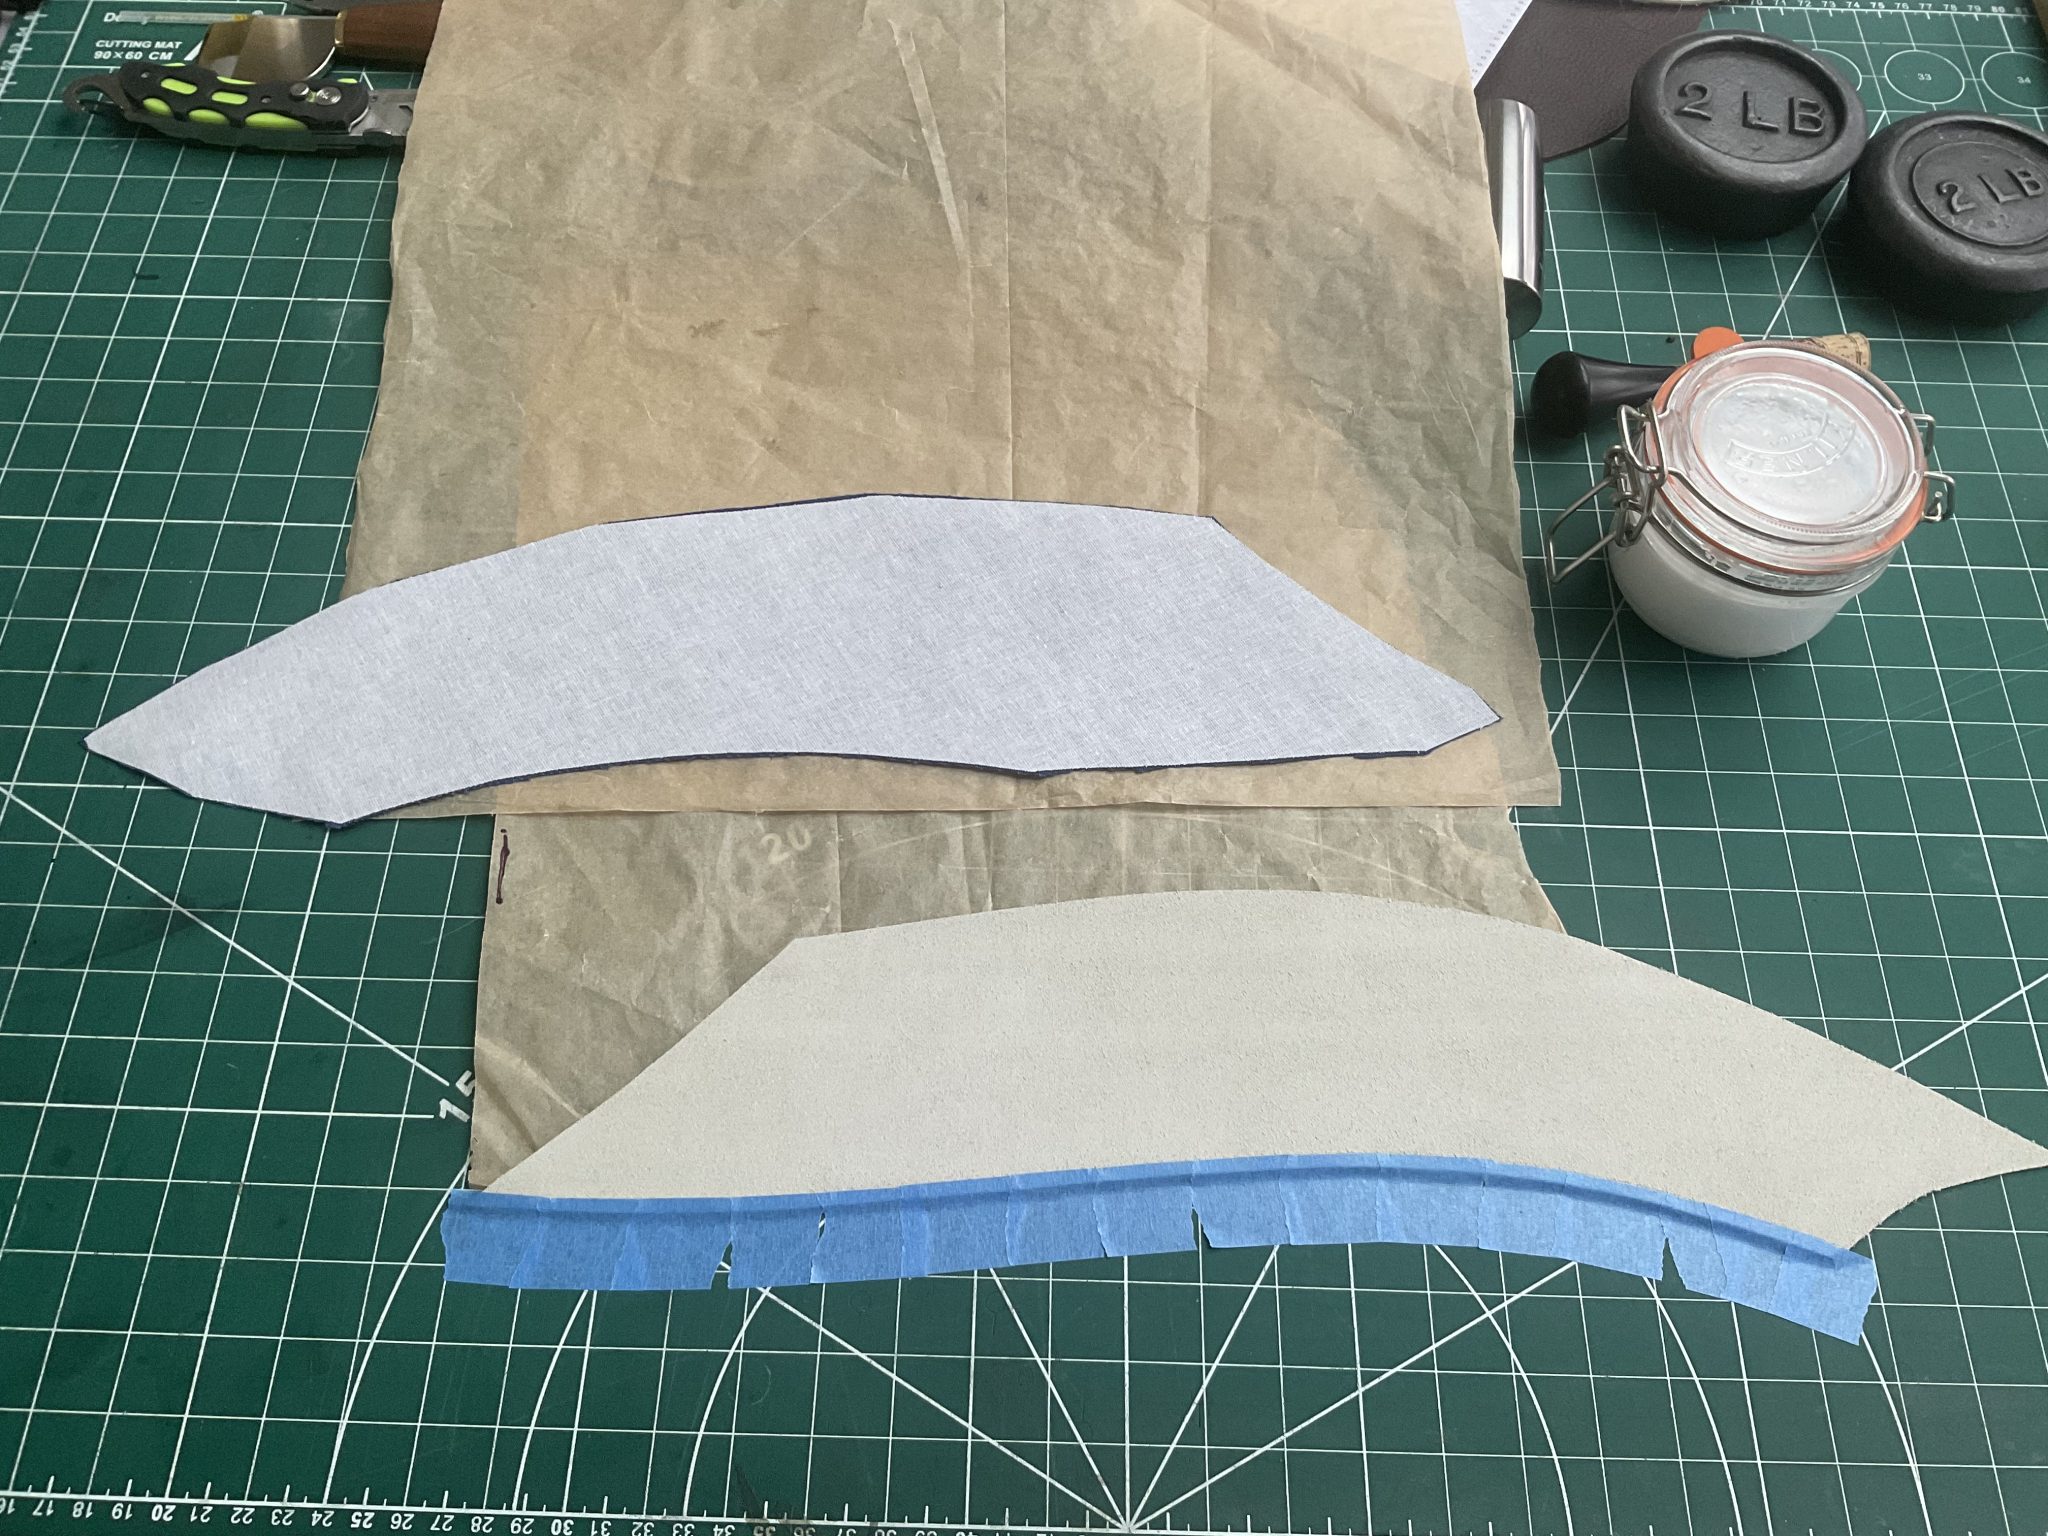
The lining and interface are then bonded to the back of the Nubuck. The outer 3.5mm of the leading edge was masked as the lining will be cut short along this line to avoid it showing on the outside of the bag once complete.
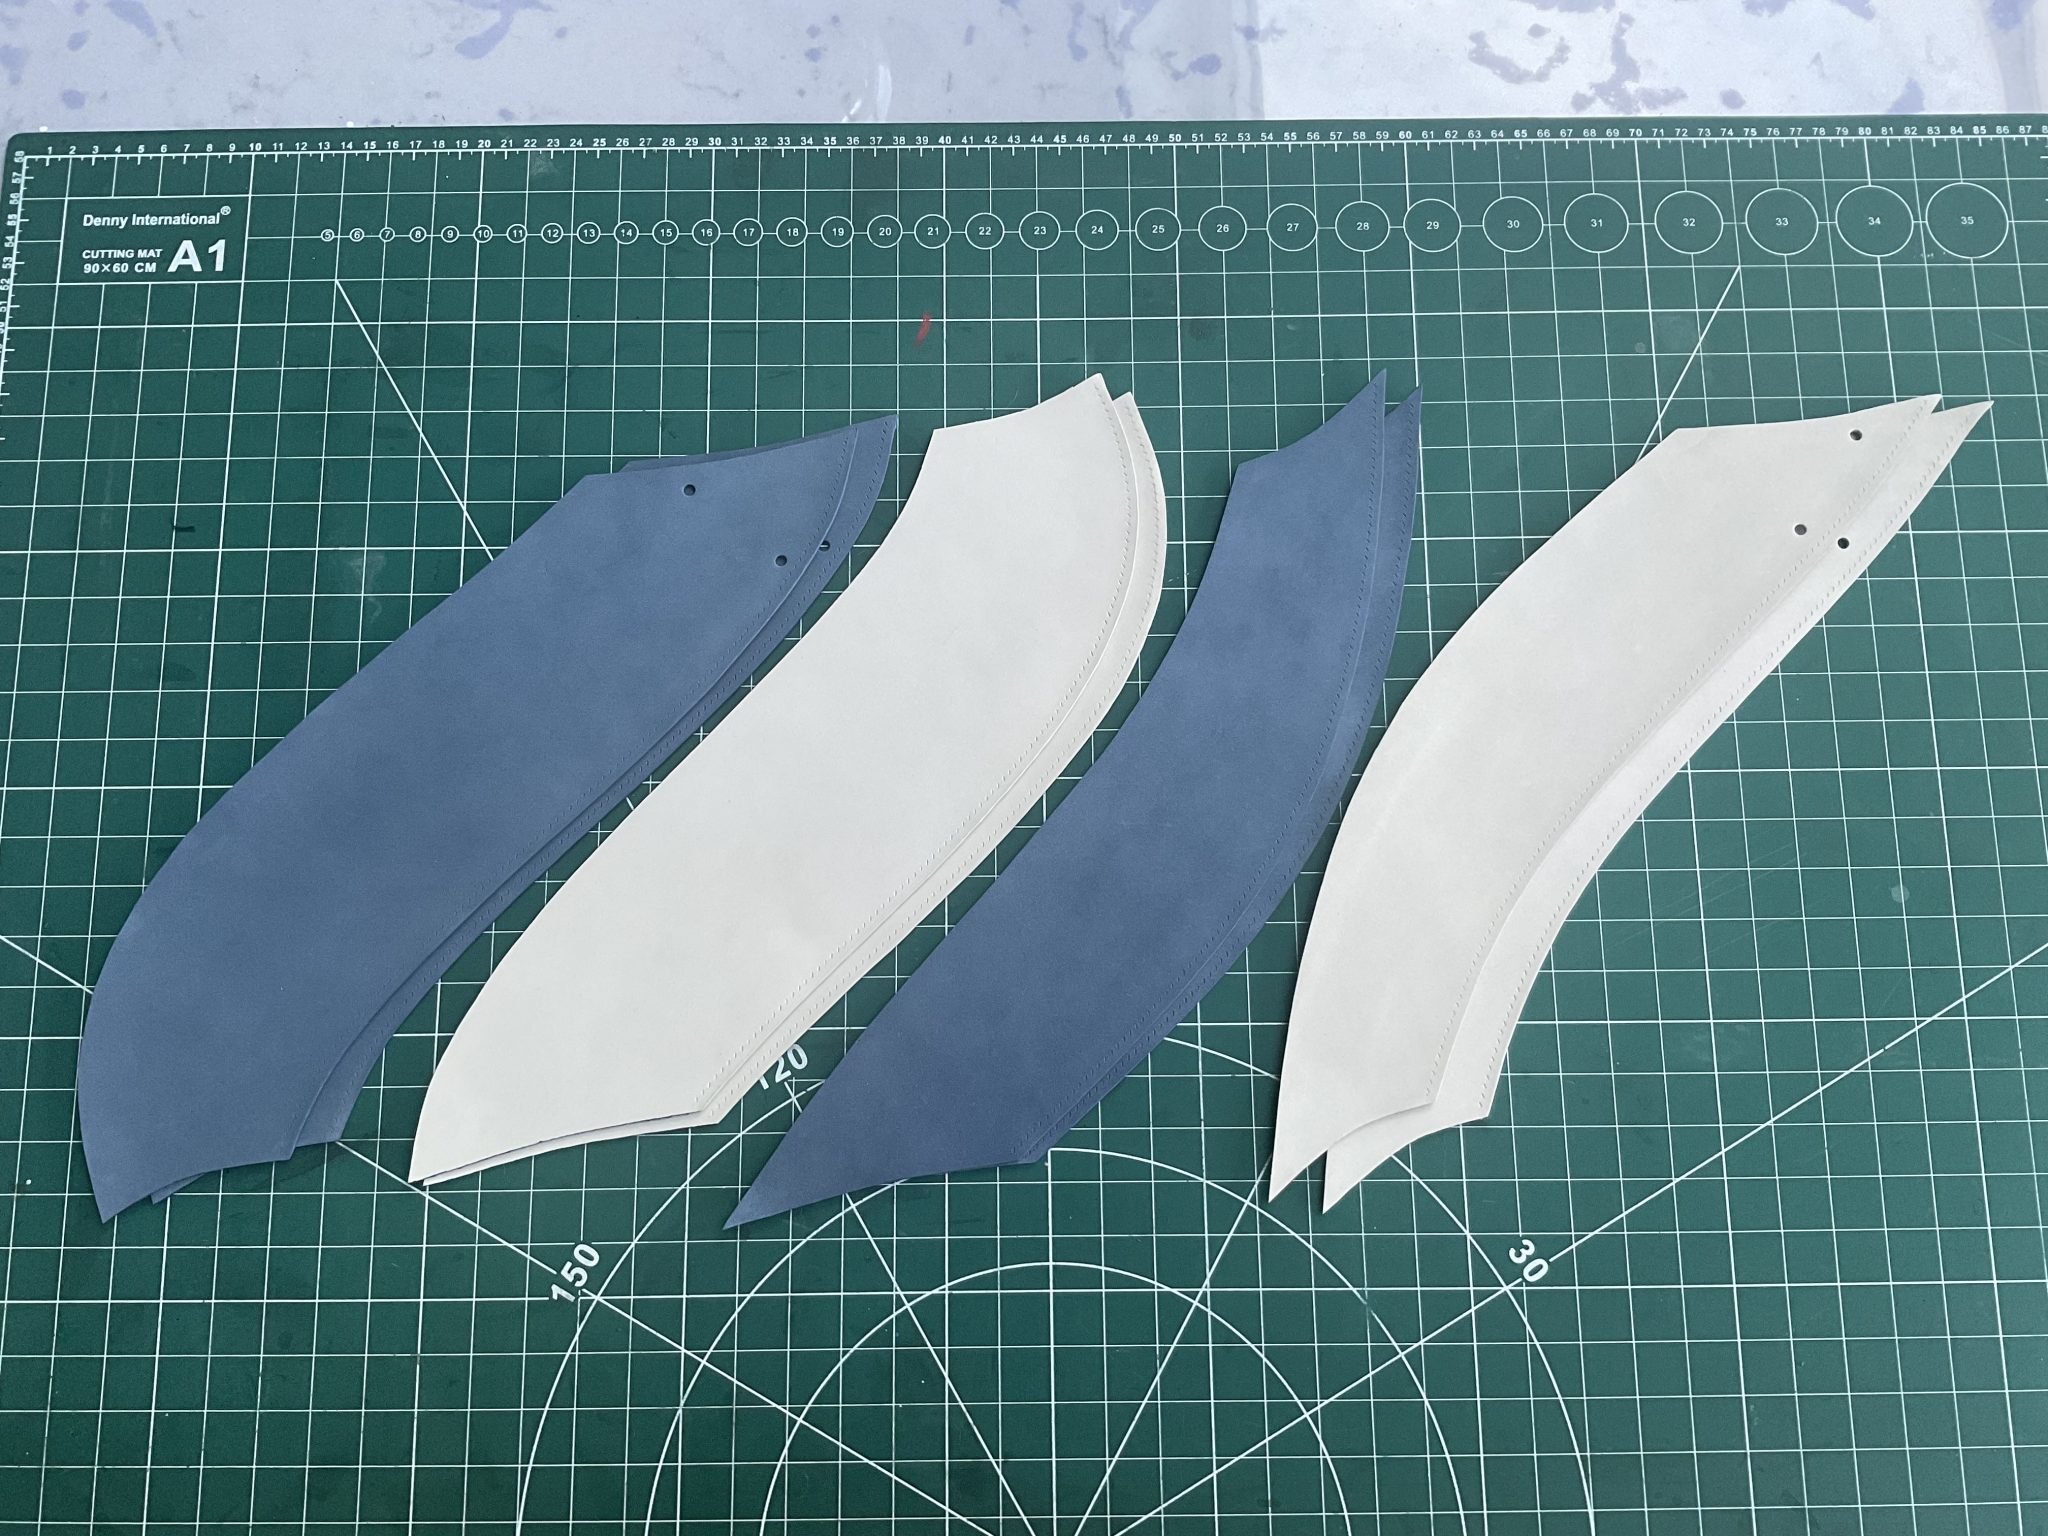
It was only once I had completed the 8 lined pieces that it dawned on me that I’d had a bit of brain fade! The colours alternate around the perimeter of the bag. Having one of each colour for the 4 pieces doesn’t work – each piece needs to be in just one of the colours otherwise it’s not possible to alternate all the way round. I therefore had make four new pieces in the correct colour. Rather than throw the wrong ones away, I decided to made 8 new pieces and make two bags.
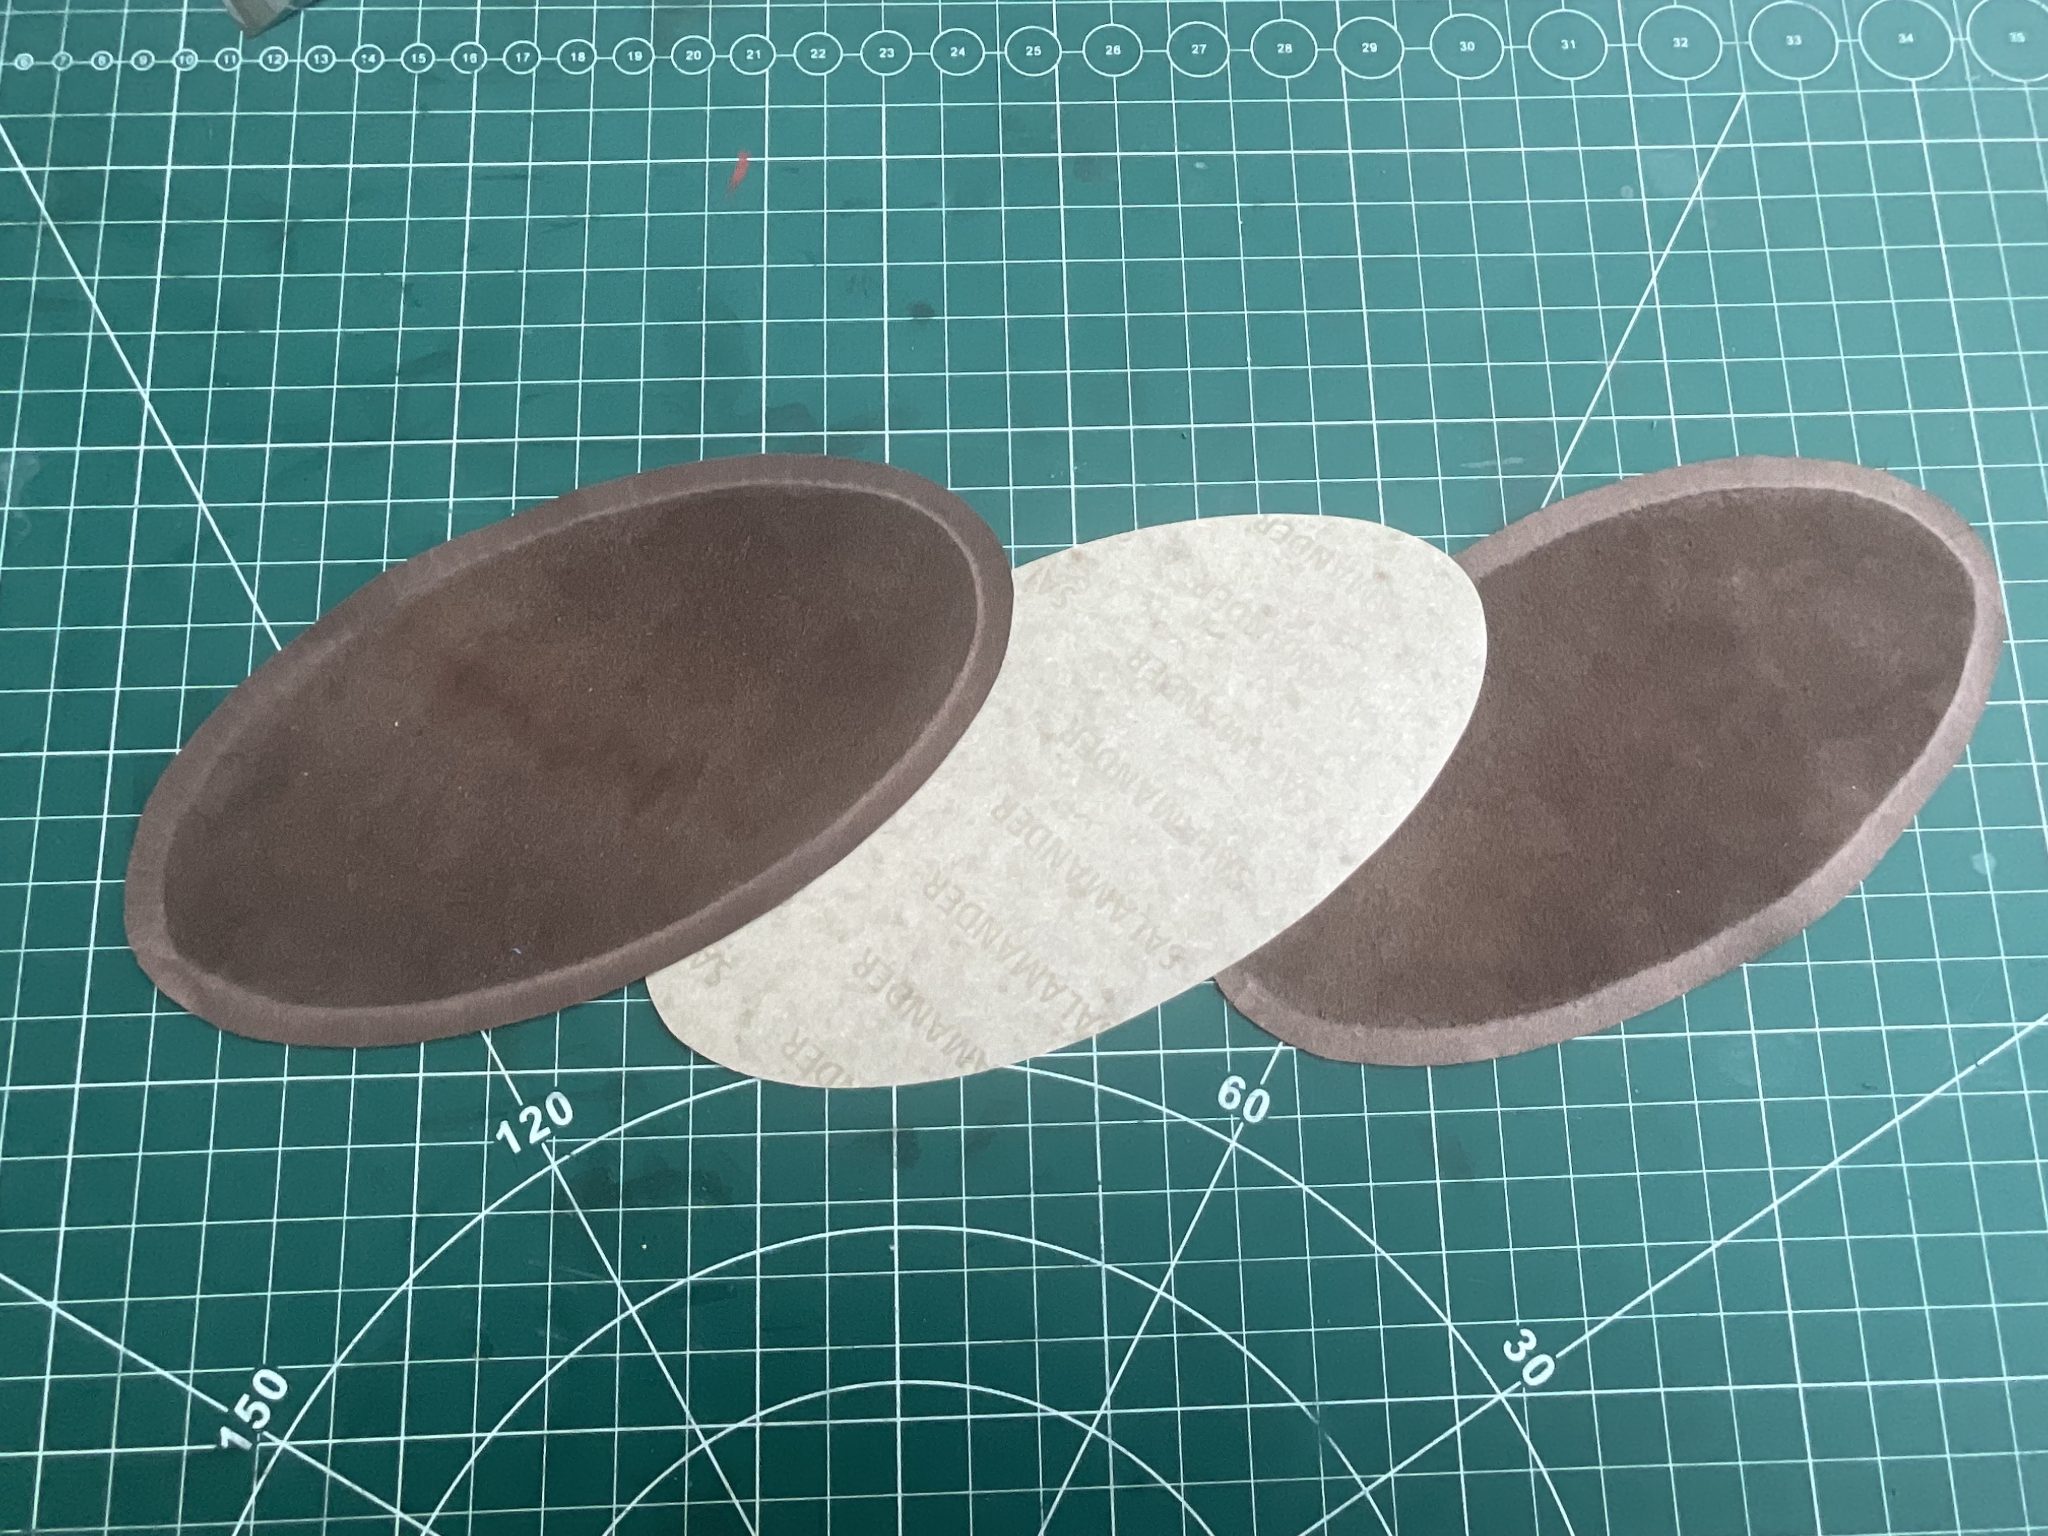
The base was made up of a lamination of outer pieces of leather and a bonded leather core to give more rigidity.

Glueing the bonded leather to the outer piece.

The completed ‘kit’ for one bag: handles, pocket, base, top edge binding, two-tone side pieces.
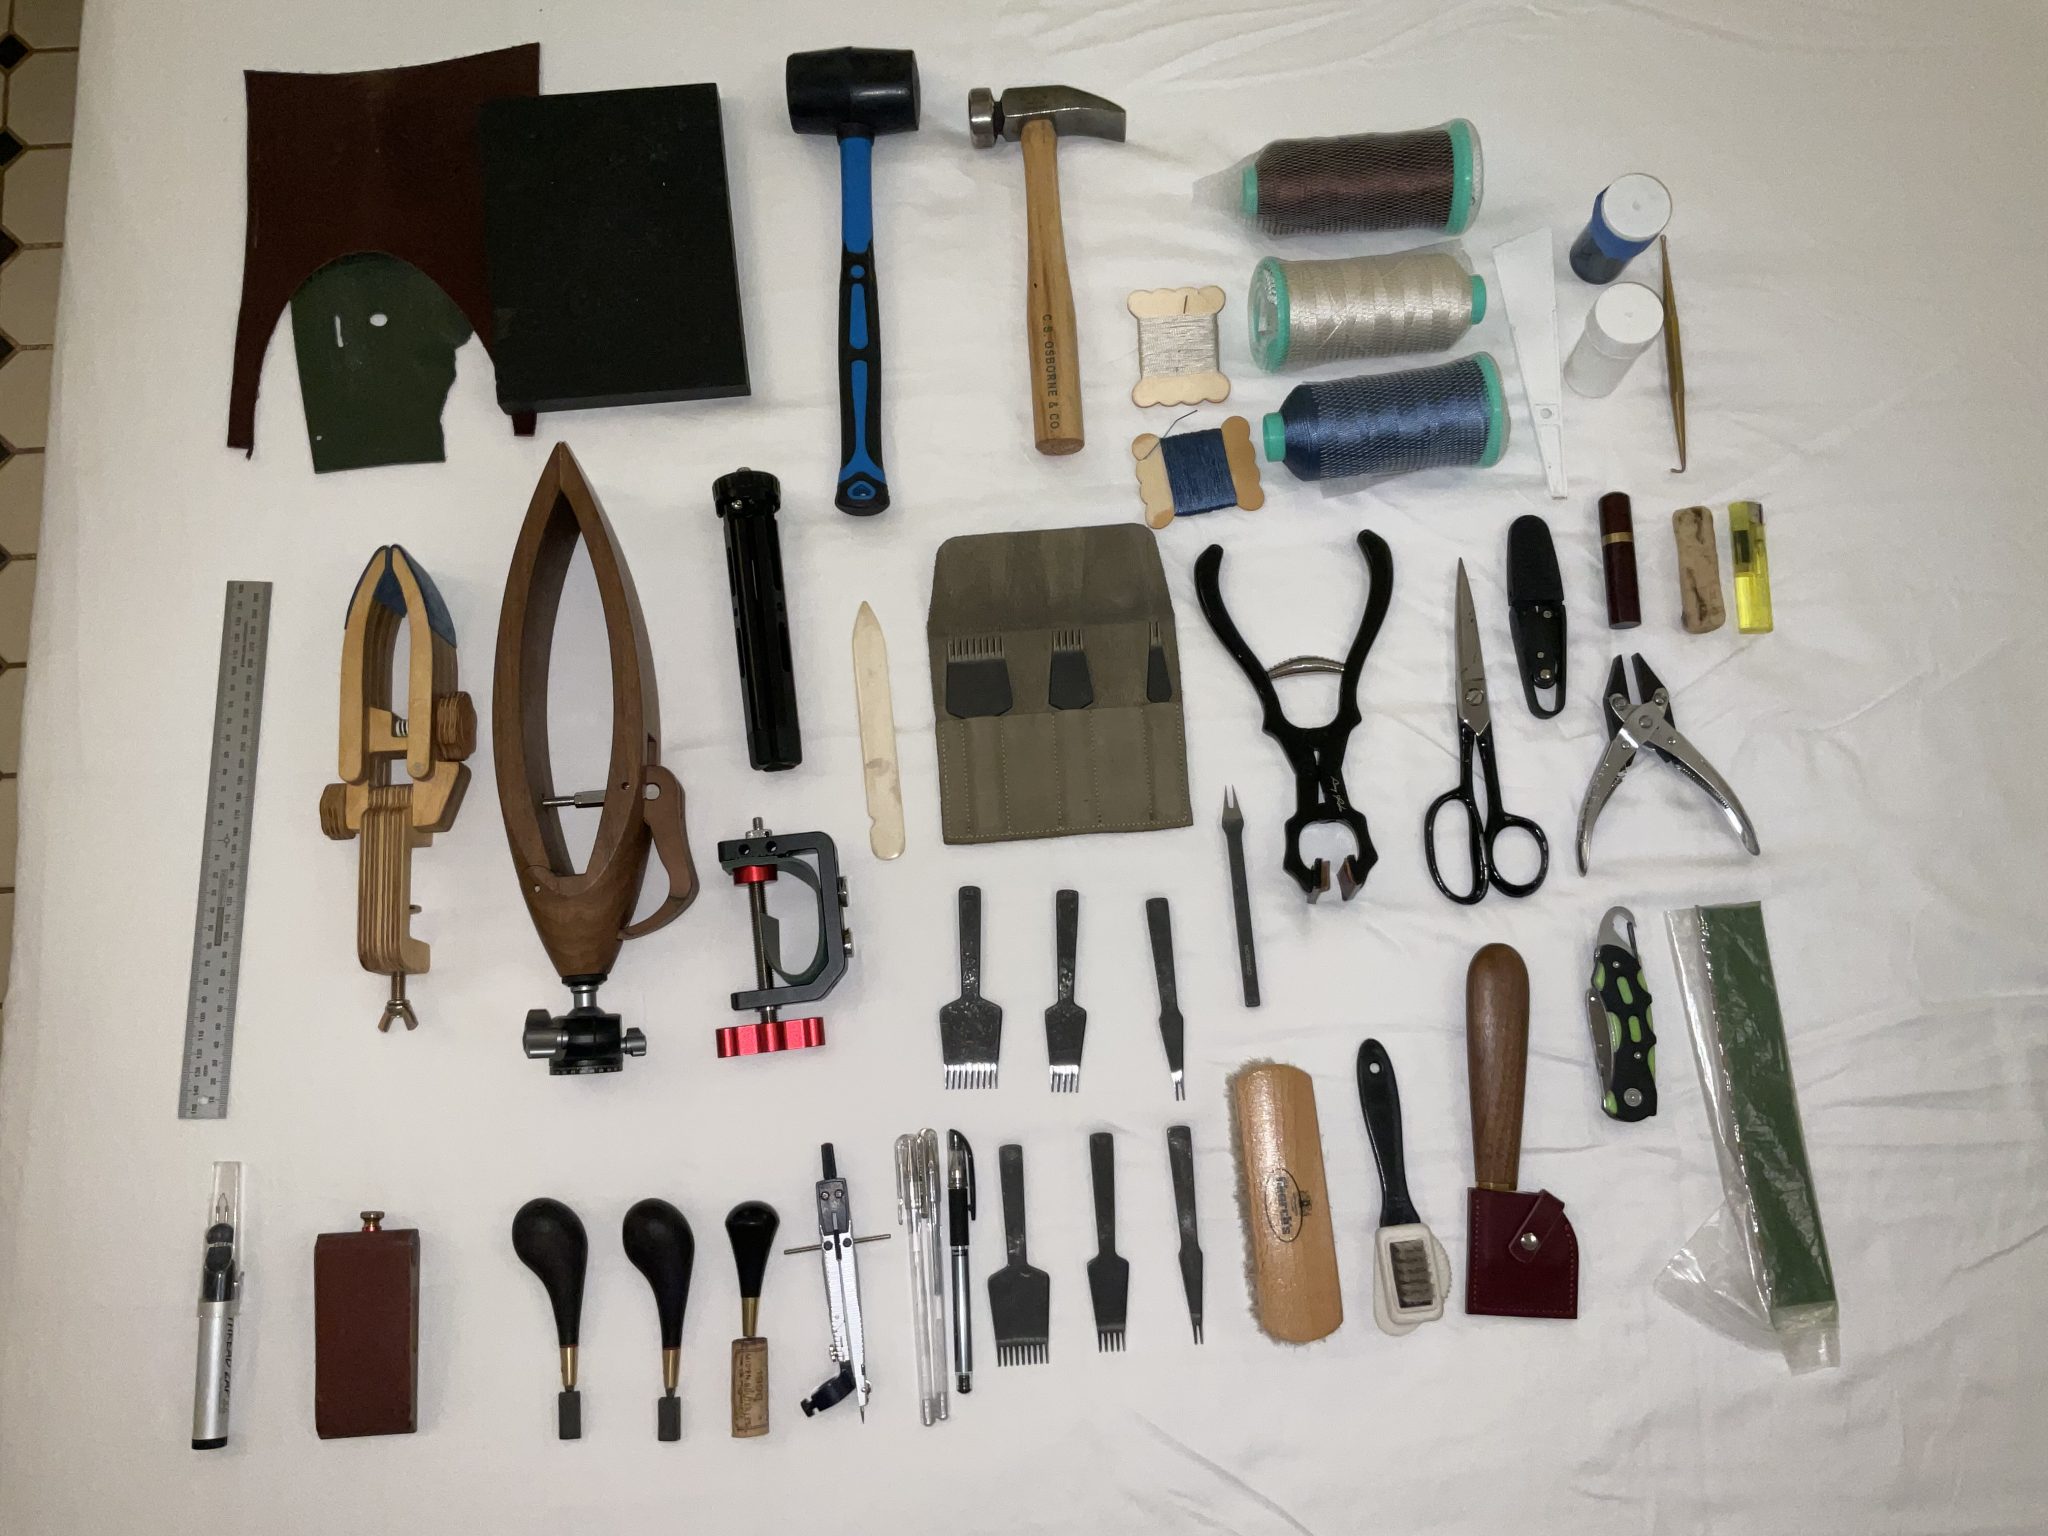
Even in kit form, there was still a surprising amount of paraphernalia needed – who doesn’t take a mallet and tamping hammer on holiday?
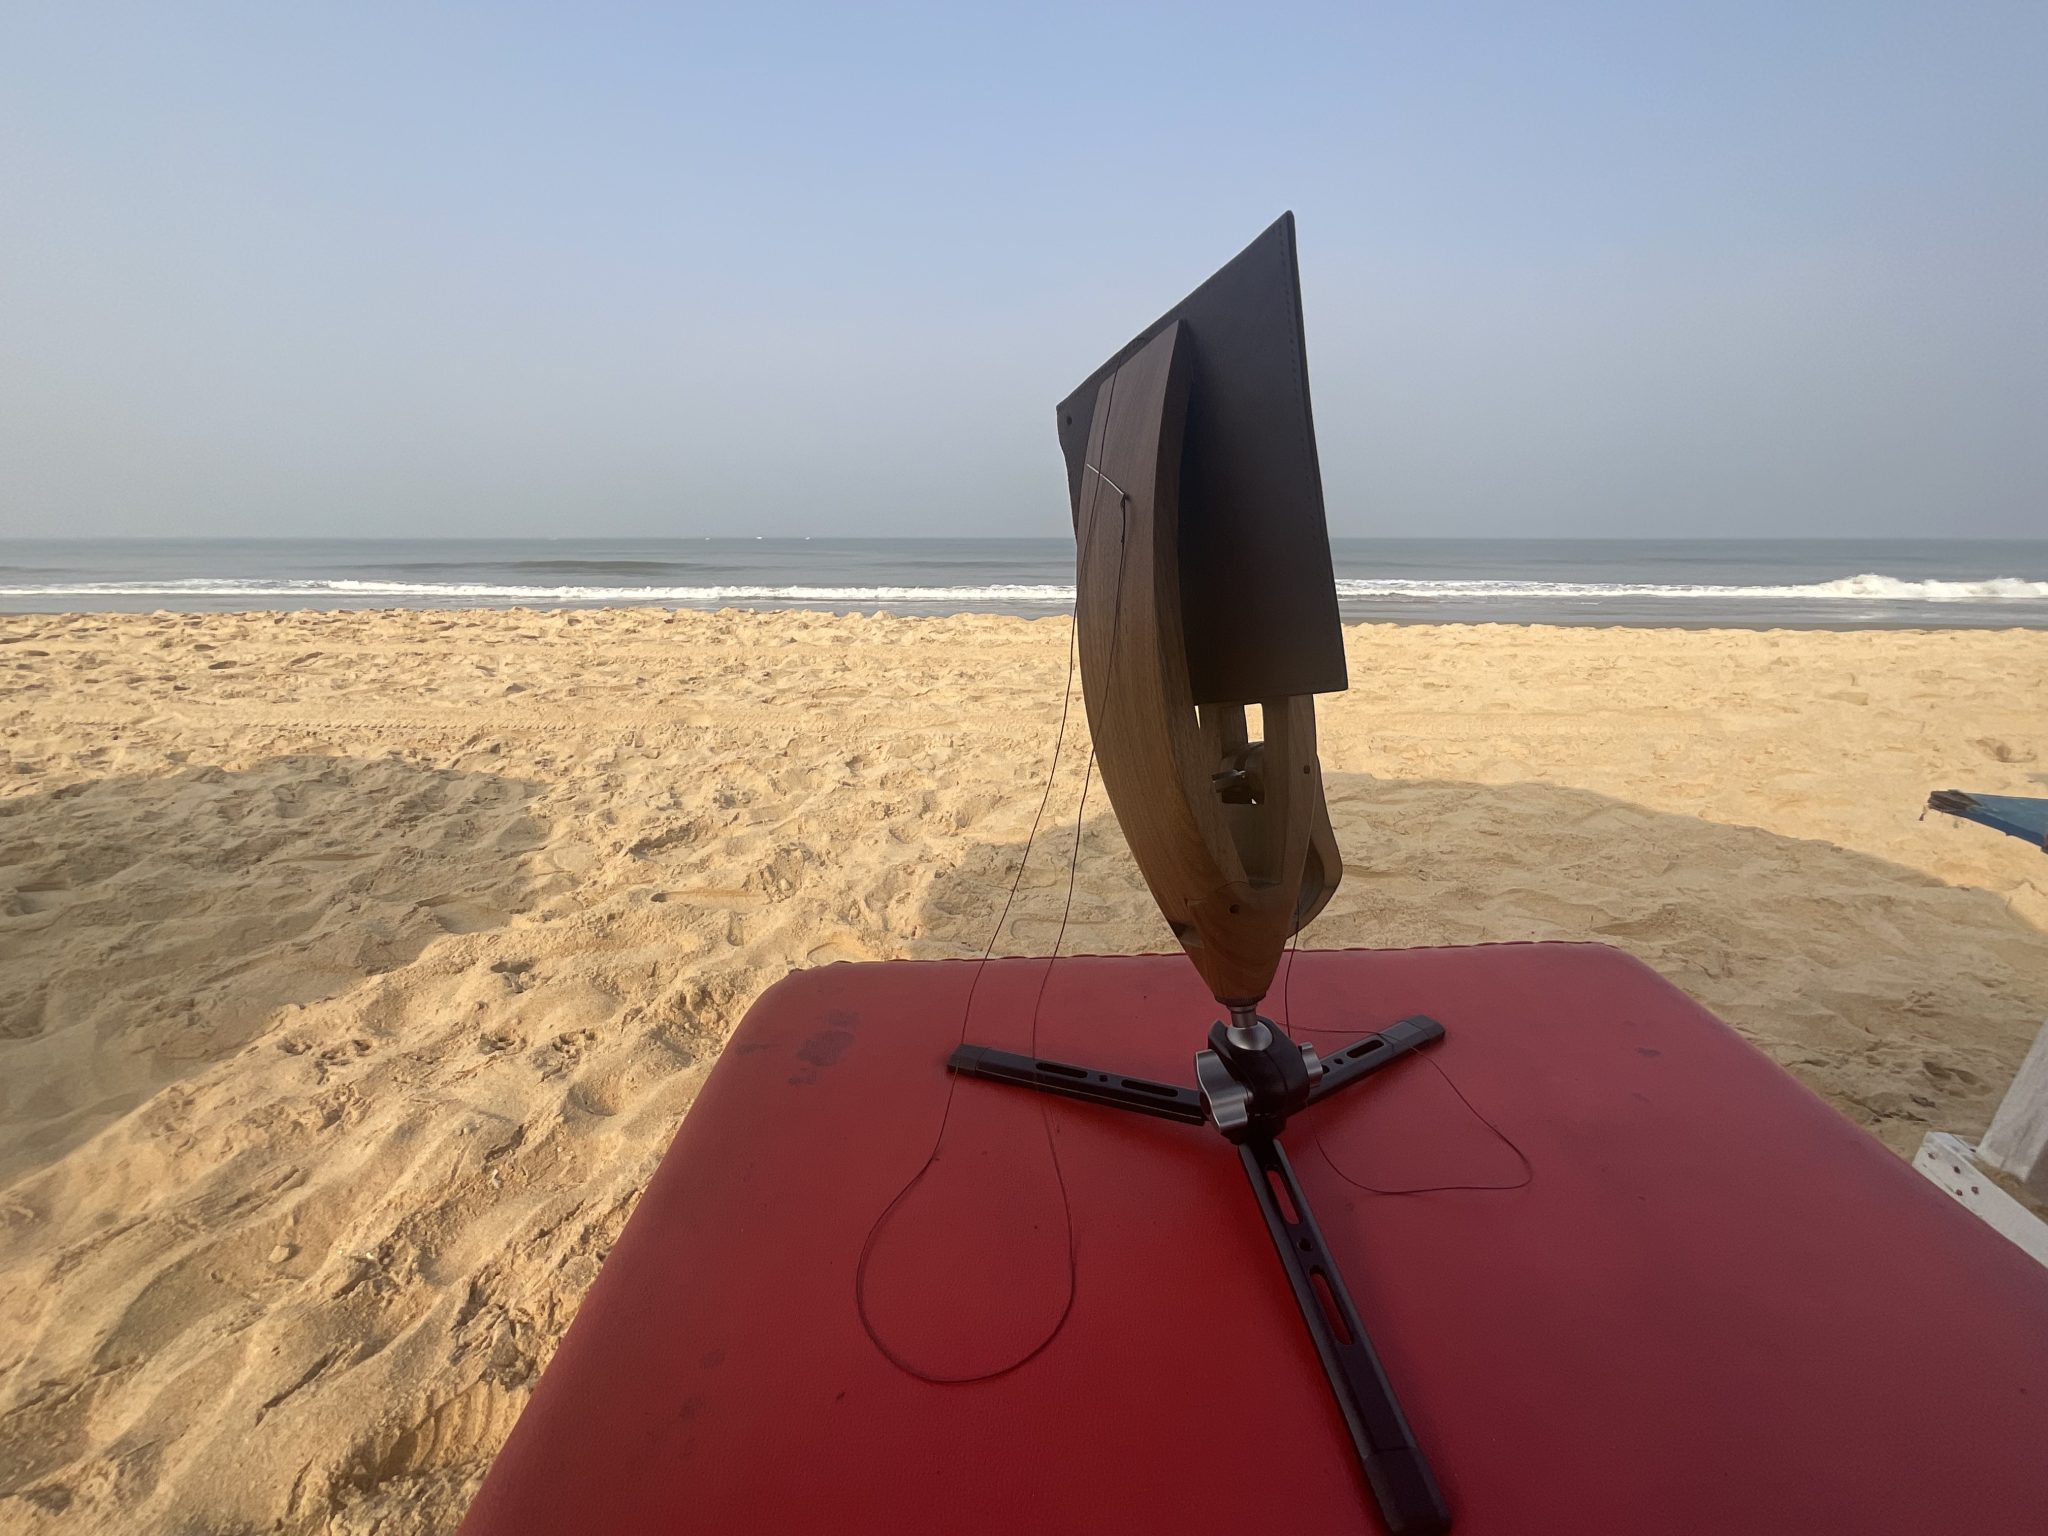
I’d recently purchased a Crimson Hides stitching pony which comes with a variety of mounting options. One is a tripod stand which absolutely perfect for travelling. First the brown leather items were stitched – here the internal pocket..
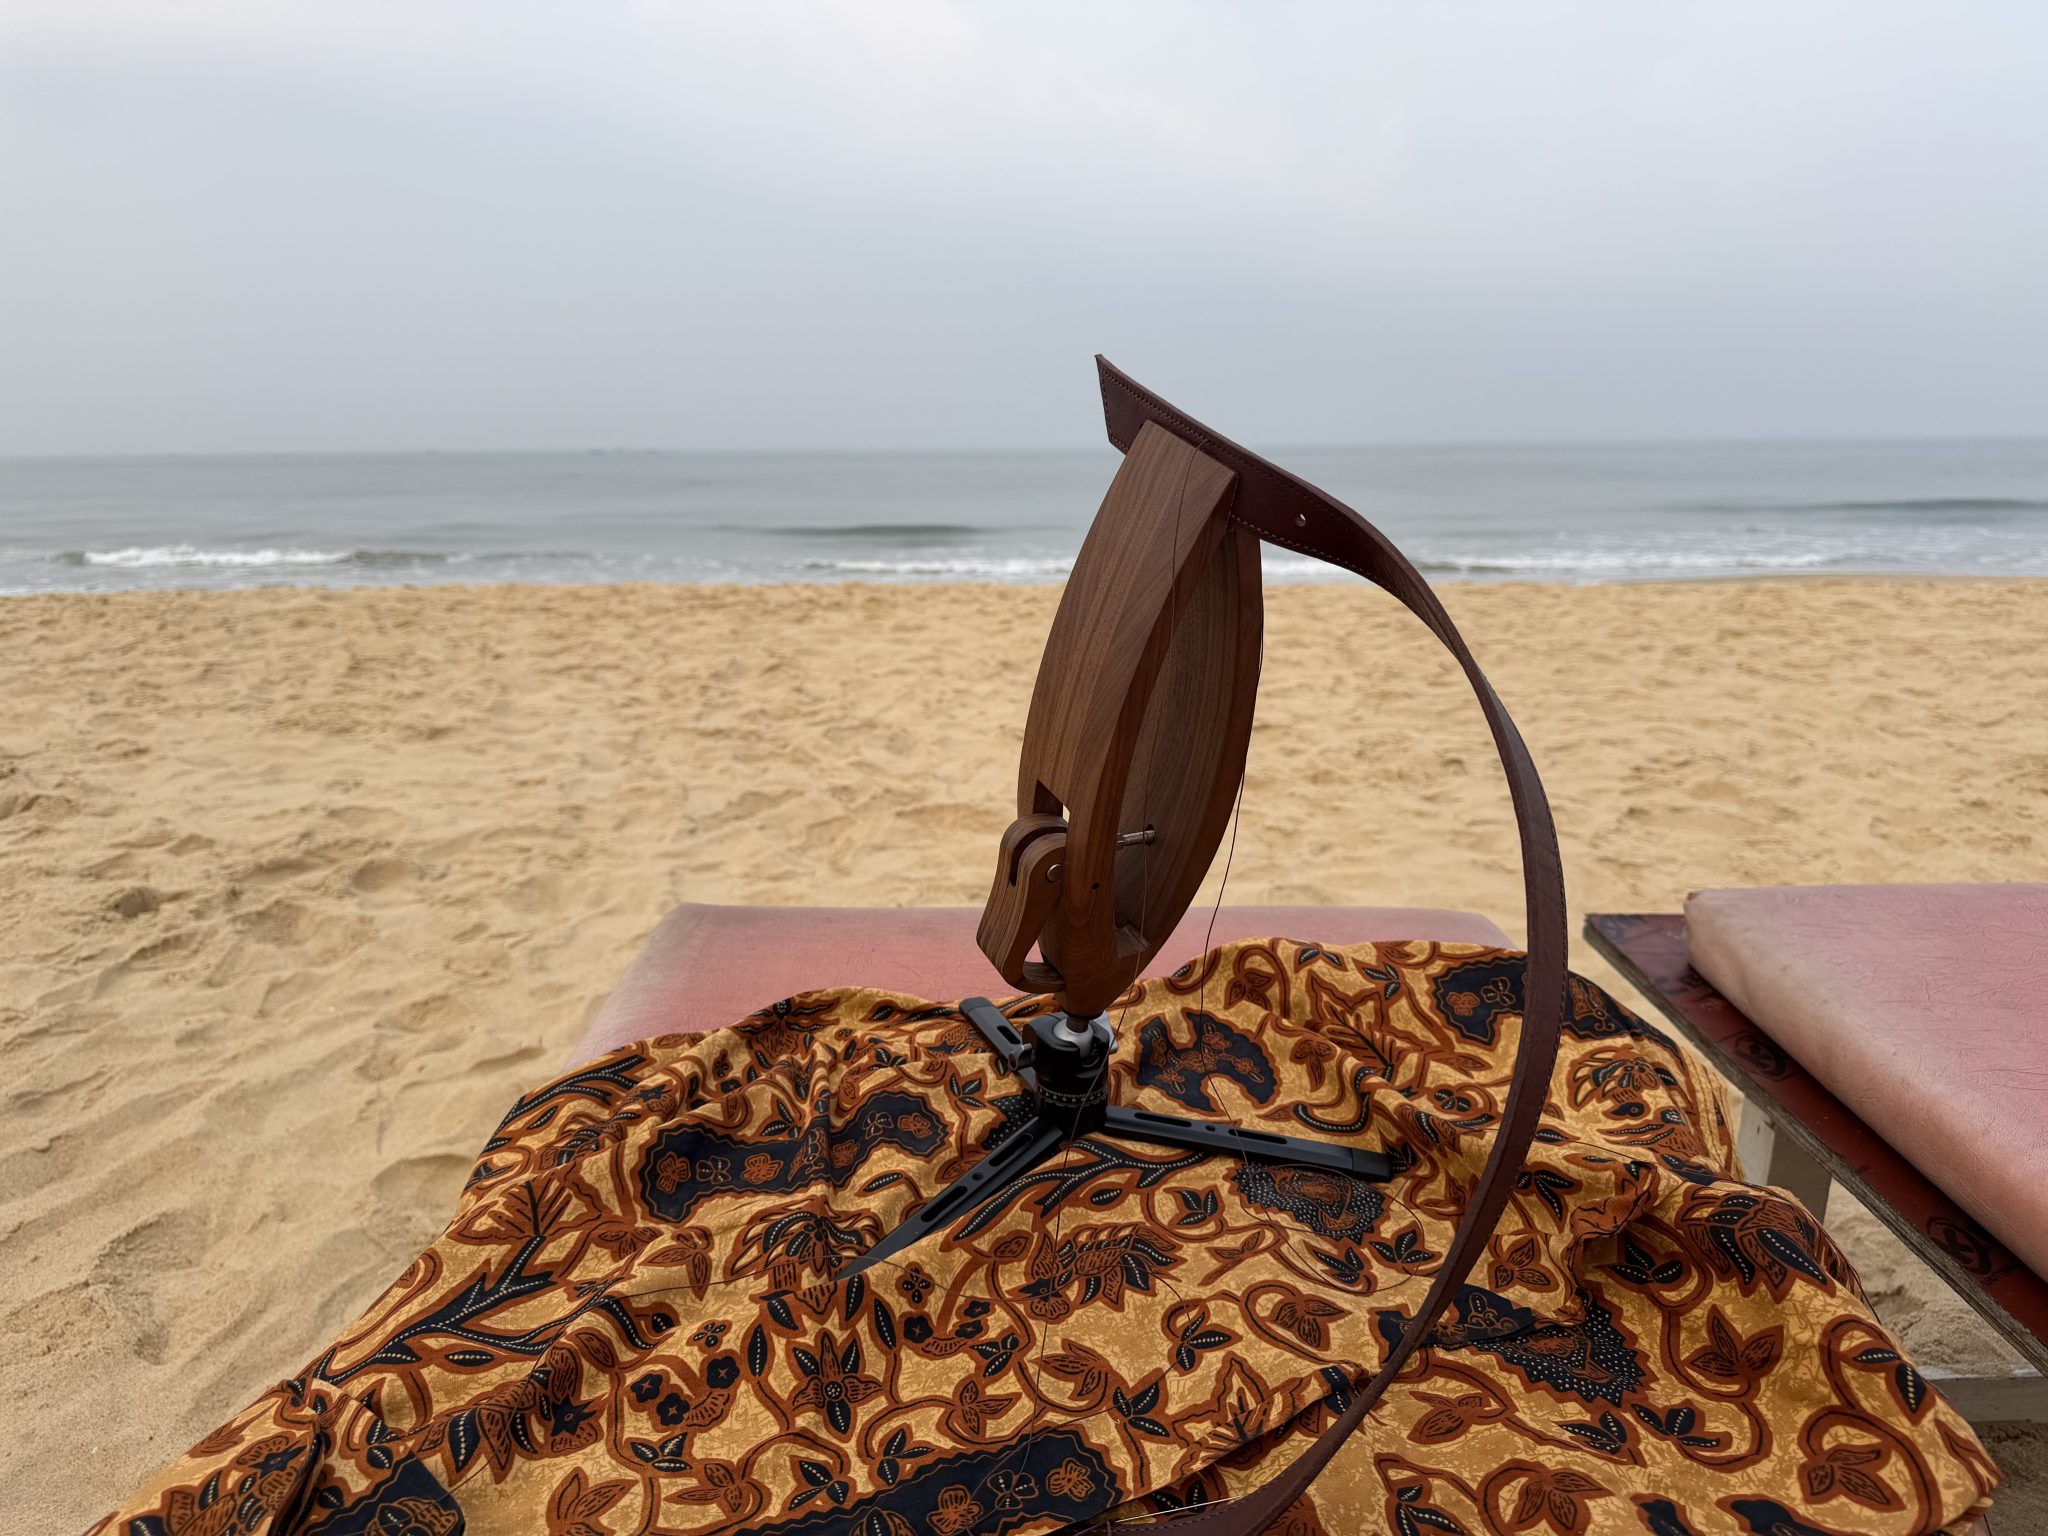
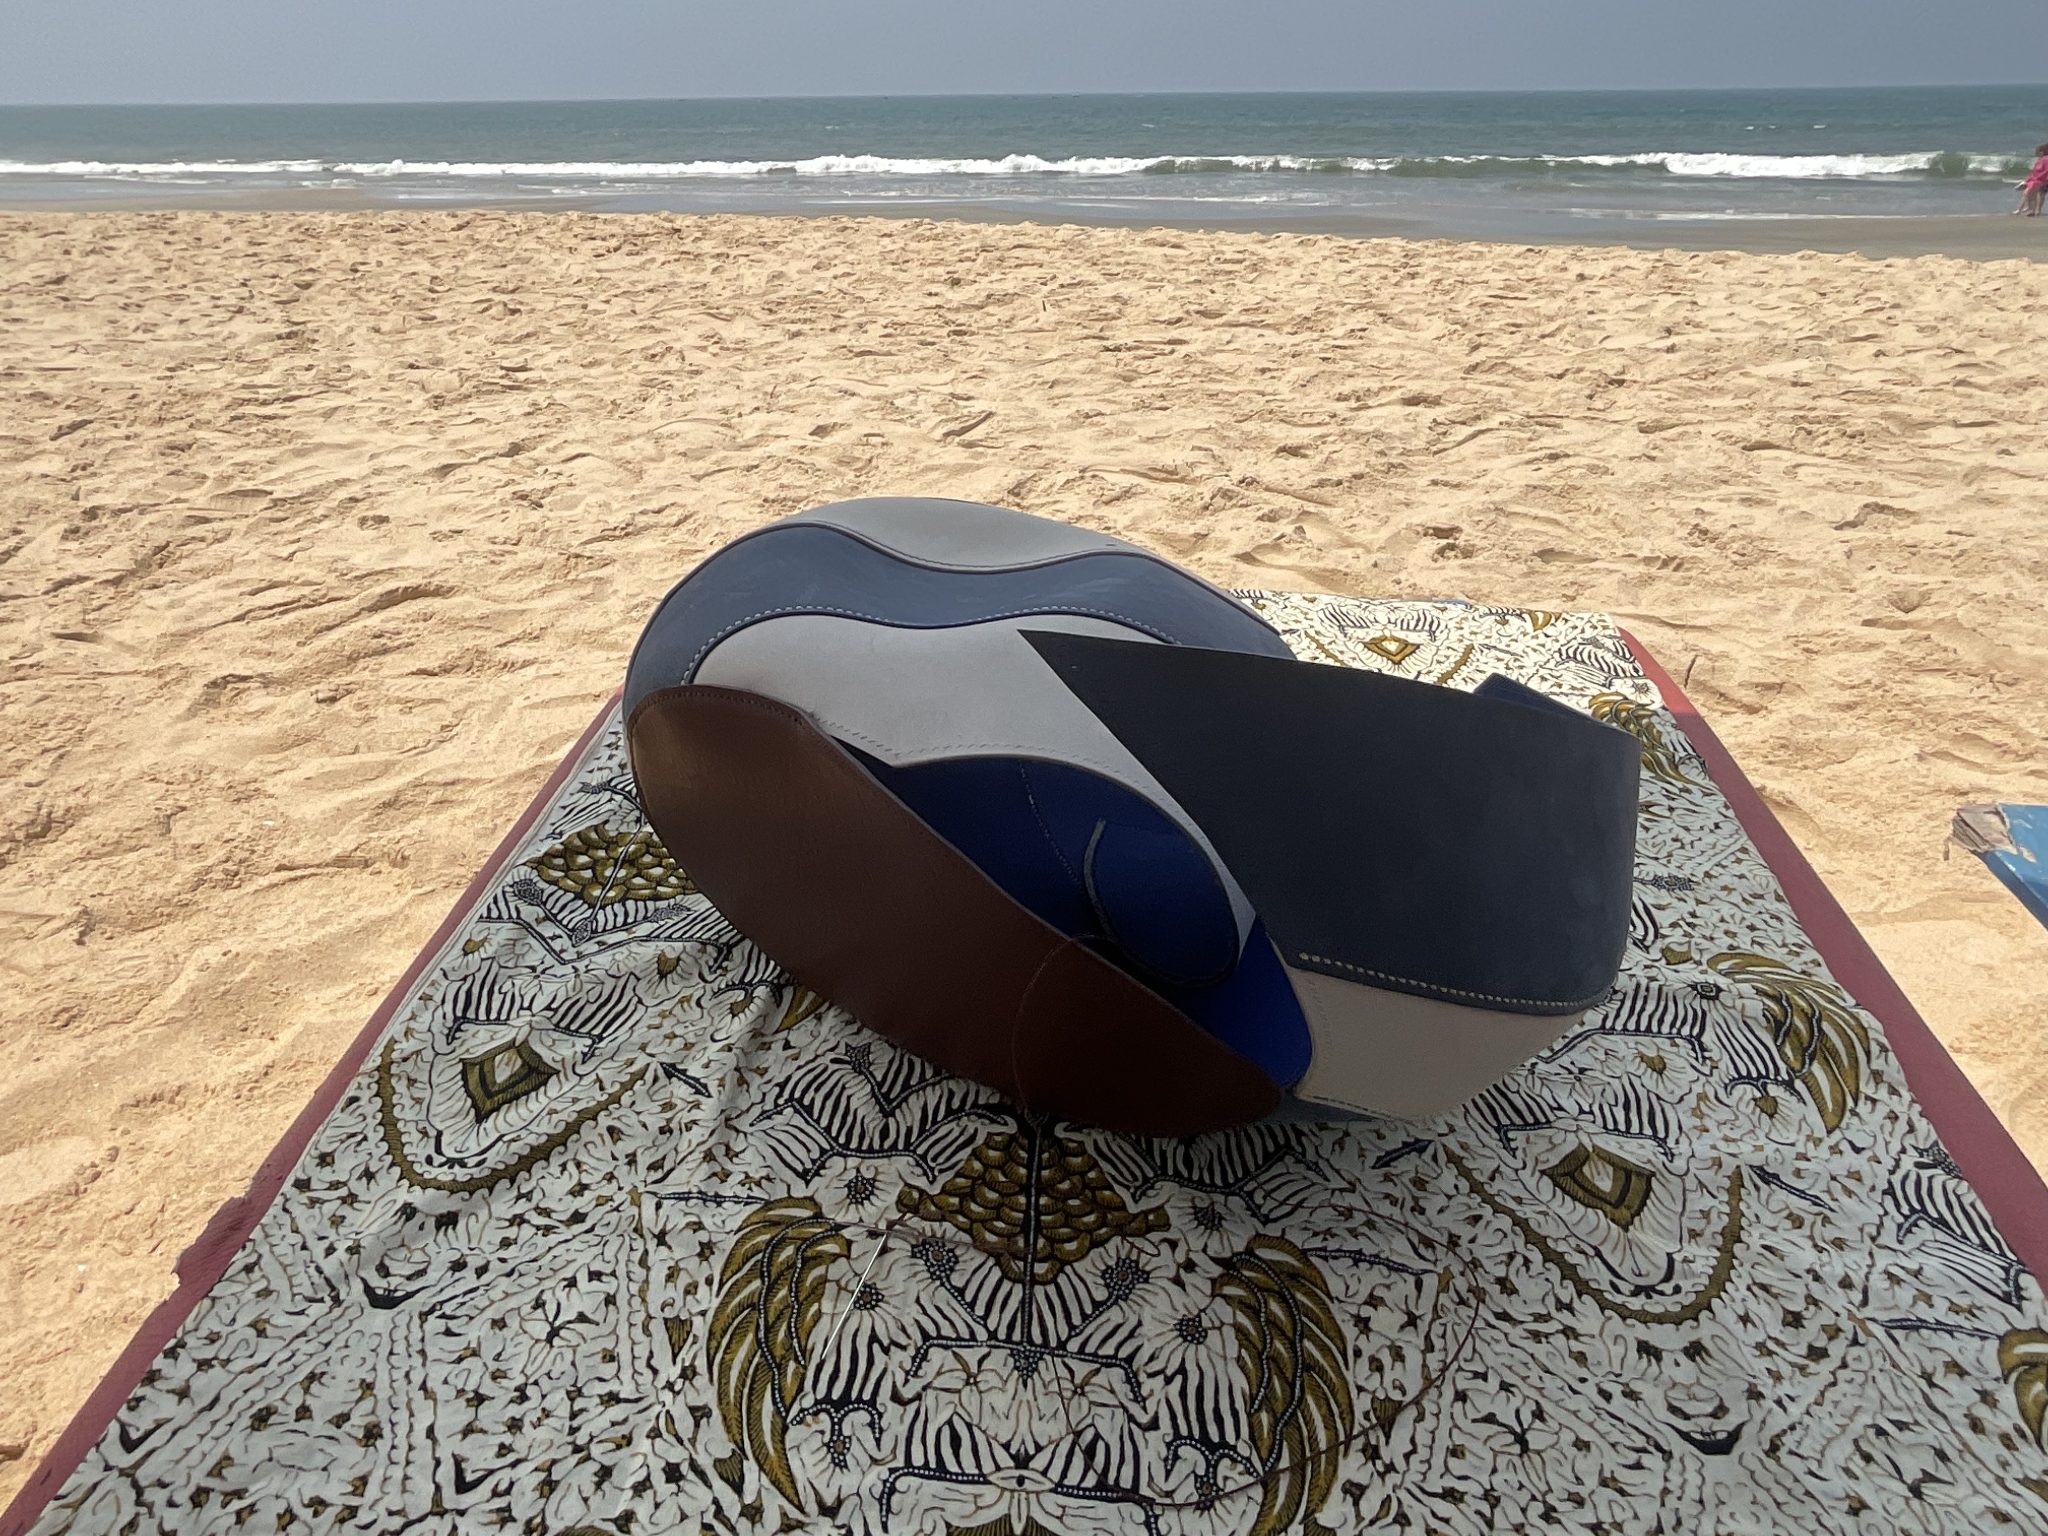
The two leather handles were next – a perfect pre-sunrise task on the beach. It was surprising that each handle took 3 hours of constant stitching to complete, so almost a full day just for the handles alone!!.
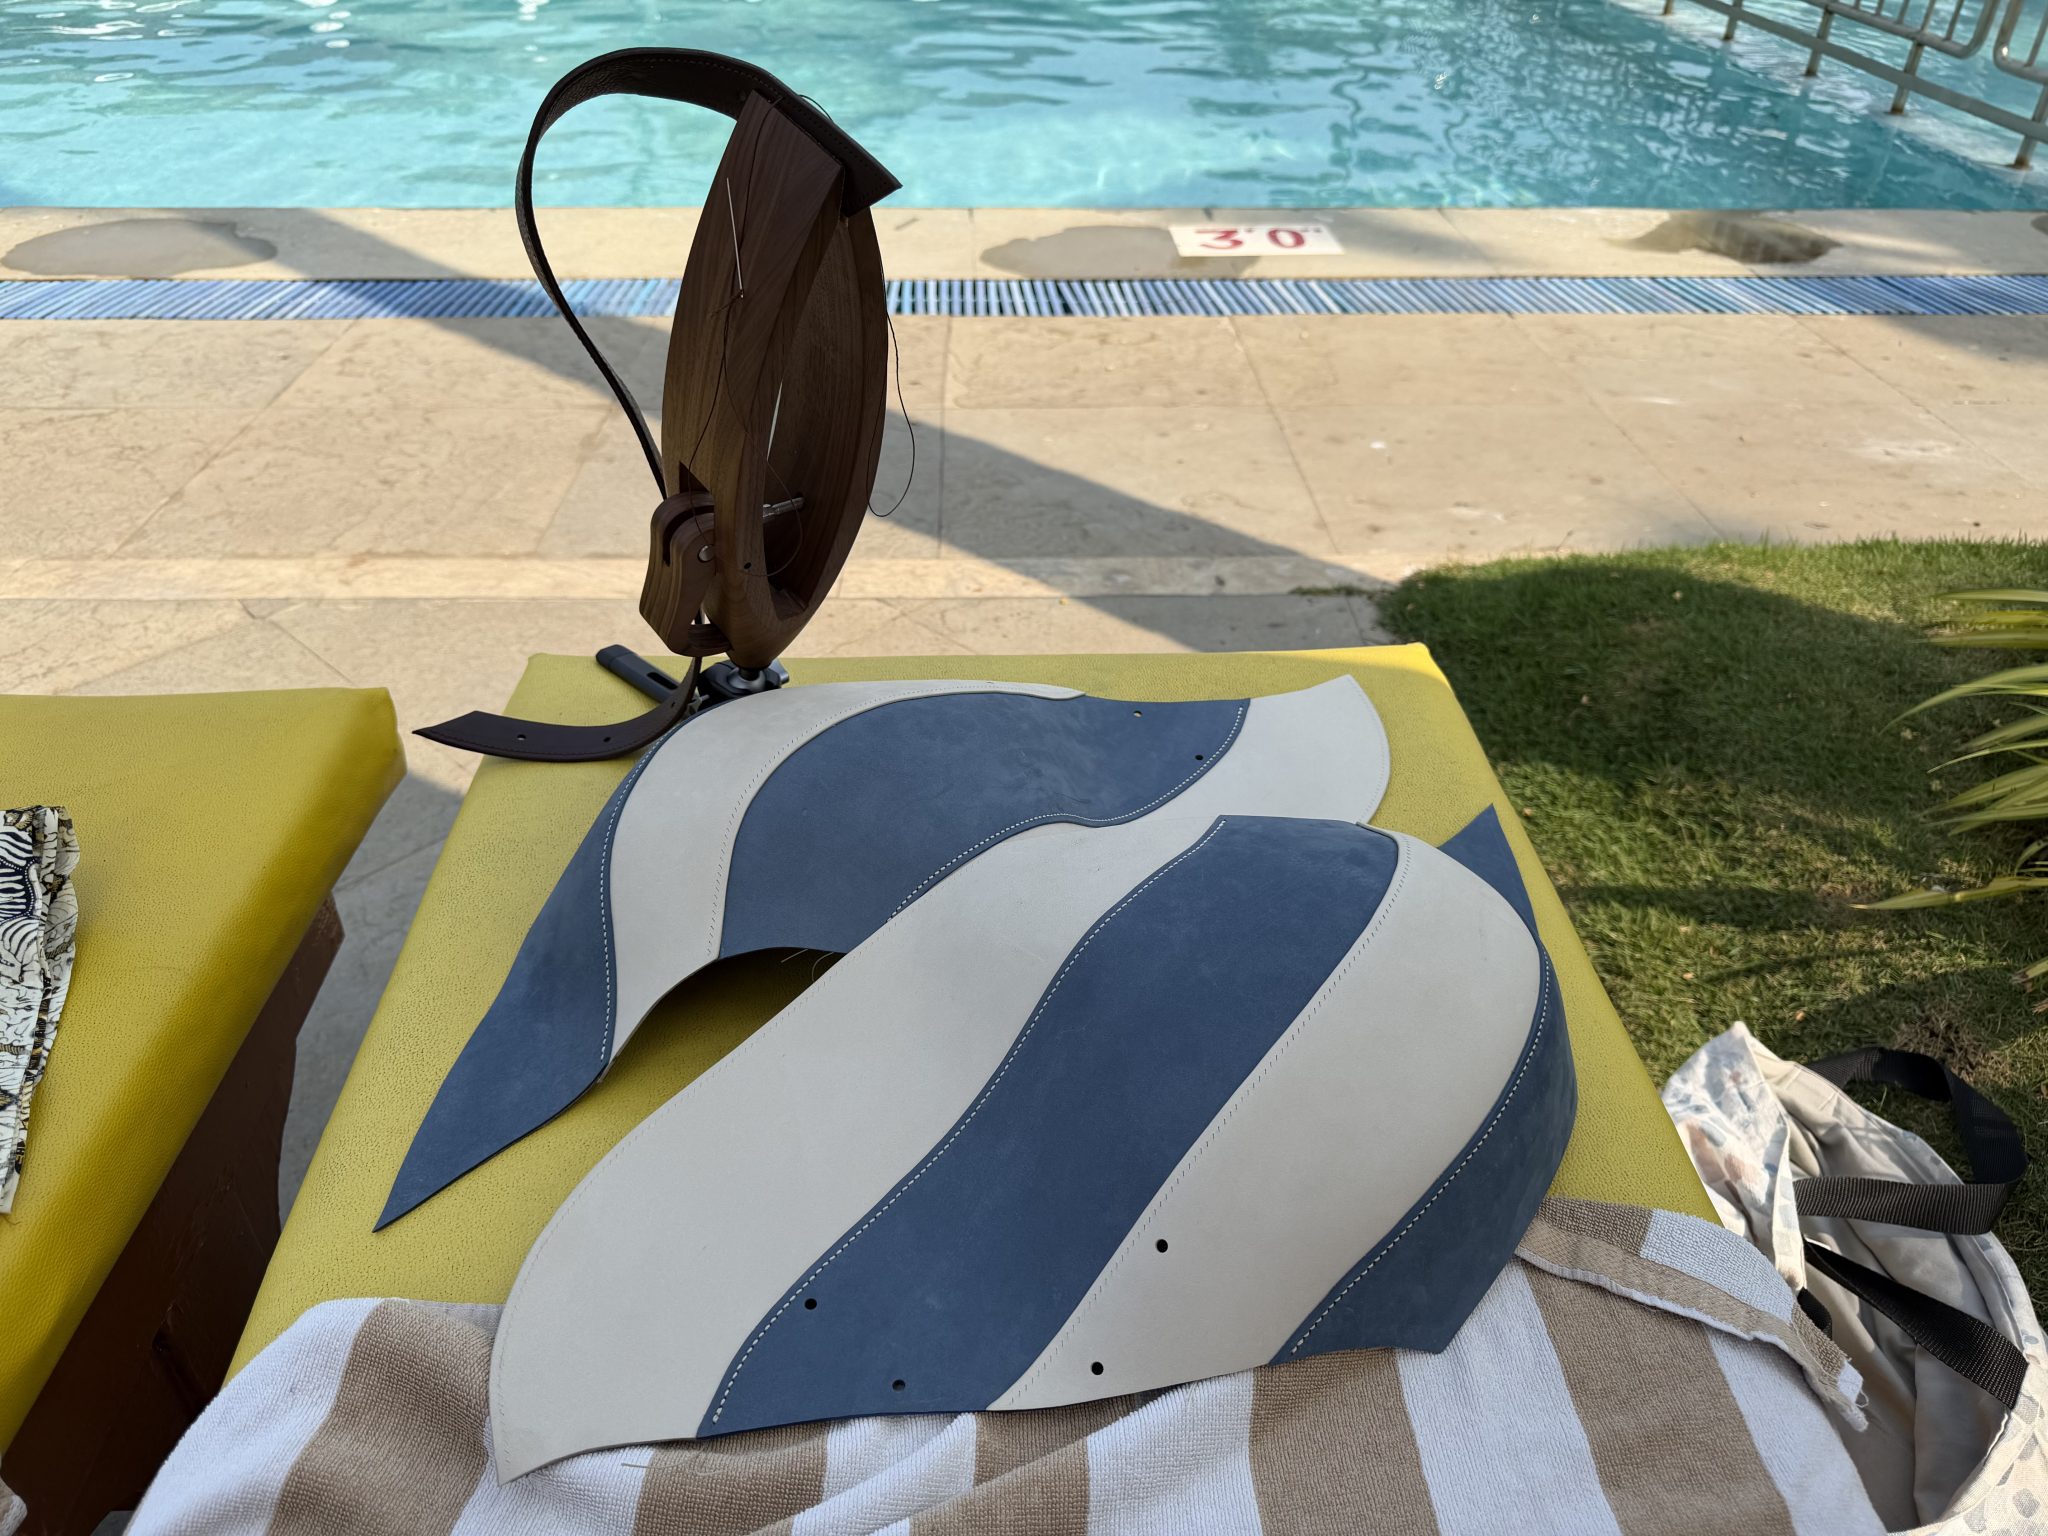
The eight main panels were tackled next. The approach was to stitch pairs of adjoining pieces first – this kept things simple at the outset and more manageable..
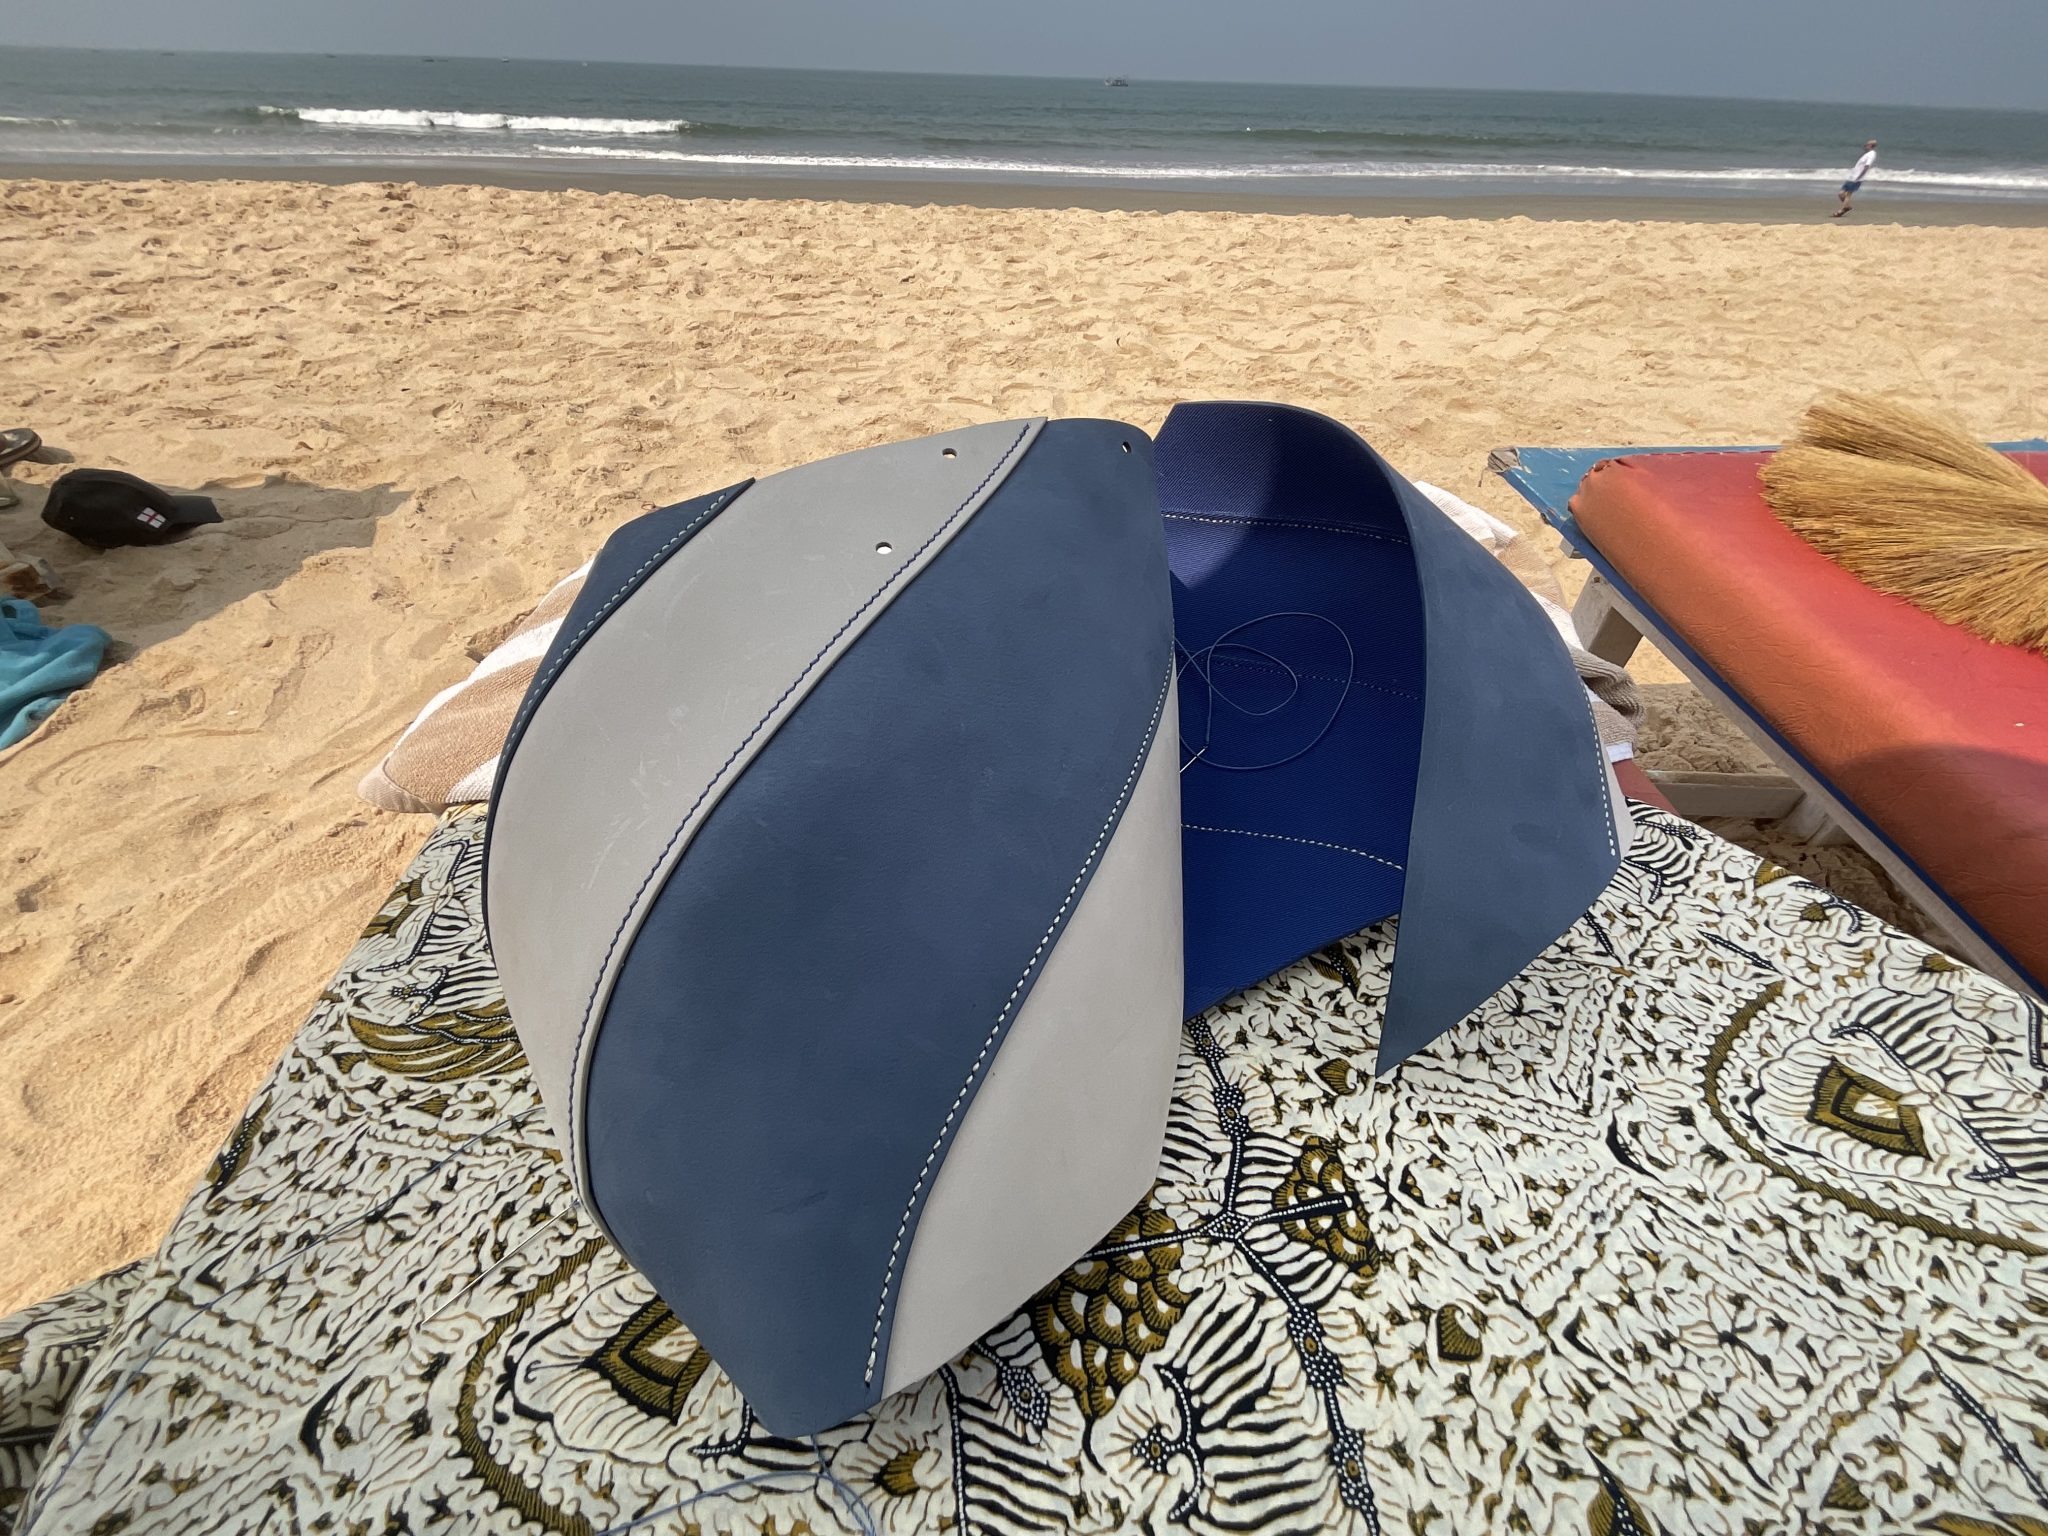
Then two pairs were joined to make each half. This was still reasonably manageable and could be done using the stitching pony.
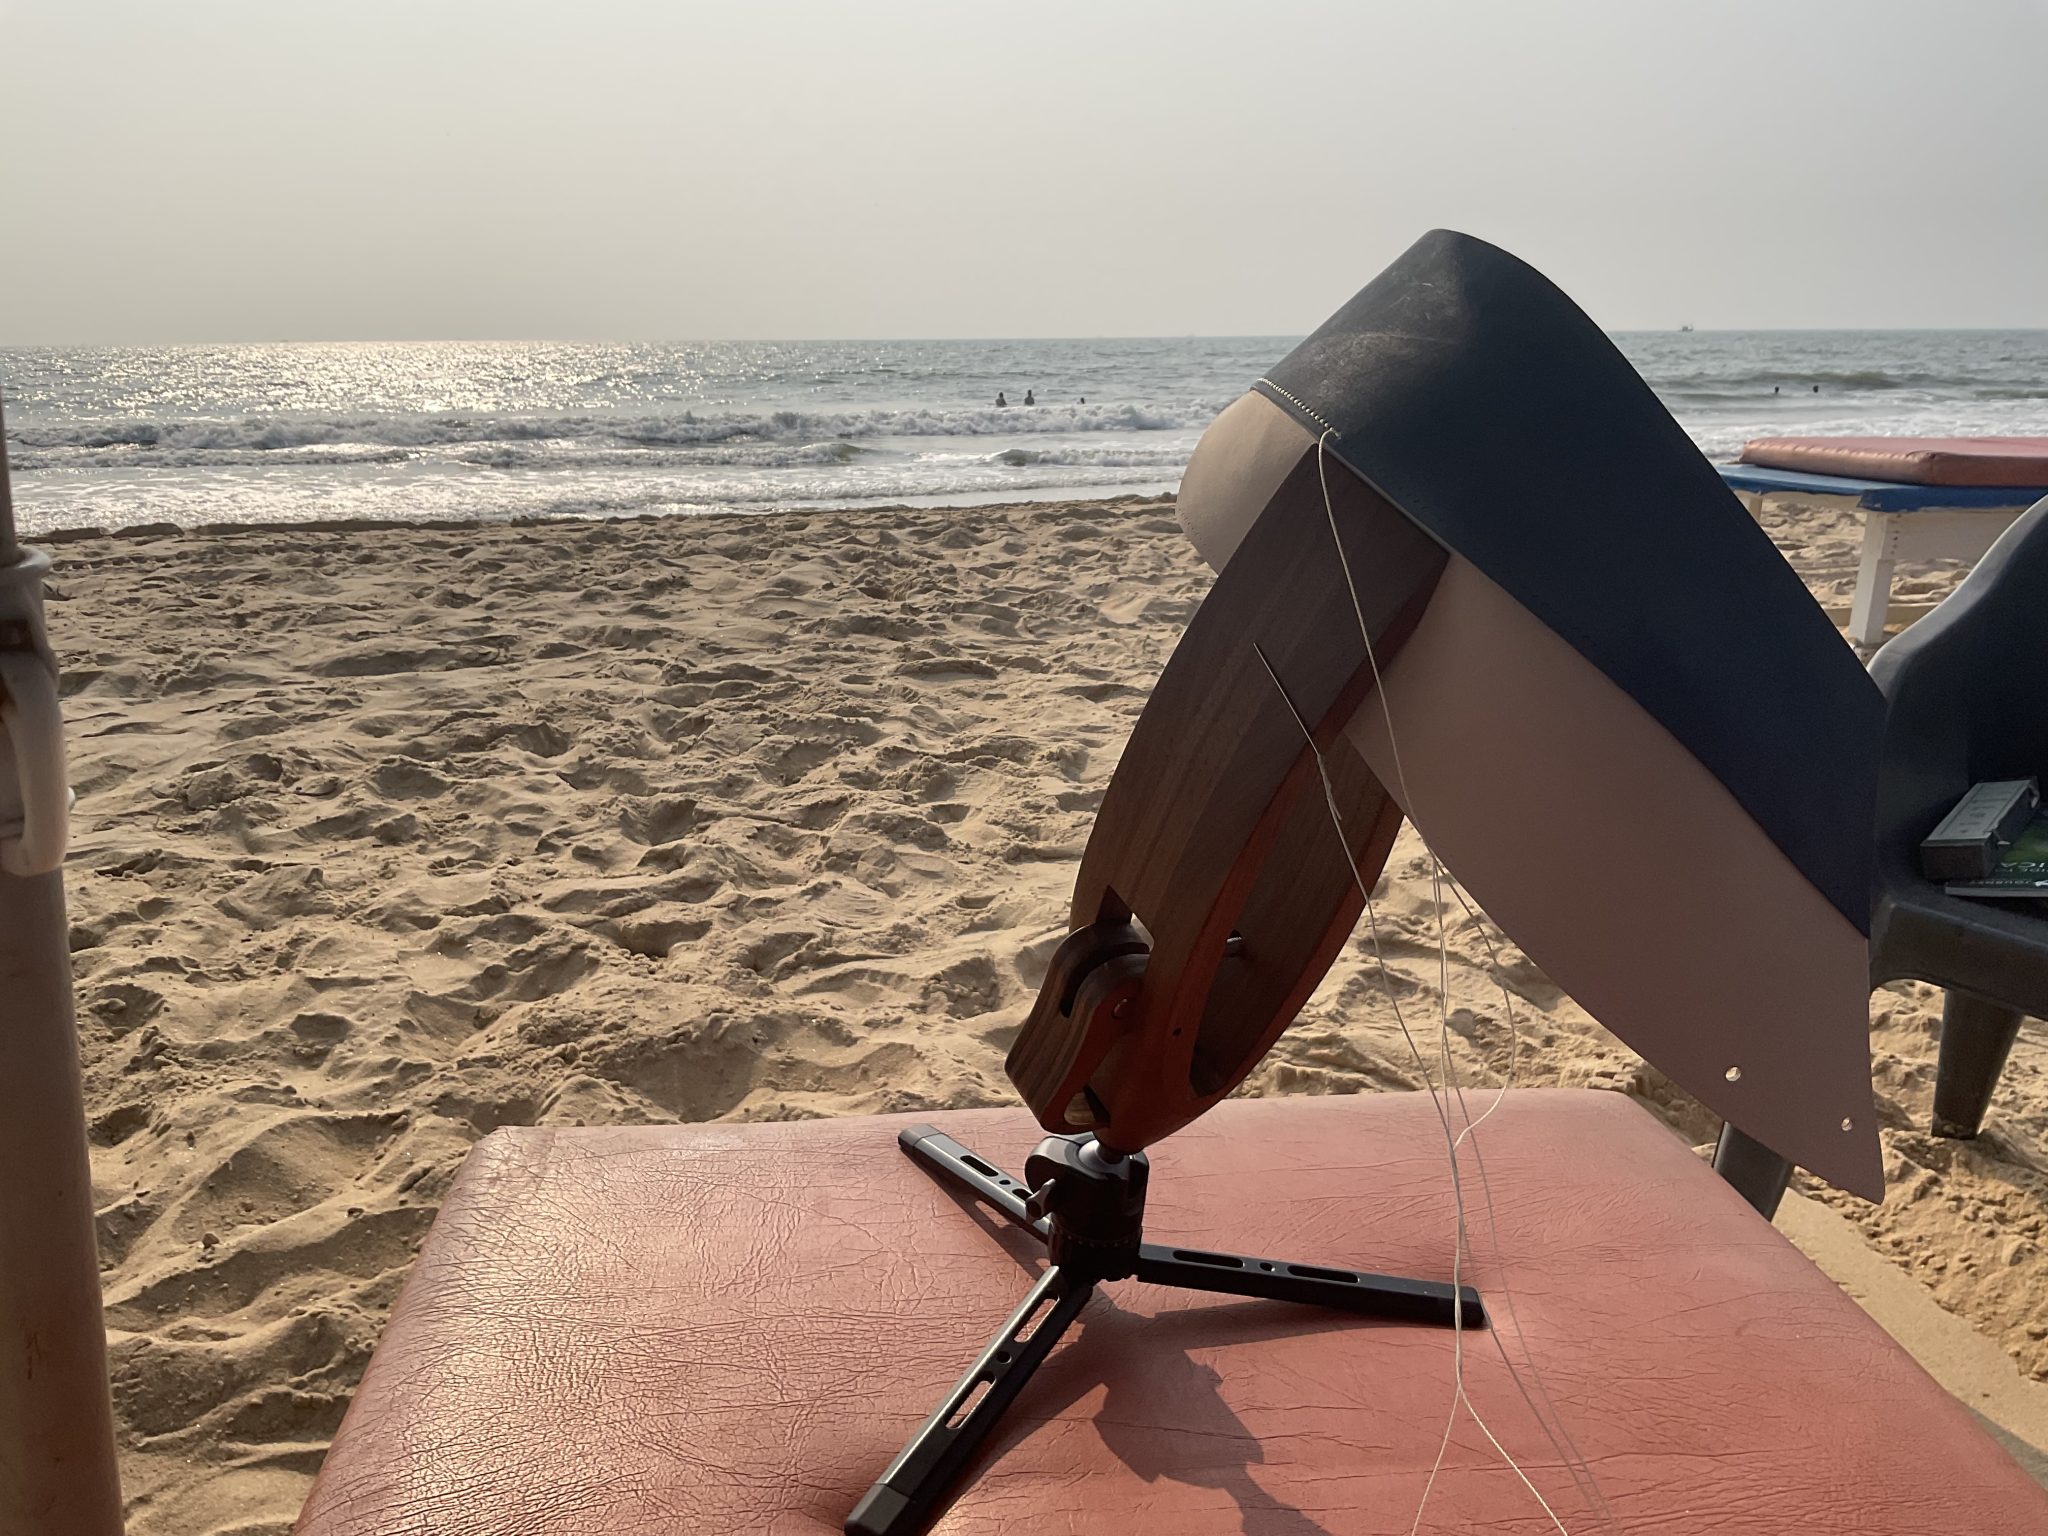
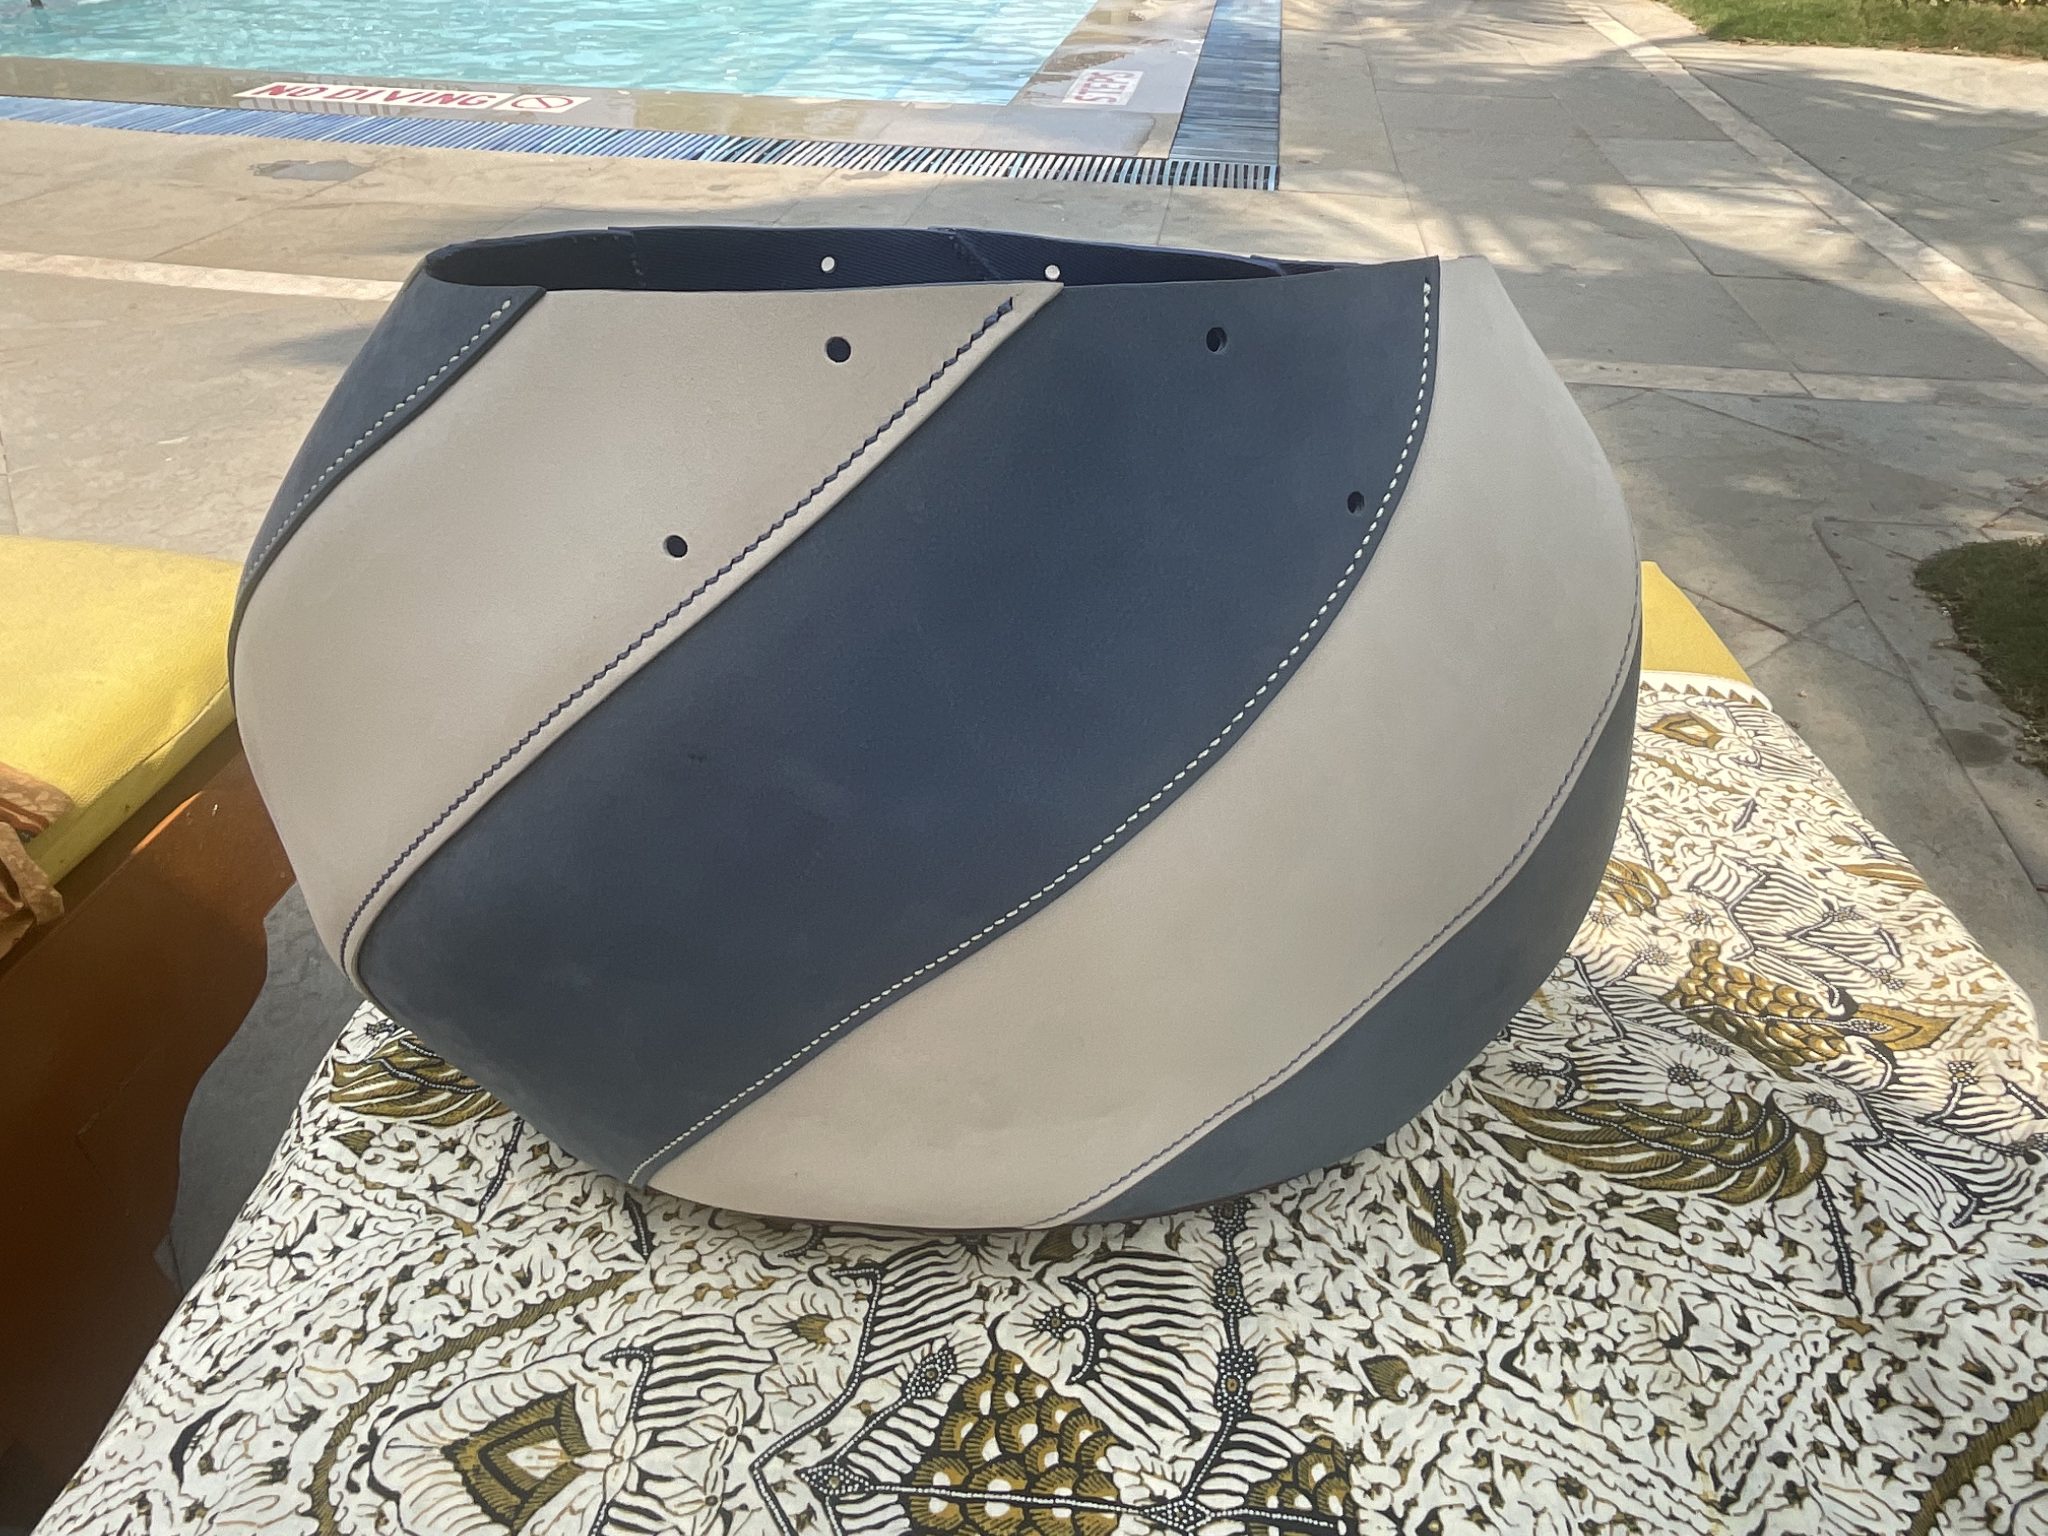
Most of the stitching of the two halves had to be done ‘freehand’. The ability to angle the stitching pony to an almost horizontal position was an added bonus and very useful in holding the two halves together at times..
The plan was to join the two halves but leave one seam unstitched so that the base panel could be stitched ‘mostly’ in place (all but 10 or so stitches either side of the open seam). Keeping an open seam would provide reasonable access and visibility during the tricky base stitching. My plan was to then glue and stitch the first two to three inches of the open seam and then return to finish the base stitching, again while there was still access. However one issue I’d completely overlooked was that the general method of taking apart contact adhesive parts is to apply heat. The sort of heat provided naturally by the sun on a Goan beach so the glued seam just kept falling apart! After much toil I managed to get a couple of inches stitched and complete the base stitching.
The stitching of the final seam was also always going to be tricky simply because you’re unable to see what you’re doing. Peering inside to see where you’re stitching then removes the light needed to see! What starts out as a simple build, then gets progressively harder with each step and becomes an absolute nightmare. Note to self: don’t be persuaded to make another one.
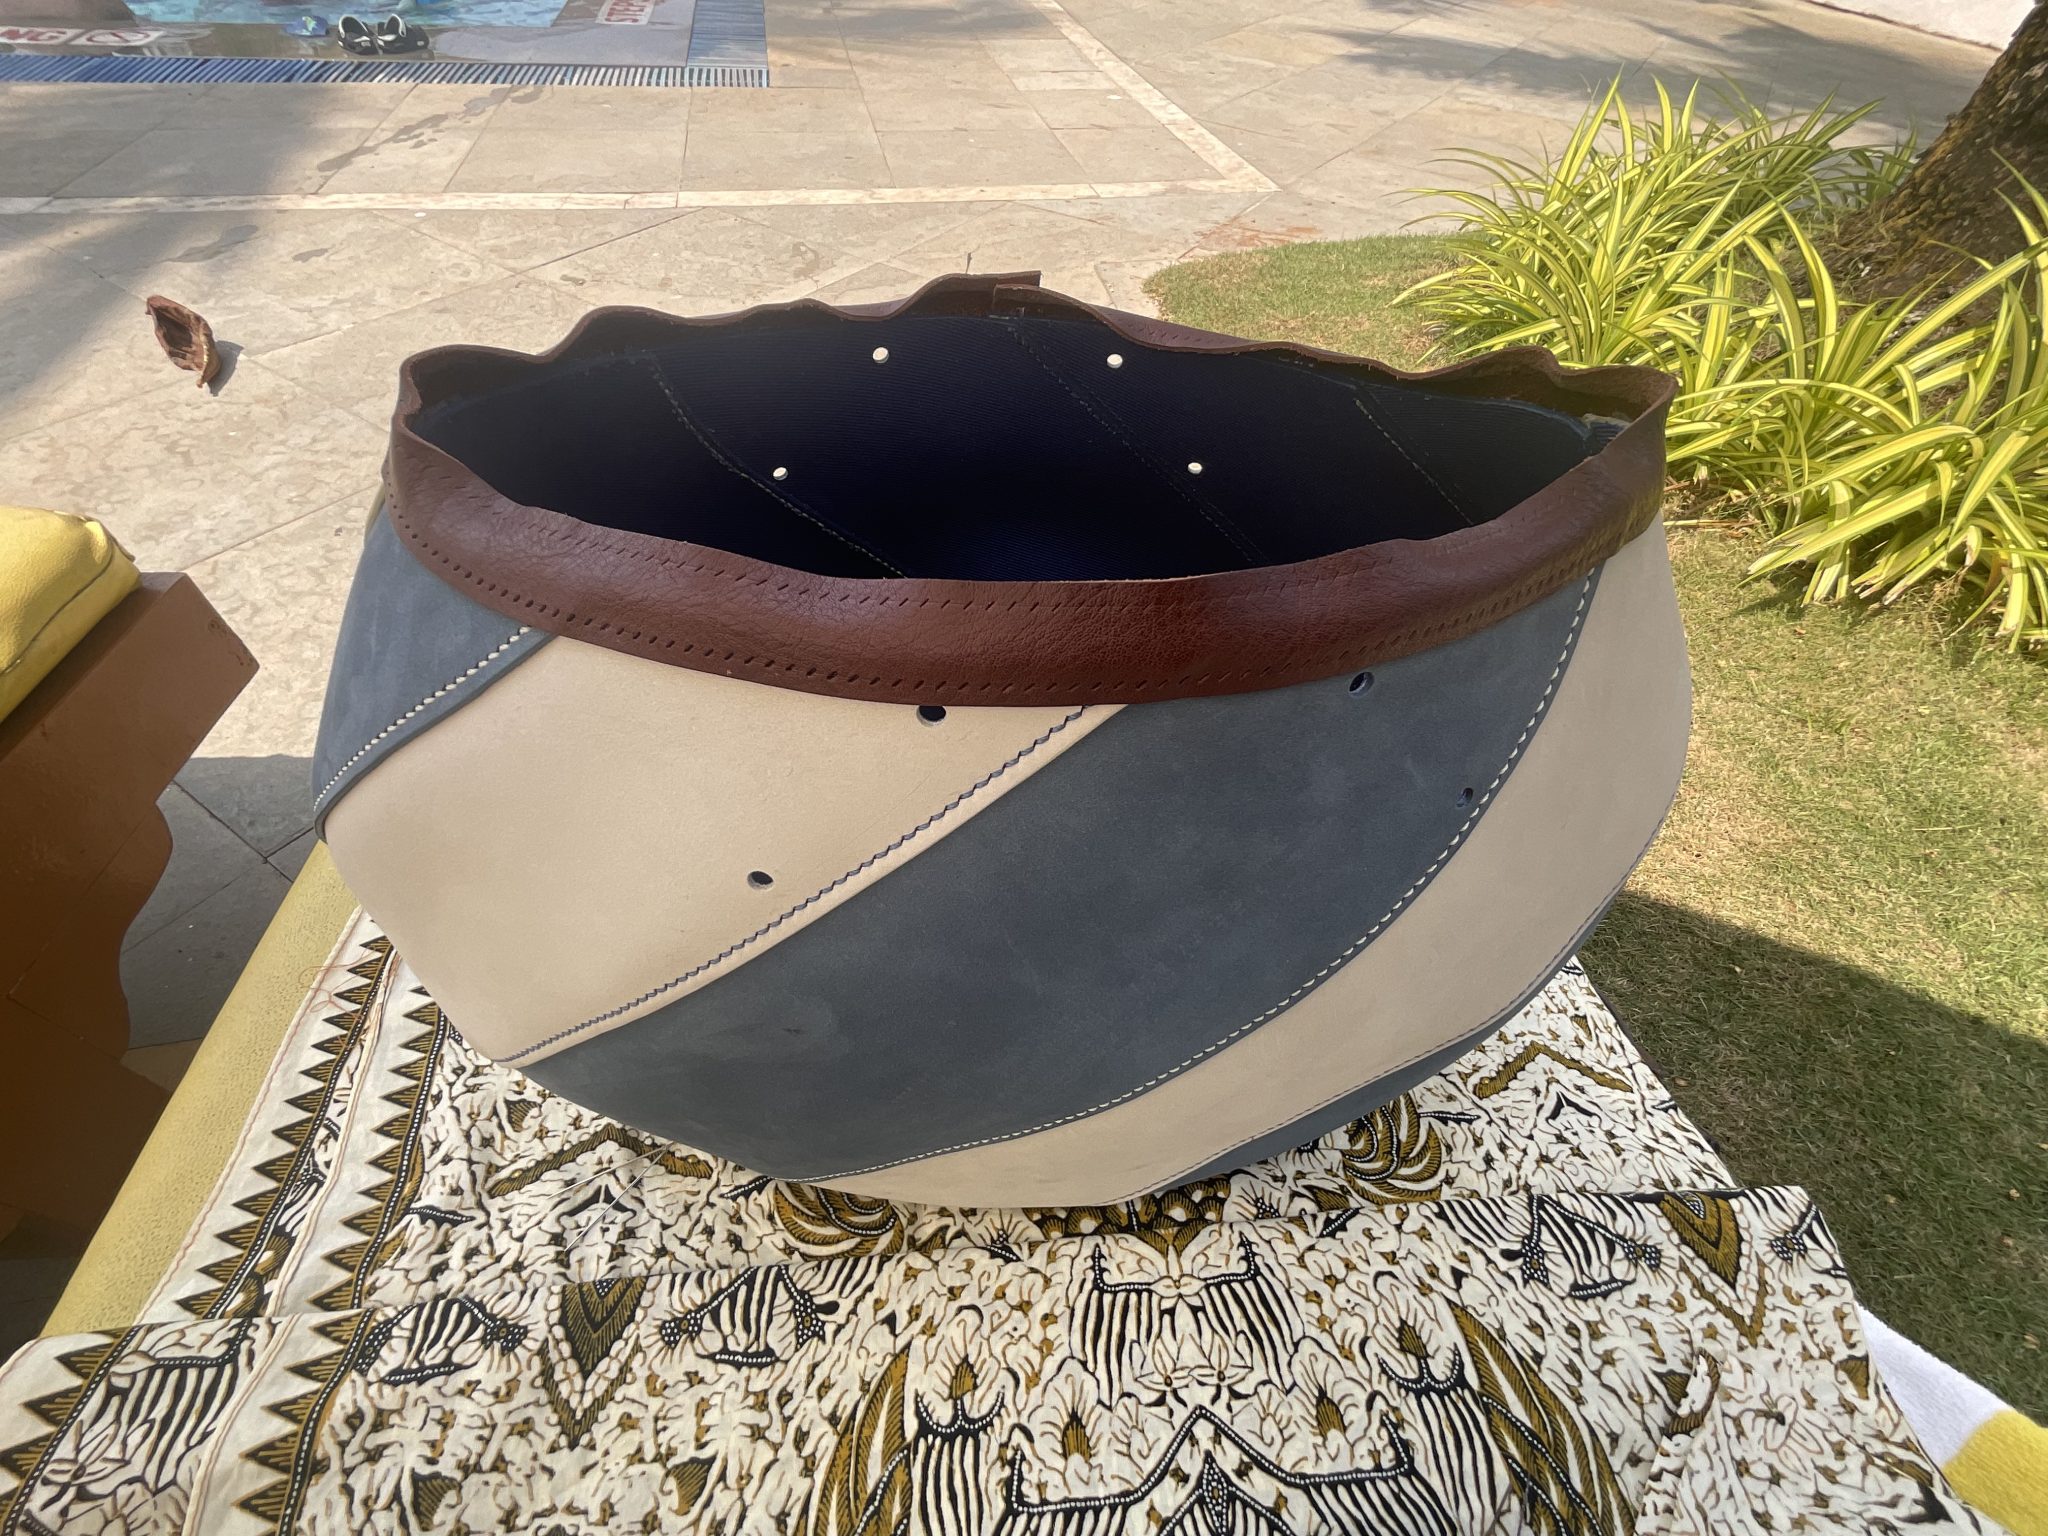
The final step is to attach a top finishing strip, which is pre-punched so the holes align. The outer half was bonded to the opening and then the holes re-punched through the blue and white panels. I even managed to make this far more difficult than it should have been. Contact adhesive was applied to approx 75% on the finishing strip as there wasn’t the need to be too precise. Wrong – I went too far and effectively bonded closed the pre-punched holes on the inner face.
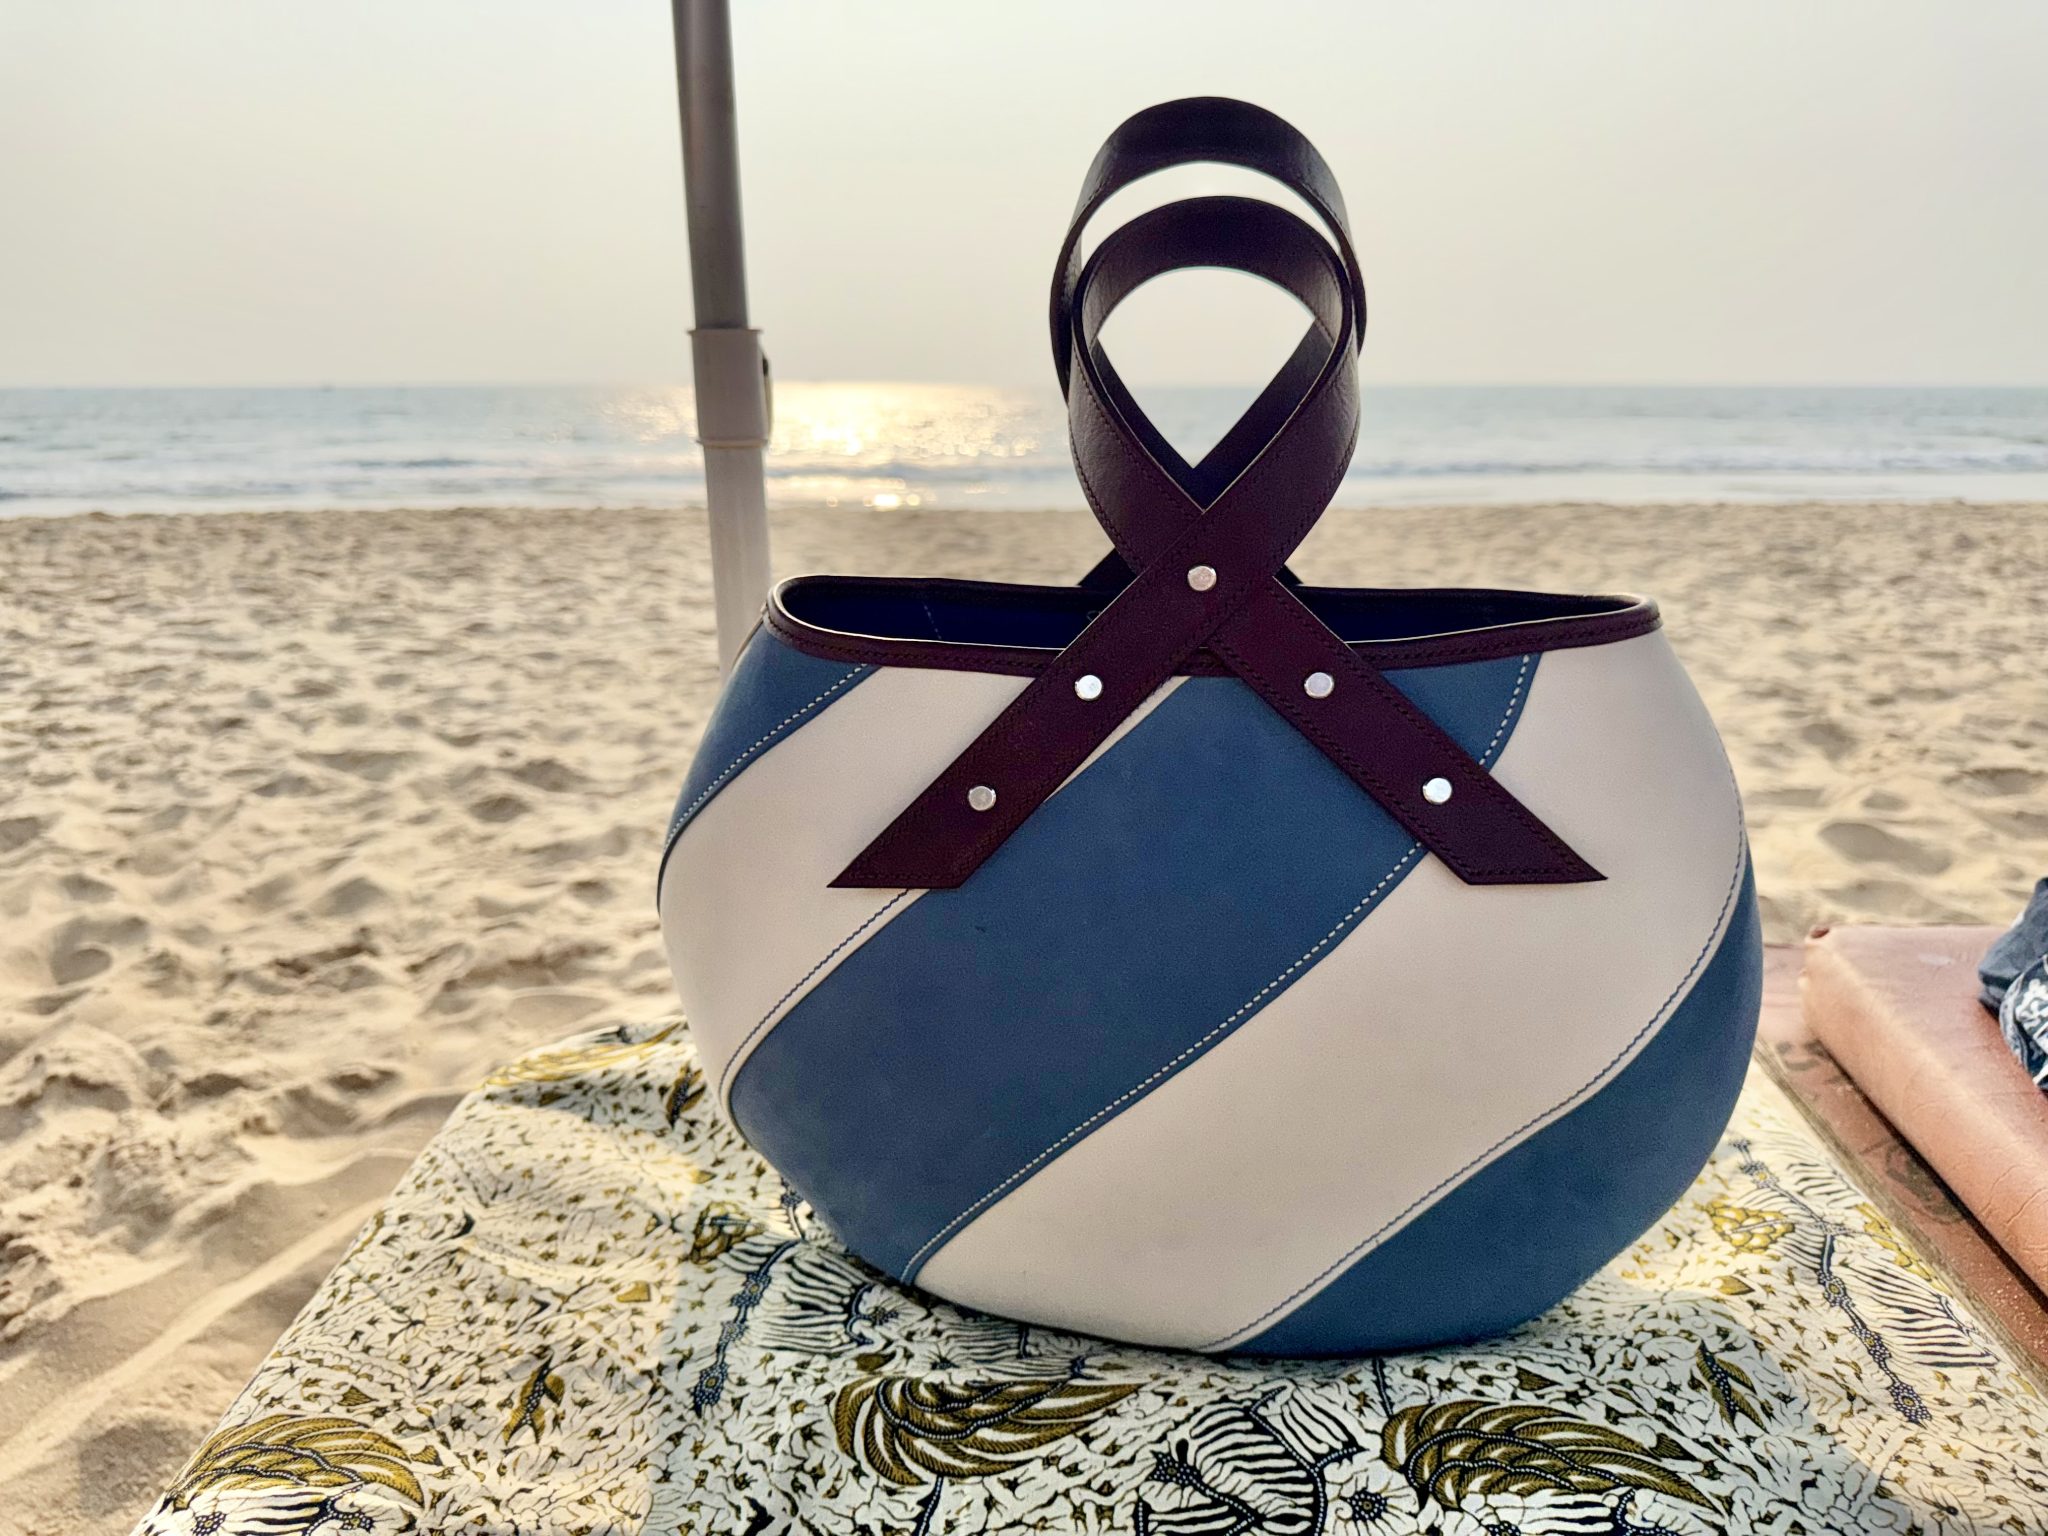
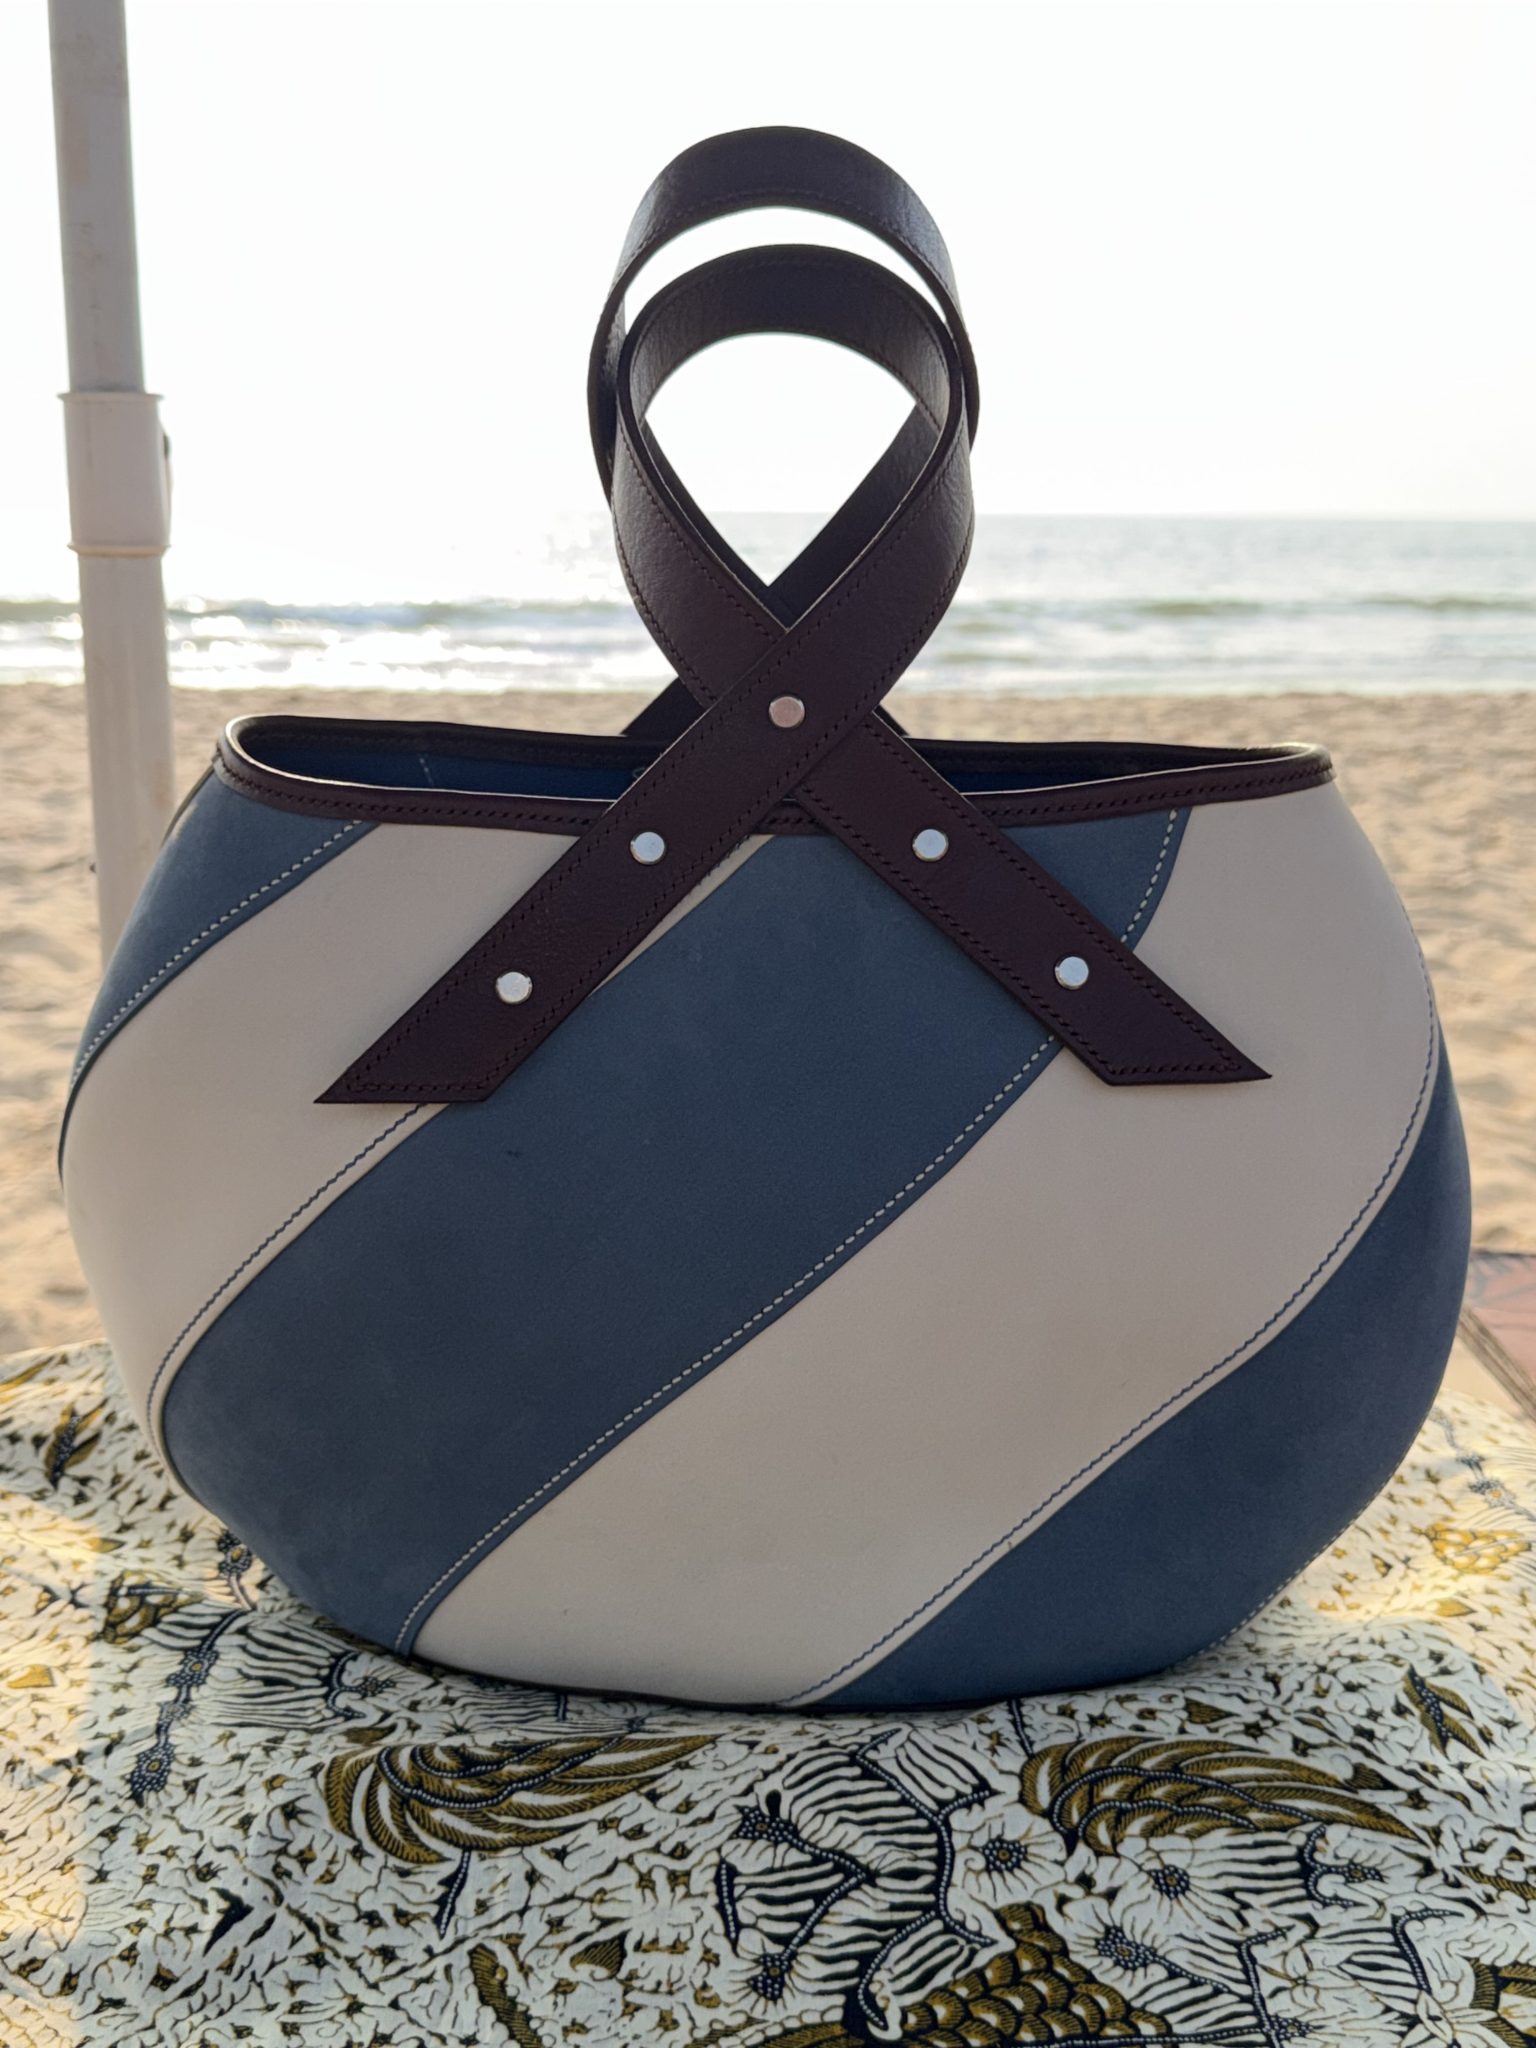
Finally, having taken twice the time expected, the bag was complete. All that remained was an embellishment but that will have to waiting until my return …..